


How to start uploading recordings to myQNAPcloud Surveillance?
Applicable product
- myQNAPcloud Surveillance
- QVR Surveillance 3.0.0 or later version
Details
There are two ways to start uploading recordings to myQNAPcloud Surveillance after assigning a license. This article will introduce how to select Backup Channels & Type before purchasing any myQNAPcloud Surveillance licenses. For the other method, see How to assign myQNAPcloud Surveillance license to the channels in QVR Surveillance?
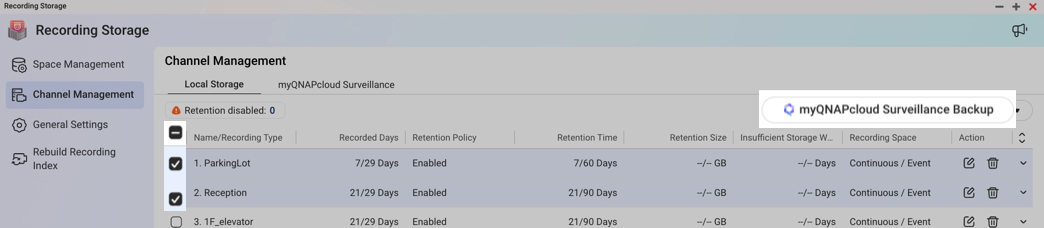
1. Go to Recording Storage > Channel Management.
2. Select one or more channels to back up recordings to myQNAPcloud Surveillance.
3. Click the [myQNAPcloud Surveillance Backup] button on the top right corner.
4. Confirm the stream, recording type, and then review the selected license, and click Next. 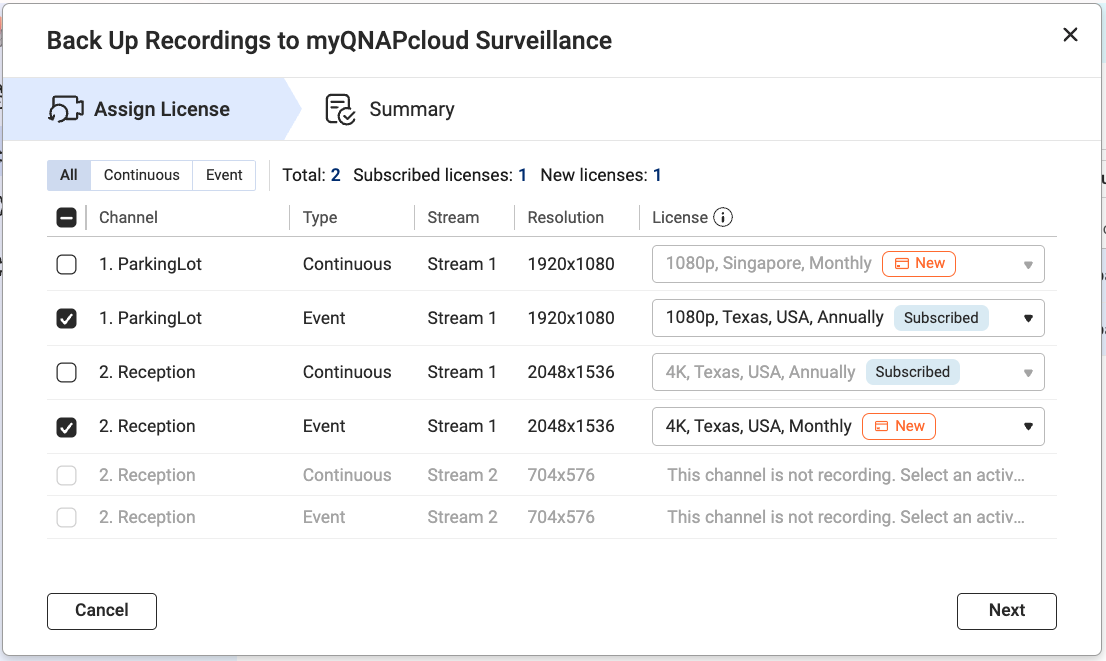
- Subscribed:
- This means you have already purchased this license.
- If you cannot select your purchased license, the stream's resolution may not meet the license criteria. Adjust your stream's settings to match the license resolution in Camera Settings, then restart the process.
- For more details, visit What license should I prepare for myQNAPcloud Surveillance.
- New:
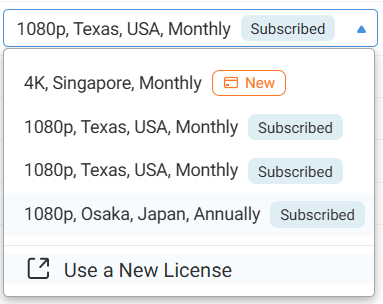
- This means you need to purchase the license after clicking Assign on the final step.
- You can change the resolution, region, or the subscription period of the pre-assigned license by selecting Use a New License from the drop-down menu.
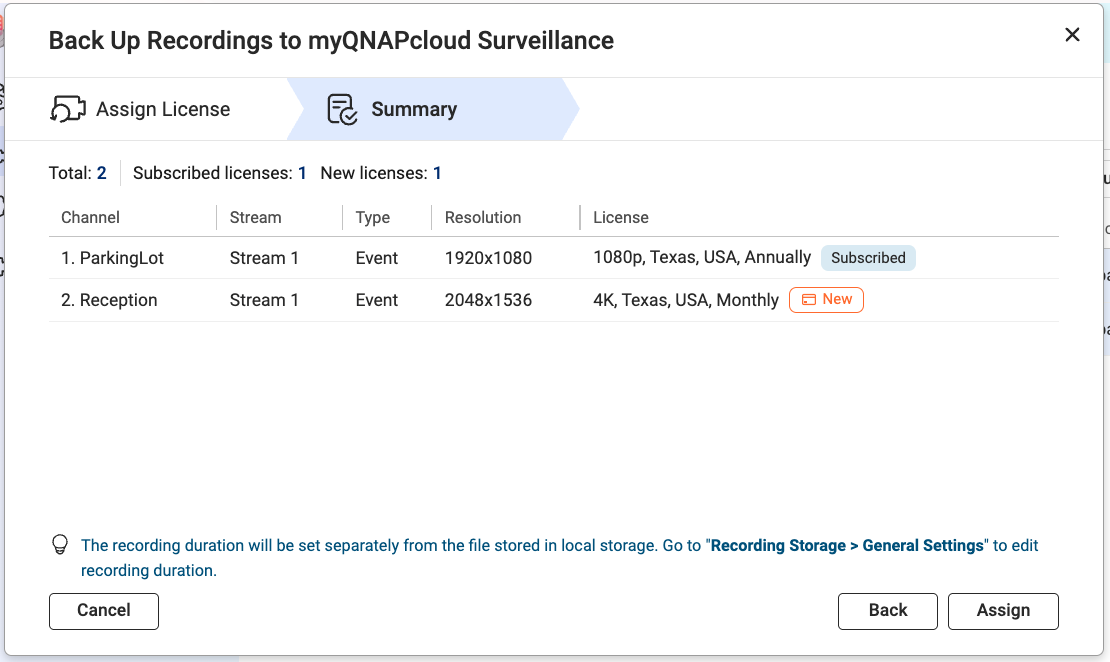
5. Review the summary, then click Assign.
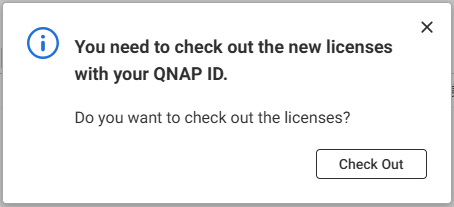
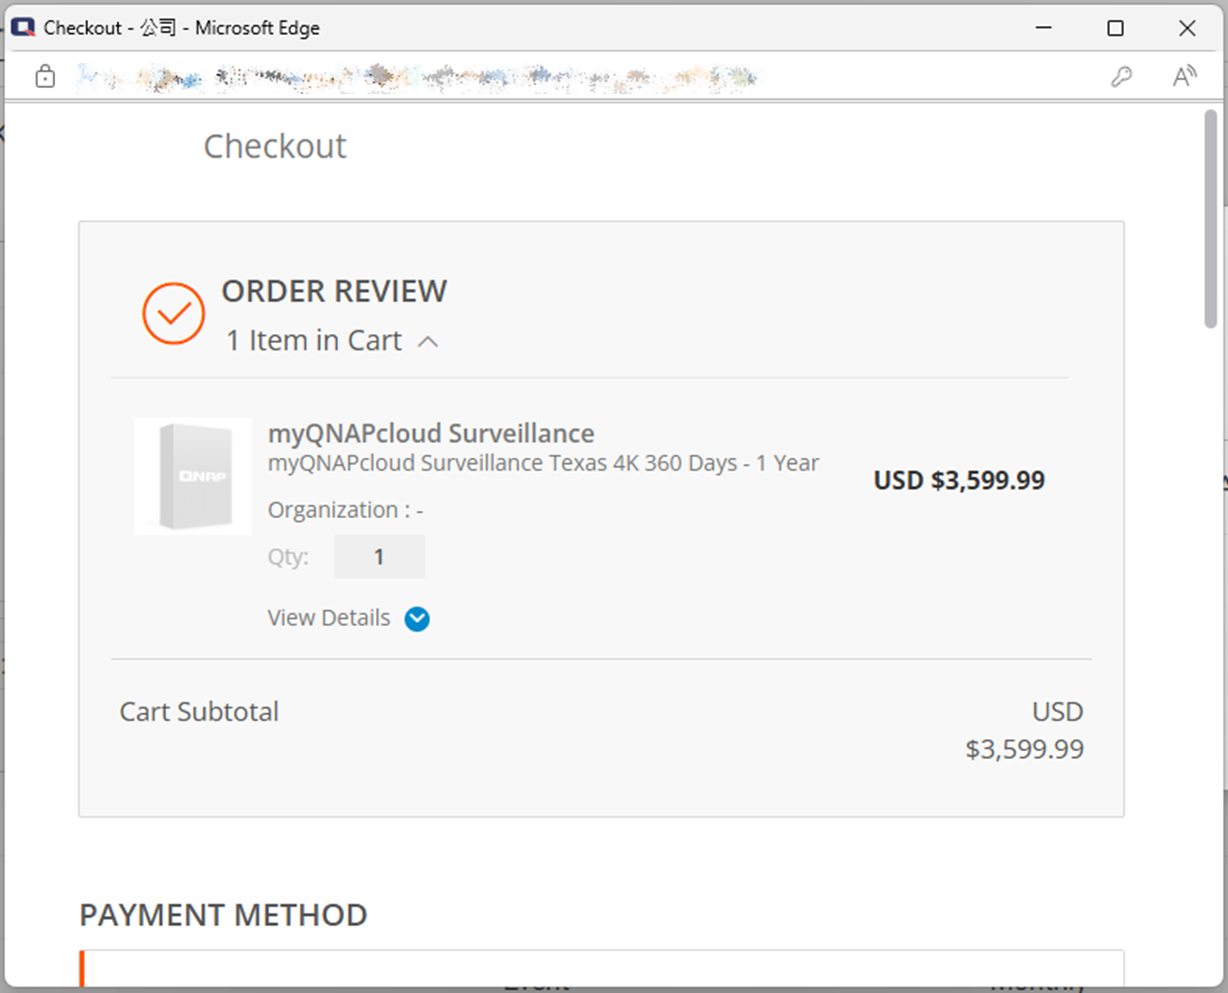
6. Click Check out to start the checkout process for the new licenses used in this assignment.
7. Confirm the assignment status.
Important
- Closing the Result window does not cancel the checkout or assignment process.
- After closing the window, you can check the result in Surveillance Logs > myQNAPcloud Logs.
- If the assign process keeps failing, please refer to Why can't I assign myQNAPcloud Surveillance license to channels?
Further reading
For further assistance, ask other users and QNAP experts in the community. Go to QNAP Community


