


How to Protect a Physical Device with HDP for Business Agent
Applicable Products
- HDP for Business
- HDP for Business Agent 1.0.0.1697 and later
- Windows 10 (64-bit, version 1607 or later), Windows 11
- Windows Server 2016 / 2019 / 2022 / 2025
Purpose
This tutorial shows you how to install HDP for Business Agent on a Windows computer, connect it to your Management Server with a Join Key, and confirm that the assigned backup policy is running.
Prerequisites
- HDP for Business is installed and initialized on a QNAP NAS that acts as the Management Server.
- A Backup Server and a protection policy are ready, so that you can bind them to a Join Key.
- The Windows computer runs a supported 64-bit operating system. ARM-based devices such as ARM64 Windows are not supported.
- The computer has internet access during the first installation. The installer automatically installs the .NET 10.0 runtime components that the agent requires. If the computer has no internet access, install these components manually first. See Note: Installing on a Computer Without Internet Access.
- NetBak PC Agent is not installed on the computer. The two products cannot coexist, and the installer asks you to remove the other product before it continues.
Procedure
Step 1: Create a Join Key on the Management Server
The Join Key defines which Backup Server and which policy the computer is bound to. The agent applies them automatically once it connects.
- In HDP for Business, go to Physical Device and click Add.
- Click Download Agent to download the installer, and copy the file to the Windows computer.
- Click Manage Join Key > Create.
- Select the Backup Server and the Policy to bind, then click Create.
- In the Join Key table, click Copy. The key is 64 alphanumeric characters long.
Step 2: Install the agent on the Windows computer
- Run the installer on the Windows computer.
- Select the installation language. Your system language is selected by default.
- Confirm that you want to install HDP for Business Agent, and wait for the files to be extracted to
C:\Program Files\QNAP. - When the installation finishes, keep the option to run the application selected, and close the installer.
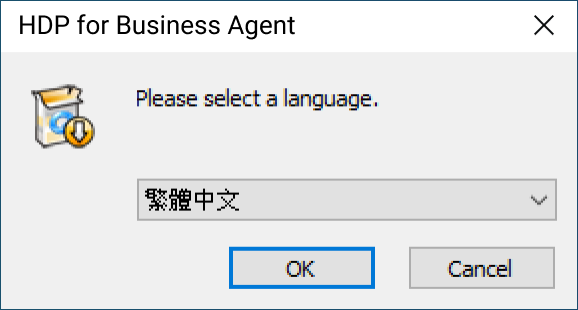
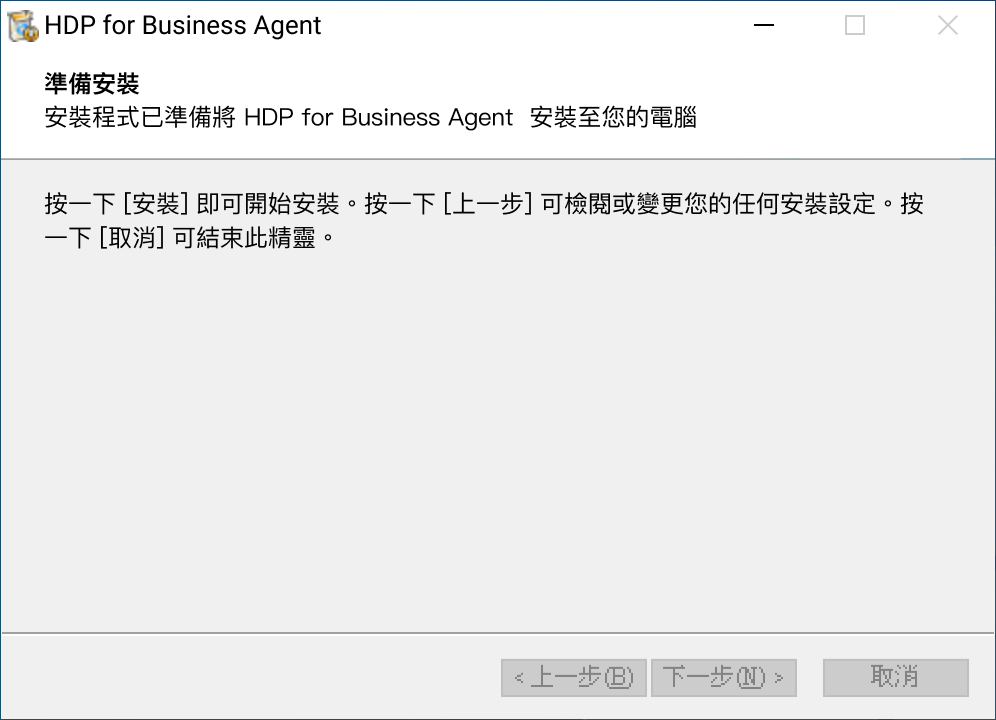
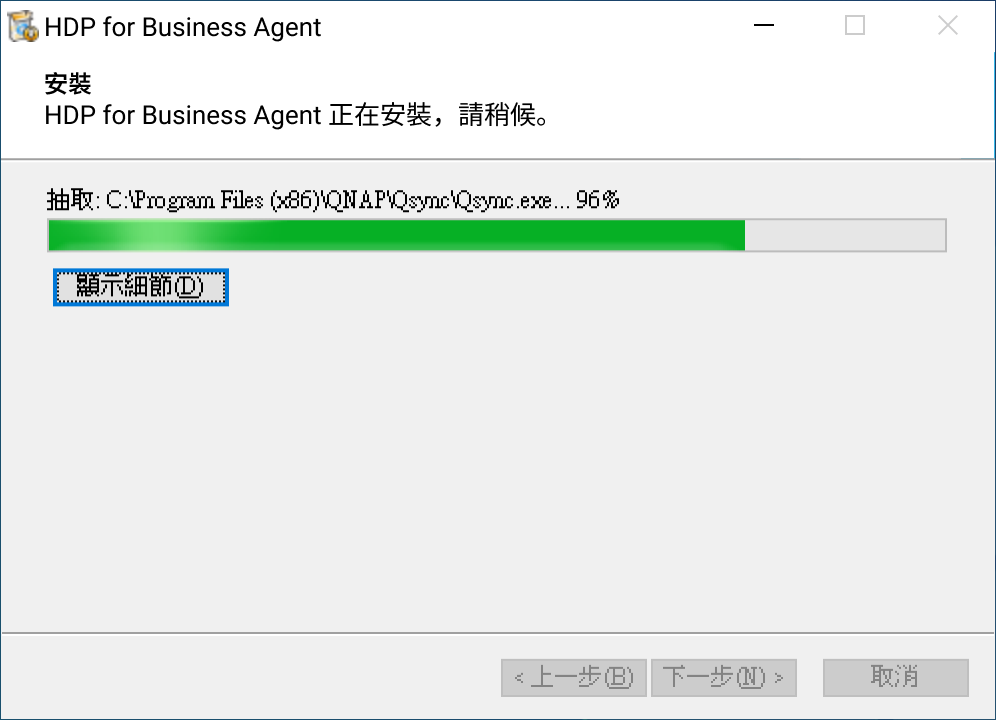
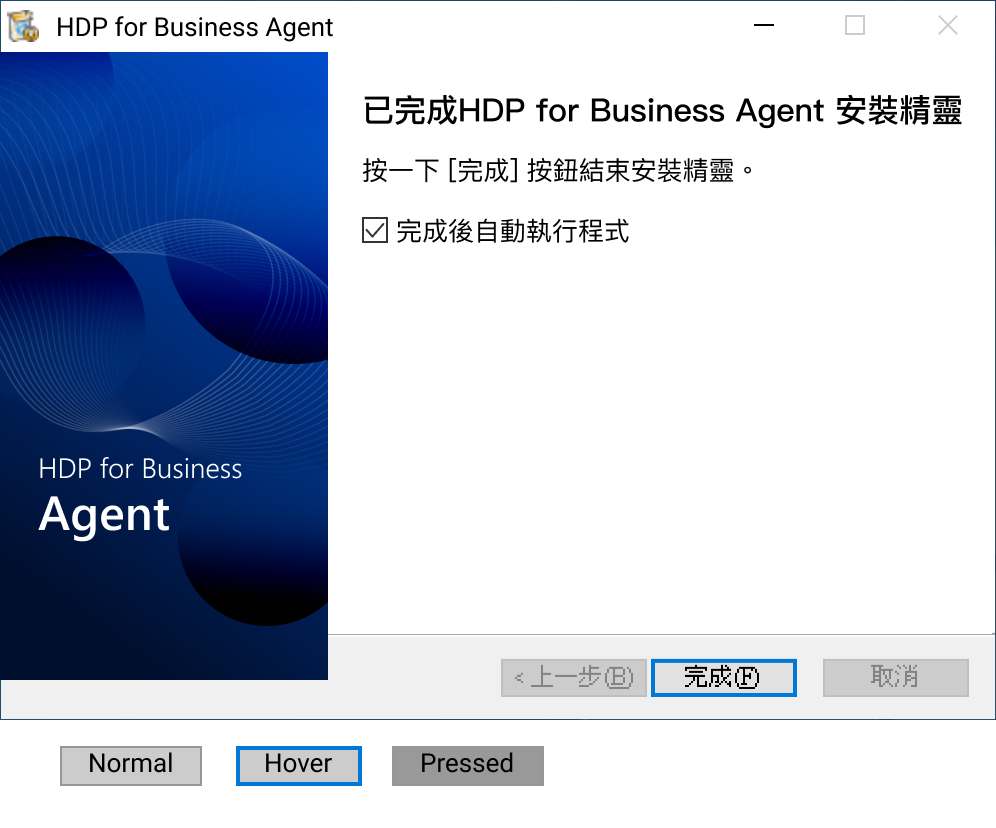
You can only upgrade an existing installation. Reinstalling the same version and downgrading to an earlier version are not supported.
Step 3: Connect to the Management Server
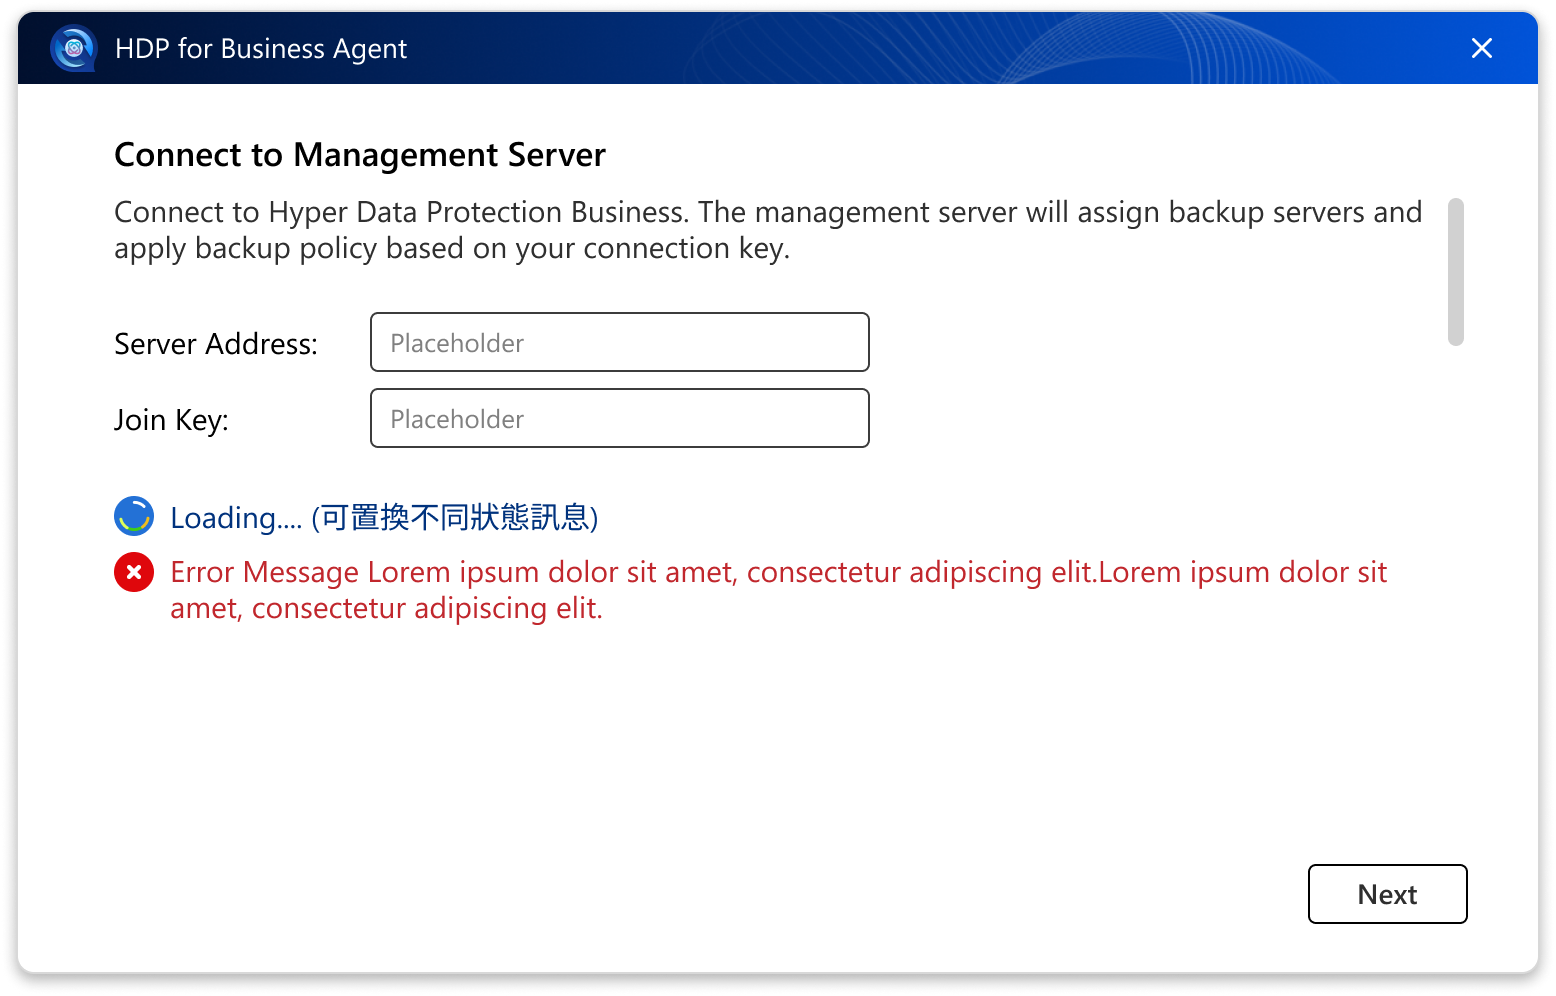
The agent opens the Connect to Management Server screen on its first run.
- In Server Address, enter the host name or IP address of the Management Server, with an optional port number, for example
nas-01,10.77.216.185, or10.77.216.185:11443. Do not includehttp://orhttps://. - In Join Key, paste the key you copied in Step 1.
- Click Next.
- If a certificate confirmation window appears, click Continue.
Connecting over HTTPS
If you do not specify a port number, the agent tries HTTPS on port 443 first, and then HTTP on port 8080. QNAP NAS devices use a configurable HTTPS port that is often not 443, so to make sure the connection is encrypted, enter the HTTPS port of your NAS explicitly. To find the port, go to Control Panel > System > General Settings > Secure Connection (HTTPS).
Because most NAS devices use a self-signed certificate, the agent shows a certificate confirmation window when it connects over HTTPS. This is expected. Click Continue to proceed. Your choice also applies to the Backup Server that the agent connects to afterwards.
If you enter a Join Key that belongs to a Backup Server instead of a Management Server, the agent asks you to connect to the Management Server instead.
Step 4: Review the assigned policy
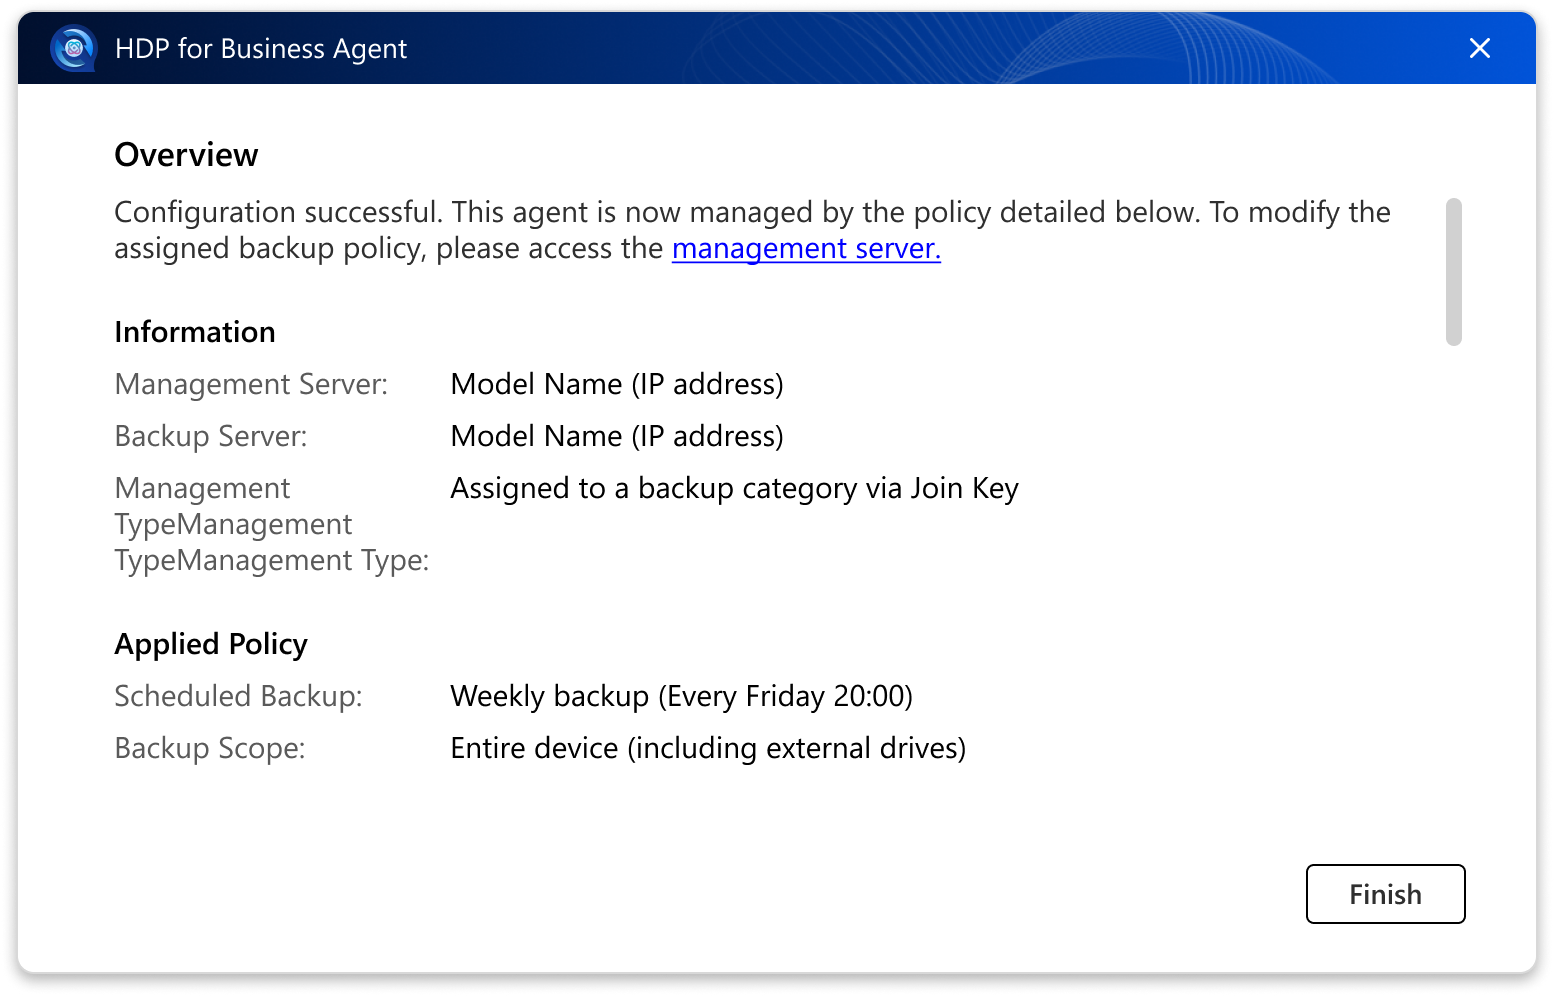
After the connection succeeds, the Overview page shows what the computer is now protected by:
- The Management Server and the Backup Server, each with its name and IP address.
- The applied policy, its backup schedule, and its backup scope.
Click Finish to close the wizard.
Step 5: Check the backup status from the system tray
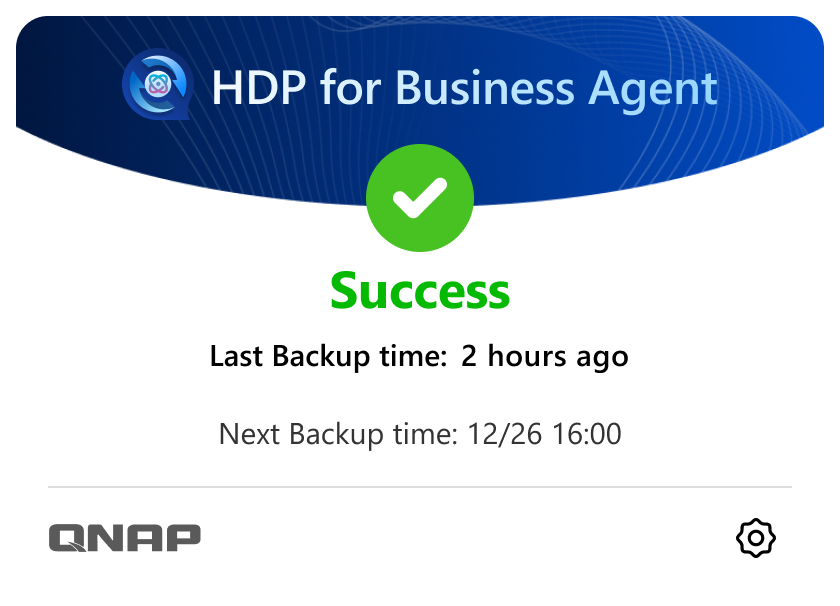
After setup, the agent adds an icon to the Windows system tray and starts automatically when the computer boots. Click the icon to open the status panel.
| Status | What the panel shows |
|---|---|
| Not started yet | No backup has run yet. The next backup time is shown. |
| Running | A backup is in progress, with a progress bar. The panel shows Finalizing after the data transfer completes. |
| Success | The backup completed. The last and next backup times are shown. |
| Warning | The backup completed with warnings. |
| Error | The backup failed. Open the Logs page for details. |
| Queued | The backup is waiting to run. |
| Stopped | The backup was stopped. The last backup time is shown. |
| Disabled | The backup job is disabled. Enable it again on the Management Server. |
| Network Reconnecting | The network connection was lost. The agent reconnects automatically. |
Note: Installing on a Computer Without Internet Access
HDP for Business Agent runs on the .NET 10.0 runtime. The installer downloads the required components from Microsoft during installation. If the computer has no internet access, install the following components manually before you run the agent installer.
- ASP.NET Core Runtime 10.0
- .NET Runtime 10.0
- .NET Desktop Runtime 10.0
- On a computer with internet access, download the three x64 installers for Windows from the Microsoft .NET 10.0 download page.
- Copy the installers to the offline computer and install all three components.
- Run the HDP for Business Agent installer. When the installer asks whether the .NET runtime components are already installed, click OK to continue.
Install all three components. The agent service requires ASP.NET Core Runtime and .NET Runtime, and the agent user interface requires .NET Desktop Runtime. If .NET Desktop Runtime is missing, the installation still finishes, but the agent prompts you to update .NET when it starts.
Result
The Windows computer is now a protected workload in HDP for Business. To confirm this:
- The computer appears on the Physical Device page of the Management Server, bound to the Backup Server and the policy of the Join Key.
- The system tray panel shows the next backup time, and shows Success after the first backup completes.
- The backup appears in Activities on the Management Server.
What's Next
Để được hỗ trợ thêm, hãy hỏi những người dùng khác và chuyên gia QNAP trong cộng đồng. Đến Cộng đồng QNAP


