Applicable Products
- HDP for Business
- HDP for Business Agent 1.0.0.1697 and later
- Windows 10 (64-bit, version 1607 or later), Windows 11
- Windows Server 2016 / 2019 / 2022 / 2025
Purpose
This tutorial shows you how to install HDP for Business Agent on a Windows computer, connect it to your Management Server with a Join Key, and confirm that the assigned backup policy is running.
Prerequisites
- HDP for Business is installed and initialized on a QNAP NAS that acts as the Management Server.
- A Backup Server and a protection policy are ready, so that you can bind them to a Join Key.
- The Windows computer runs a supported 64-bit operating system. ARM-based devices such as ARM64 Windows are not supported.
- The computer has internet access during the first installation. The installer automatically installs the .NET 10.0 runtime components that the agent requires. If the computer has no internet access, install these components manually first. See Note: Installing on a Computer Without Internet Access.
- NetBak PC Agent is not installed on the computer. The two products cannot coexist, and the installer asks you to remove the other product before it continues.
Procedure
Step 1: Create a Join Key on the Management Server
The Join Key defines which Backup Server and which policy the computer is bound to. The agent applies them automatically once it connects.
- In HDP for Business, go to Physical Device and click Add.
- Click Download Agent to download the installer, and copy the file to the Windows computer.
- Click Manage Join Key > Create.
- Select the Backup Server and the Policy to bind, then click Create.
- In the Join Key table, click Copy. The key is 64 alphanumeric characters long.
Step 2: Install the agent on the Windows computer
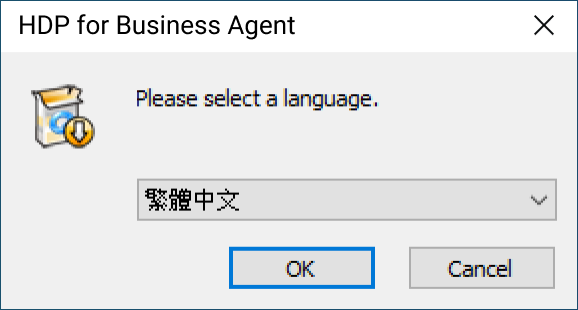
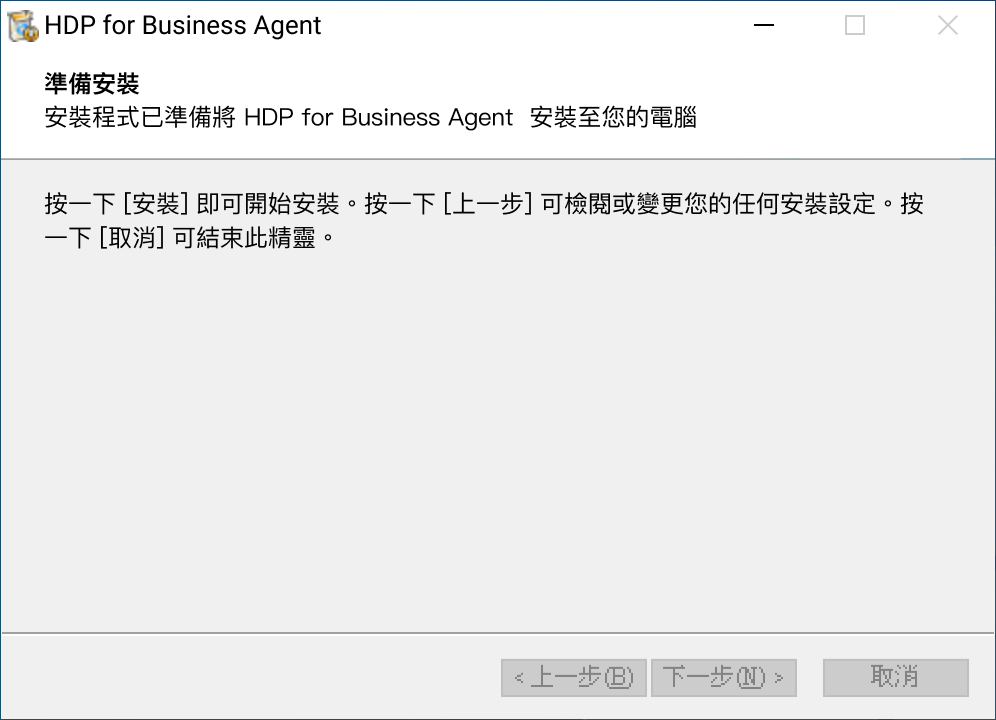
- Run the installer on the Windows computer.
- Select the installation language. Your system language is selected by default.
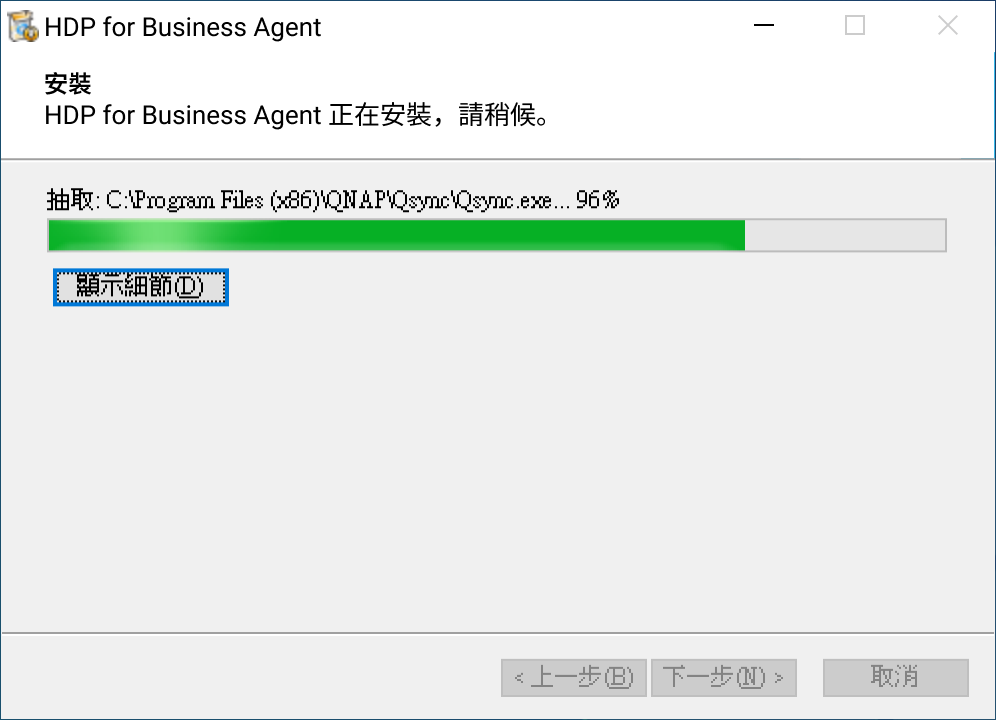
- Confirm that you want to install HDP for Business Agent, and wait for the files to be extracted to
C:\Program Files\QNAP. - When the installation finishes, keep the option to run the application selected, and close the installer.
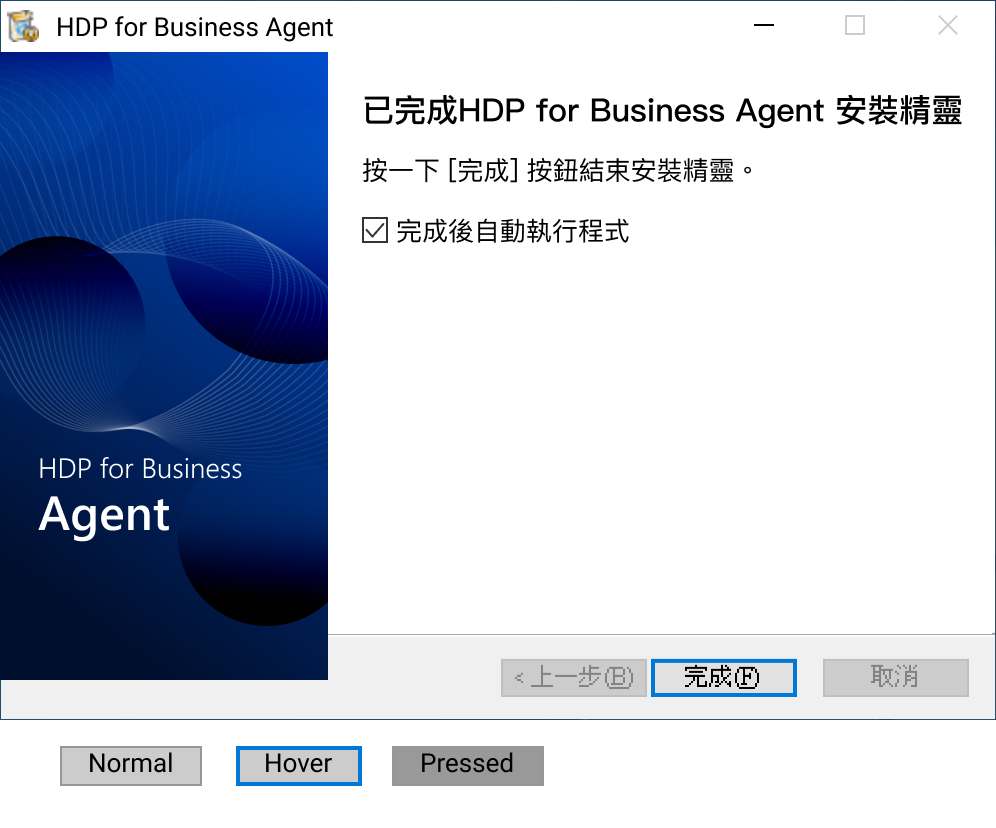
You can only upgrade an existing installation. Reinstalling the same version and downgrading to an earlier version are not supported.
Step 3: Connect to the Management Server
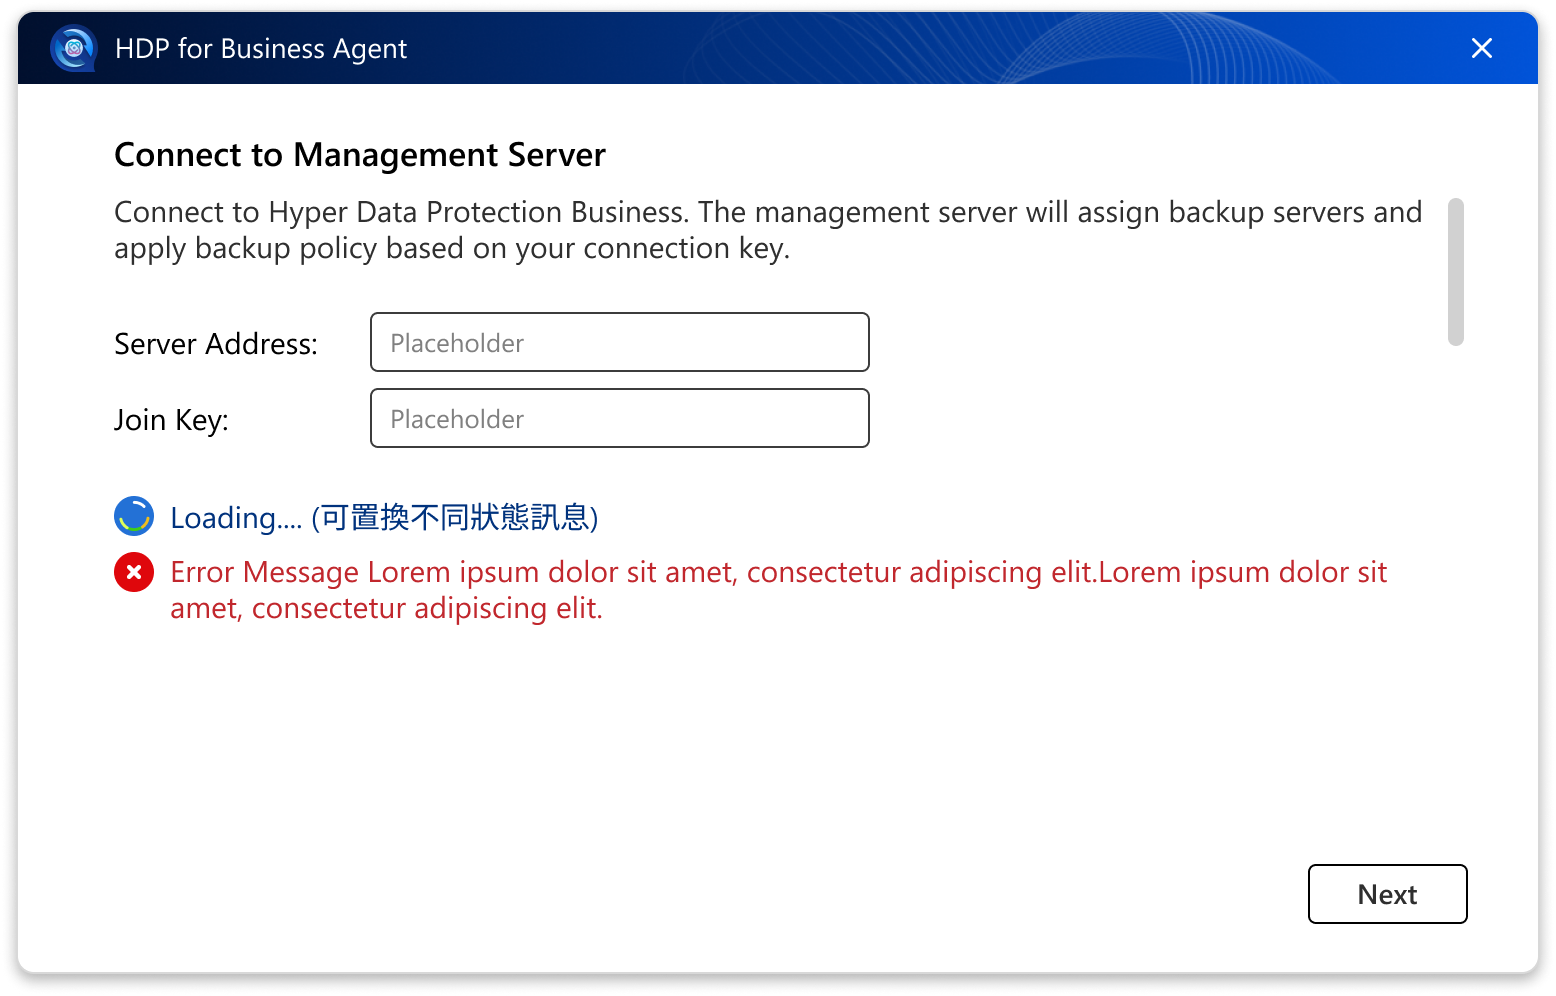
The agent opens the Connect to Management Server screen on its first run.
- In Server Address, enter the host name or IP address of the Management Server, with an optional port number, for example
nas-01, 10.77.216.185, or 10.77.216.185:11443. Do not include http:// or https://. - In Join Key, paste the key you copied in Step 1.
- Click Next.
- If a certificate confirmation window appears, click Continue.
Connecting over HTTPS
If you do not specify a port number, the agent tries HTTPS on port 443 first, and then HTTP on port 8080. QNAP NAS devices use a configurable HTTPS port that is often not 443, so to make sure the connection is encrypted, enter the HTTPS port of your NAS explicitly. To find the port, go to Control Panel > System > General Settings > Secure Connection (HTTPS).
Because most NAS devices use a self-signed certificate, the agent shows a certificate confirmation window when it connects over HTTPS. This is expected. Click Continue to proceed. Your choice also applies to the Backup Server that the agent connects to afterwards.
If you enter a Join Key that belongs to a Backup Server instead of a Management Server, the agent asks you to connect to the Management Server instead.
Step 4: Review the assigned policy
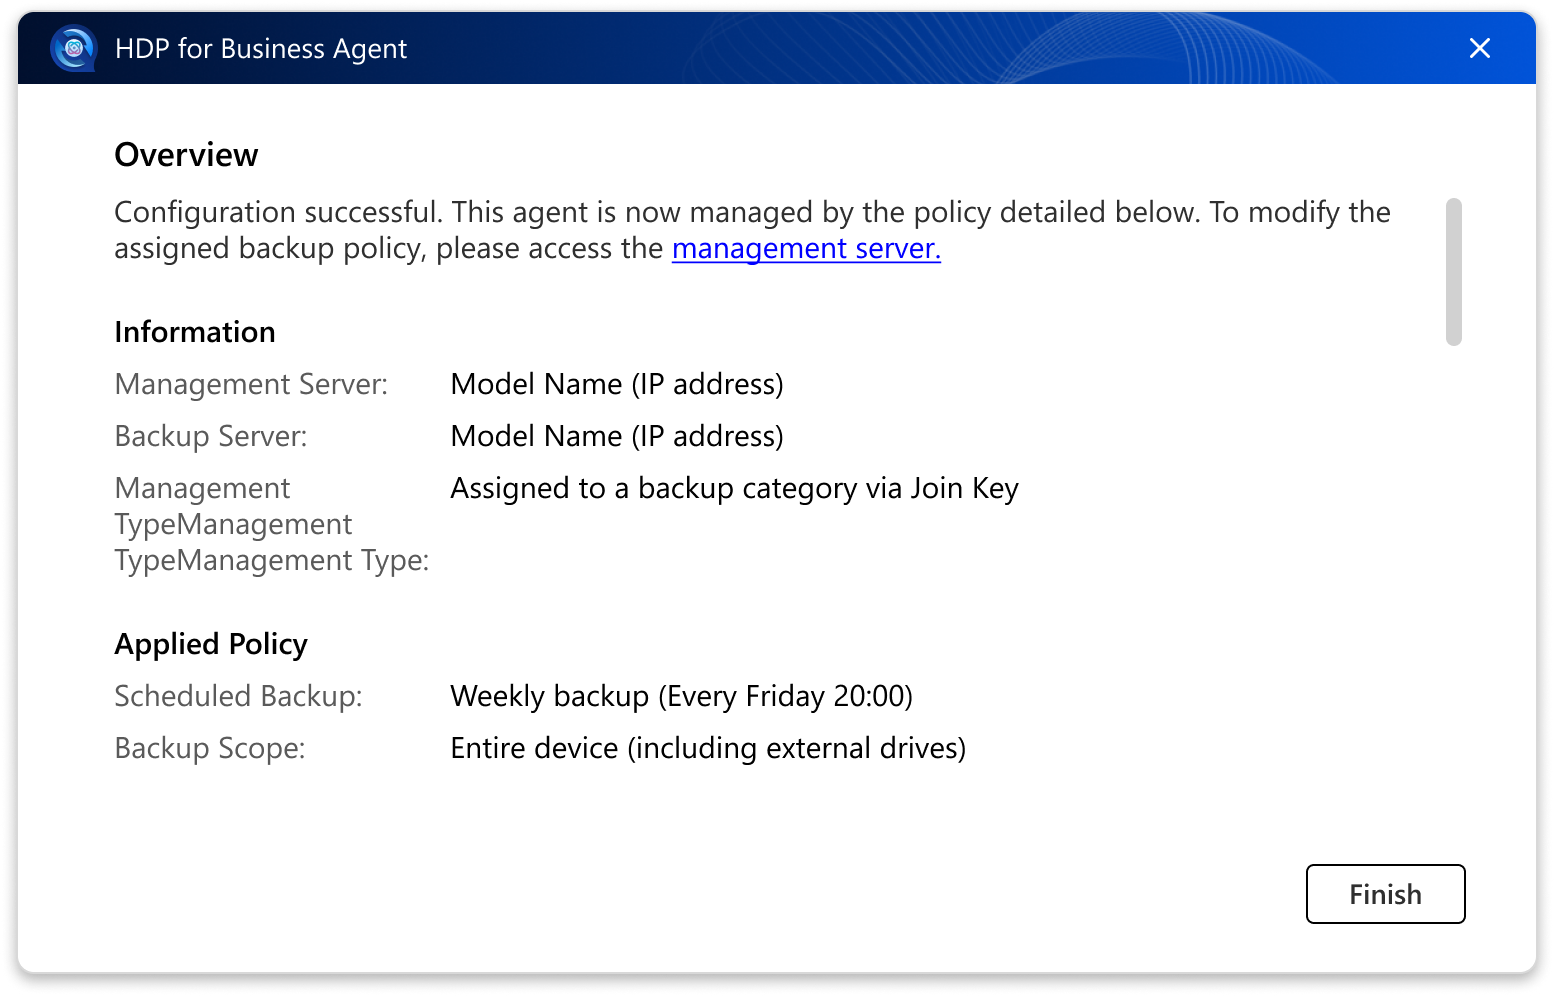
After the connection succeeds, the Overview page shows what the computer is now protected by:
- The Management Server and the Backup Server, each with its name and IP address.
- The applied policy, its backup schedule, and its backup scope.
Click Finish to close the wizard.
Step 5: Check the backup status from the system tray
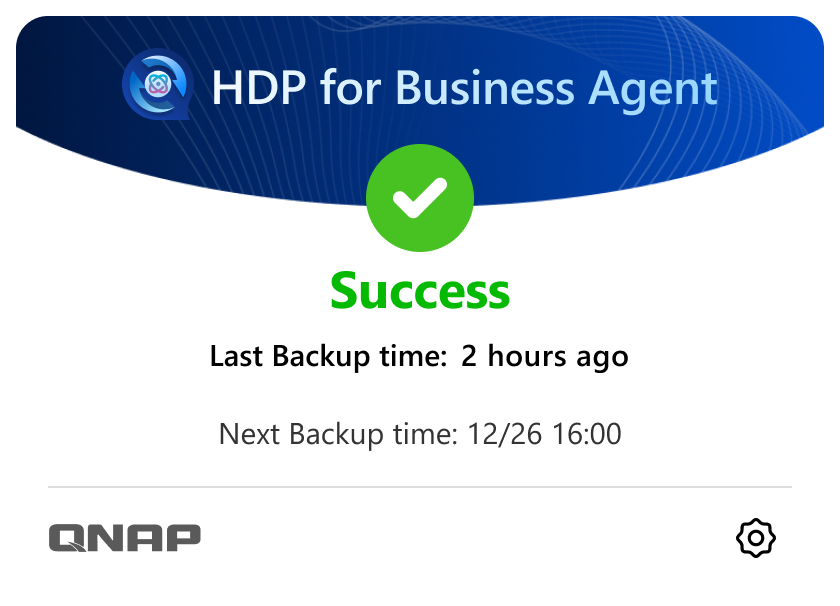
After setup, the agent adds an icon to the Windows system tray and starts automatically when the computer boots. Click the icon to open the status panel.
| Status | What the panel shows |
|---|
| Not started yet | No backup has run yet. The next backup time is shown. |
| Running | A backup is in progress, with a progress bar. The panel shows Finalizing after the data transfer completes. |
| Success | The backup completed. The last and next backup times are shown. |
| Warning | The backup completed with warnings. |
| Error | The backup failed. Open the Logs page for details. |
| Queued | The backup is waiting to run. |
| Stopped | The backup was stopped. The last backup time is shown. |
| Disabled | The backup job is disabled. Enable it again on the Management Server. |
| Network Reconnecting | The network connection was lost. The agent reconnects automatically. |
Note: Installing on a Computer Without Internet Access
HDP for Business Agent runs on the .NET 10.0 runtime. The installer downloads the required components from Microsoft during installation. If the computer has no internet access, install the following components manually before you run the agent installer.
- ASP.NET Core Runtime 10.0
- .NET Runtime 10.0
- .NET Desktop Runtime 10.0
- On a computer with internet access, download the three x64 installers for Windows from the Microsoft .NET 10.0 download page.
- Copy the installers to the offline computer and install all three components.
- Run the HDP for Business Agent installer. When the installer asks whether the .NET runtime components are already installed, click OK to continue.
Install all three components. The agent service requires ASP.NET Core Runtime and .NET Runtime, and the agent user interface requires .NET Desktop Runtime. If .NET Desktop Runtime is missing, the installation still finishes, but the agent prompts you to update .NET when it starts.
Result
The Windows computer is now a protected workload in HDP for Business. To confirm this:
- The computer appears on the Physical Device page of the Management Server, bound to the Backup Server and the policy of the Join Key.
- The system tray panel shows the next backup time, and shows Success after the first backup completes.
- The backup appears in Activities on the Management Server.
What's Next
적용되는 제품
- HDP for Business
- HDP for Business Agent 1.0.0.1697 and later
- Windows 10 (64-bit, version 1607 or later), Windows 11
- Windows Server 2016 / 2019 / 2022 / 2025
목적
이 튜토리얼은 Windows 컴퓨터에 HDP for Business Agent를 설치하고, Join Key로 관리 서버에 연결하며, 할당된 백업 정책이 실행 중인지 확인하는 방법을 보여줍니다.
필수 조건
- HDP for Business가 관리 서버 역할을 하는 QNAP NAS에 설치 및 초기화되어 있습니다.
- 백업 서버와 보호 정책이 준비되어 있어 Join Key에 바인딩할 수 있습니다.
- Windows 컴퓨터는 지원되는 64비트 운영 체제를 실행합니다. ARM64 Windows와 같은 ARM 기반 장치는 지원되지 않습니다.
- 컴퓨터는 첫 설치 시 인터넷에 연결되어 있어야 합니다. 설치 관리자는 에이전트가 필요한 .NET 10.0 런타임 구성 요소를 자동으로 설치합니다. 컴퓨터에 인터넷 연결이 없는 경우, 먼저 이 구성 요소를 수동으로 설치하십시오. 참고: 인터넷에 연결되지 않은 컴퓨터에 설치을 참조하십시오.
- 컴퓨터에NetBak PC Agent이 설치되어 있지 않습니다. 두 제품은 공존할 수 없으며, 설치 관리자는 계속하기 전에 다른 제품을 제거하라고 요청합니다.
절차
1단계: 관리 서버에서 Join Key 생성
Join Key는 컴퓨터가 바인딩될 백업 서버와 정책을 정의합니다. 에이전트는 연결되면 자동으로 이를 적용합니다.
- HDP for Business에서Physical Device로 이동하고Add를 클릭합니다.
- 설치 관리자를 다운로드하려면Download Agent를 클릭하고 파일을 Windows 컴퓨터로 복사합니다.
- Manage Join Key > Create를 클릭합니다.
- 바인딩할Backup Server와Policy를 선택한 후Create를 클릭합니다.
- Join Key 테이블에서Copy를 클릭합니다. 키는 64자리의 영숫자입니다.
2단계: Windows 컴퓨터에 에이전트 설치
- Windows 컴퓨터에서 설치 관리자를 실행합니다.
- 설치 언어를 선택합니다. 기본적으로 시스템 언어가 선택됩니다.
- HDP for Business Agent를 설치하려는 것을 확인하고, 파일이
C:\Program Files\QNAP에 추출될 때까지 기다립니다. - 설치가 완료되면, 애플리케이션 실행 옵션을 선택한 상태로 유지하고 설치 프로그램을 닫습니다.
기존 설치만 업그레이드할 수 있습니다. 동일한 버전의 재설치 및 이전 버전으로의 다운그레이드는 지원되지 않습니다.
3단계: 관리 서버에 연결
에이전트가 처음 실행될 때관리 서버에 연결화면을 엽니다.
- 서버 주소에 관리 서버의 호스트 이름 또는 IP 주소를 입력하고, 선택적으로 포트 번호를 입력합니다. 예를 들어
nas-01, 10.77.216.185, 또는10.77.216.185:11443. http://또는https://를 포함하지 마십시오. - Join Key에 1단계에서 복사한 키를 붙여넣습니다.
- 다음을 클릭합니다.
- 인증서 확인 창이 나타나면, 계속을 클릭합니다.
HTTPS를 통한 연결
포트 번호를 지정하지 않으면, 에이전트는 먼저 포트 443에서 HTTPS를 시도하고, 그 다음 포트 8080에서 HTTP를 시도합니다. QNAP NAS 장치는 종종 443이 아닌 구성 가능한 HTTPS 포트를 사용하므로, 연결이 암호화되었는지 확인하려면 NAS의 HTTPS 포트를 명시적으로 입력하십시오. 포트를 찾으려면제어판 > 시스템 > 일반 설정 > 보안 연결 (HTTPS)로 이동하십시오.
대부분의 NAS 장치는 자체 서명된 인증서를 사용하기 때문에, 에이전트가 HTTPS를 통해 연결할 때 인증서 확인 창이 나타납니다. 이는 예상된 것입니다. 계속을 클릭하여 진행합니다. 이 선택은 이후 에이전트가 연결하는 백업 서버에도 적용됩니다.
백업 서버에 속하는 Join Key를 입력하면, 에이전트는 대신 관리 서버에 연결하라고 요청합니다.
4단계: 할당된 정책 검토
연결이 성공하면, 개요페이지에 컴퓨터가 현재 보호받고 있는 내용이 표시됩니다:
- 관리 서버와 백업 서버, 각각의 이름과 IP 주소.
- 적용된 정책, 백업 일정 및 백업 범위.
마법사를 닫으려면완료를 클릭합니다.
5단계: 시스템 트레이에서 백업 상태 확인
설정 후, 에이전트가 Windows 시스템 트레이에 아이콘을 추가하고 컴퓨터가 부팅될 때 자동으로 시작됩니다. 아이콘을 클릭하여 상태 패널을 엽니다.
| 상태 | 패널에 표시되는 내용 |
|---|
| 아직 시작되지 않음 | 아직 백업이 실행되지 않았습니다. 다음 백업 시간이 표시됩니다. |
| 실행 중 | 백업이 진행 중이며, 진행률 막대가 표시됩니다. 데이터 전송이 완료되면 패널에 마무리 중이 표시됩니다. |
| 성공 | 백업이 완료되었습니다. 마지막 백업 시간과 다음 백업 시간이 표시됩니다. |
| 경고 | 백업이 경고와 함께 완료되었습니다. |
| 오류 | 백업이 실패했습니다. 자세한 내용은 로그 페이지를 엽니다. |
| 대기 중 | 백업이 실행 대기 중입니다. |
| 중지됨 | 백업이 중지되었습니다. 마지막 백업 시간이 표시됩니다. |
| 비활성화 | 백업 작업이 비활성화되었습니다. 관리 서버에서 다시 활성화하십시오. |
| 네트워크 재연결 중 | 네트워크 연결이 끊어졌습니다. 에이전트가 자동으로 다시 연결합니다. |
참고: 인터넷에 연결되지 않은 컴퓨터에 설치
HDP for Business Agent는 .NET 10.0 런타임에서 실행됩니다. 설치 관리자는 설치 중에 Microsoft에서 필요한 구성 요소를 다운로드합니다. 컴퓨터에 인터넷 연결이 없는 경우, 에이전트 설치 관리자를 실행하기 전에 다음 구성 요소를 수동으로 설치하십시오.
- ASP.NET Core Runtime 10.0
- .NET Runtime 10.0
- .NET Desktop Runtime 10.0
- 인터넷에 연결된 컴퓨터에서Microsoft .NET 10.0 다운로드 페이지에서 Windows용 x64 설치 관리자 세 개를 다운로드하십시오.
- 설치 관리자를 오프라인 컴퓨터로 복사하고 세 가지 구성 요소를 모두 설치하십시오.
- HDP for Business Agent 설치 관리자를 실행하십시오. 설치 관리자가 .NET 런타임 구성 요소가 이미 설치되어 있는지 묻는 경우, 계속하려면OK를 클릭하십시오.
세 가지 구성 요소를 모두 설치하십시오. 에이전트 서비스에는 ASP.NET Core Runtime과 .NET Runtime이 필요하며, 에이전트 사용자 인터페이스에는 .NET Desktop Runtime이 필요합니다. .NET Desktop Runtime이 없으면 설치는 완료되지만, 에이전트가 시작될 때 .NET 업데이트를 요청합니다.
결과
이제 Windows 컴퓨터가 HDP for Business에서 보호되는 작업 부하입니다. 이를 확인하려면:
- 컴퓨터가 관리 서버의물리적 장치페이지에 나타나며, 백업 서버와 조인 키의 정책에 연결됩니다.
- 시스템 트레이 패널에 다음 백업 시간이 표시되며, 첫 번째 백업이 완료되면 성공이 표시됩니다.
- 백업이 관리 서버의활동에 나타납니다.
다음 단계


