How to use Reverse Proxy to improve secure remote connections?
- About Reverse Proxy
- Requirements
- Use Reverse Proxy and a myQNAPcloud DDNS Domain Name to access your QNAP NAS
- Use Reverse Proxy and a myQNAPcloud DDNS Domain Name to access QNAP NAS Web Services
About Reverse Proxy
Reverse Proxy is a type of proxy server that retrieves resources on behalf of a client from one or more servers. These resources are then returned to the client, appearing as if they originated from the reverse proxy server itself.
Through Reverse Proxy, your NAS will be accessed through a specific port by Reverse Proxy instead of the real system port. This can prevent your system port from being public to improve overall system security.

Requirements
Your router must support port forwarding.
Your QNAP NAS must be set up to use myQNAPcloud and have a DDNS domain name.
Your QNAP NAS must have an SSL Certificate. These can be set up at myQNAPcloud > SSL Certificate.
Reverse Proxy is only supported by QNAP NAS with QTS 5.0 (and later).
You can find the Reverse Proxy settings in Control Panel > Network & File > Network Access > Reverse Proxy.

Use Reverse Proxy and a myQNAPcloud DDNS Domain Name to access your QNAP NAS
The QNAP NAS Web is the entry to let you manage your NAS, usually use https://mynas.myqnapcloud.com/ with the HTTPS default port 443 to access, you can use reverse proxy to make your connection more secure.
- Go to Control Panel > System > General Settings > System Administration.
- Check Enable secure connection (HTTPS)
- Change the Port number to a non-reserved port number (for example: 2000).

- Go to Control Panel > Network & File > Network Access > Reverse Proxy.
- Click Add.
The Add Reverse Proxy Rule window appears. - Configure the Reverse Proxy Settings.
- Protocol: Select HTTPS
- Domain: Use your myQNAPcloud DDNS domain name.
- Port number: Use 443
- Configure the Destination settings.
- Protocol: Select HTTPS.
- Port number: Use the Port Number you entered in step 3 (in this example: 2000).
- Click Apply.

- Log in to your router’s control panel and configure this port (in this example: 2000).
You can now use your myQNAPcloud DDNS domain name to access your QNAP NAS with the HTTPS default port 443 with the set port 2000.

Use Reverse Proxy and a myQNAPcloud DDNS Domain Name to access QNAP NAS Web Services
QNAP NAS can host various containers and other services that can be accessed over the internet. With reverse proxy you can make these connections more secure.
Note: This tutorial uses Container Station with a WordPress container as an example.
- Open Container Station.
- Go to the WordPress container.
- In URL you will find the container port number after the IP address (in this example: 10084).

- Go to Control Panel > Network & File > Network Access > Reverse Proxy.
- Click Add.
The Add Reverse Proxy Rule window opens. - Configure the Reverse Proxy Settings.
- Protocol: Select HTTPS
- Domain: Use your myQNAPcloud DDNS domain name.
- Port number: Use 443
- Configure the Destination settings.
- Protocol: Select HTTPS.
- Port number: Use the Port Number of the container (in this example: 10084).
- Click Apply.

- Log in to your router’s control panel and configure this port (in this example: 10084).
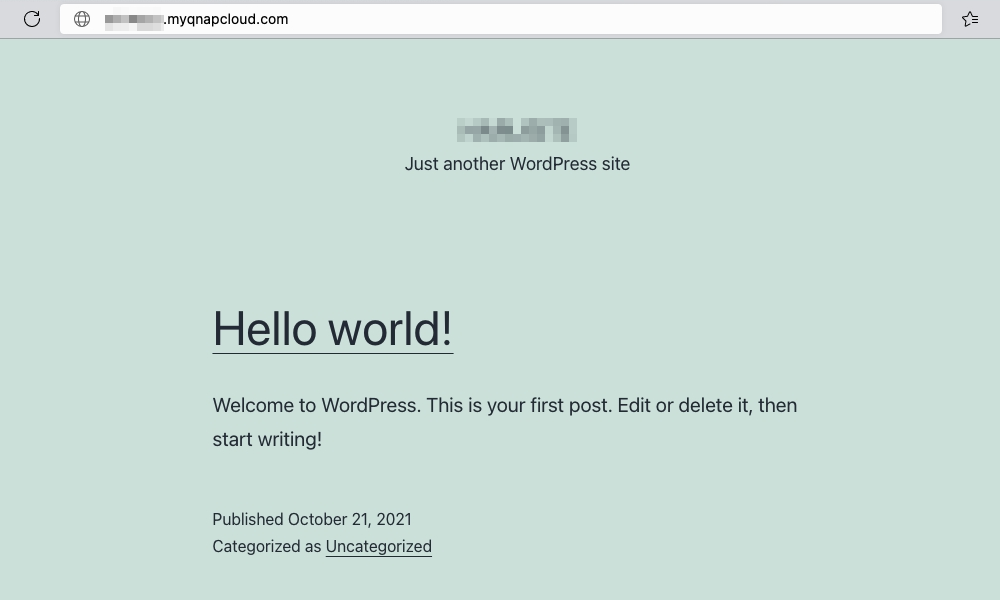
You can now use your myQNAPcloud DDNS domain name to access the WordPress site hosted by the container with the HTTPS default port 443 to the set port 10084.


