


How to replicate the files with Windows ACL from Windows file server to QNAP NAS
Last modified date:
2022-03-30
Applicable Products:
QTS 4.4.1 orlater.
The following instructions will guide you to replicate the files with Windows ACL from a Windows file server to QNAP NAS. Following instructions are tested with Windows Server 2019 and QTS 4.4.1.Windows File server and Windows AD service are running on Windows Server 2019.
- Please ensure both Windows file server and QNAP NAS are joined to the same AD domain.
- Enable Windows ACL support by Control Panel > Privilege > Shared folder > Advanced permission
- Create a shared folder by NAS admin account for storing the files with Window ACL replicated from Windows file server.

-
Mount this same folder as a network drive on Windows File Server
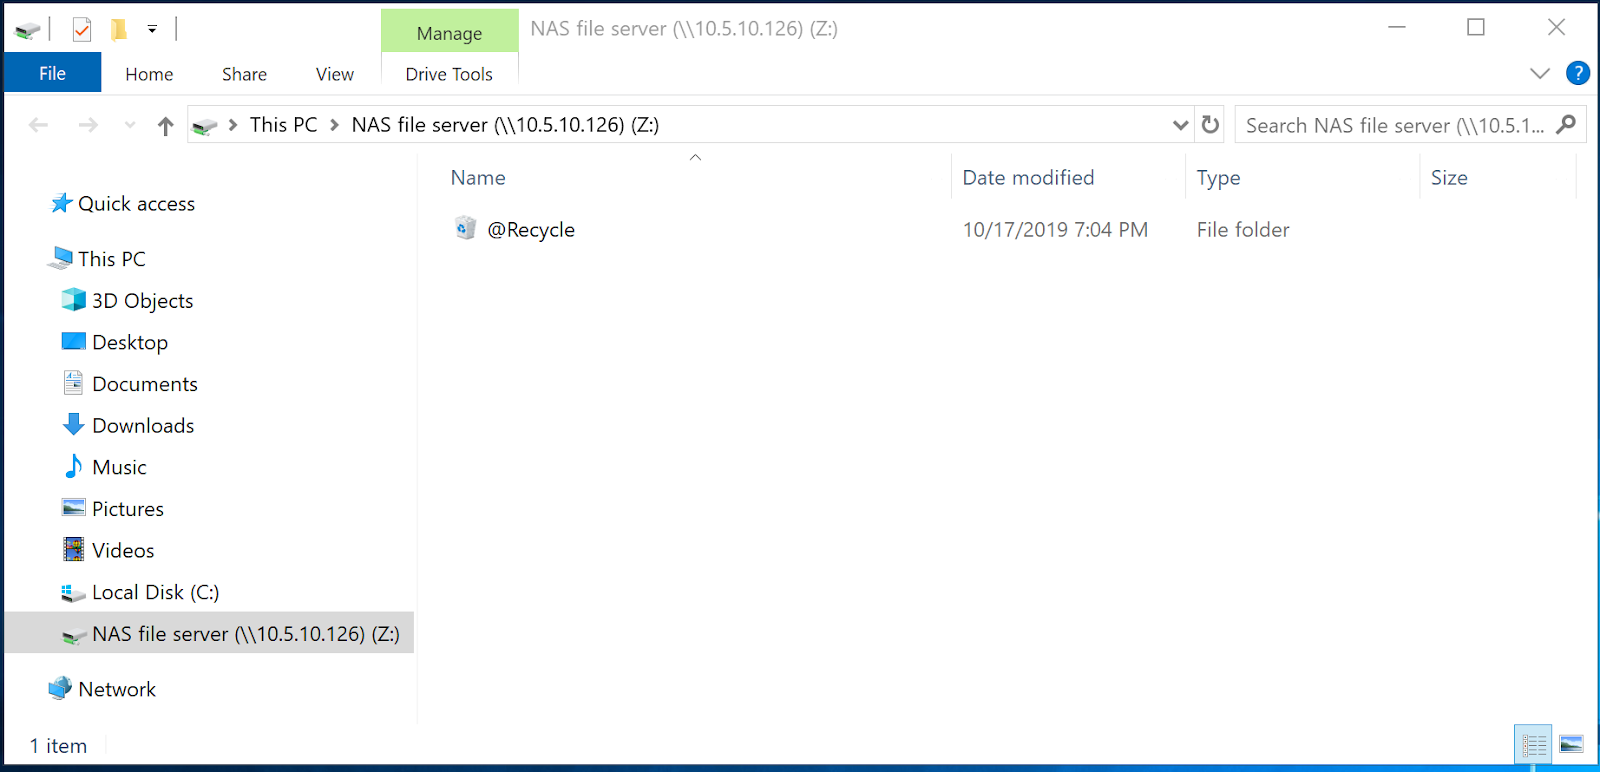
-
Edit Permission of network drive
- Right-click on network drive and Click Properties
- Find Advanced under Security tab
- Double click Everyone

- Change Applies to to This folder only

- Click Yes to when meeting warning message.
-
Download FastCopy, install and run
- Select the source folder to replicate the files from
- Selectthe network drive as the destination folder
- Enable ACL
- Click Execute

FastCopy will start to replicate the files with Window ACL from Windows file server to QNAP NAS
Để được hỗ trợ thêm, hãy hỏi những người dùng khác và chuyên gia QNAP trong cộng đồng. Đến Cộng đồng QNAP


