


How to replicate the files with Windows ACL from Windows file server to QNAP NAS
최신 업데이트일:
2022-03-30
Applicable Products:
QTS 4.4.1 orlater.
The following instructions will guide you to replicate the files with Windows ACL from a Windows file server to QNAP NAS. Following instructions are tested with Windows Server 2019 and QTS 4.4.1.Windows File server and Windows AD service are running on Windows Server 2019.
- Please ensure both Windows file server and QNAP NAS are joined to the same AD domain.
- Enable Windows ACL support by Control Panel > Privilege > Shared folder > Advanced permission
- Create a shared folder by NAS admin account for storing the files with Window ACL replicated from Windows file server.

-
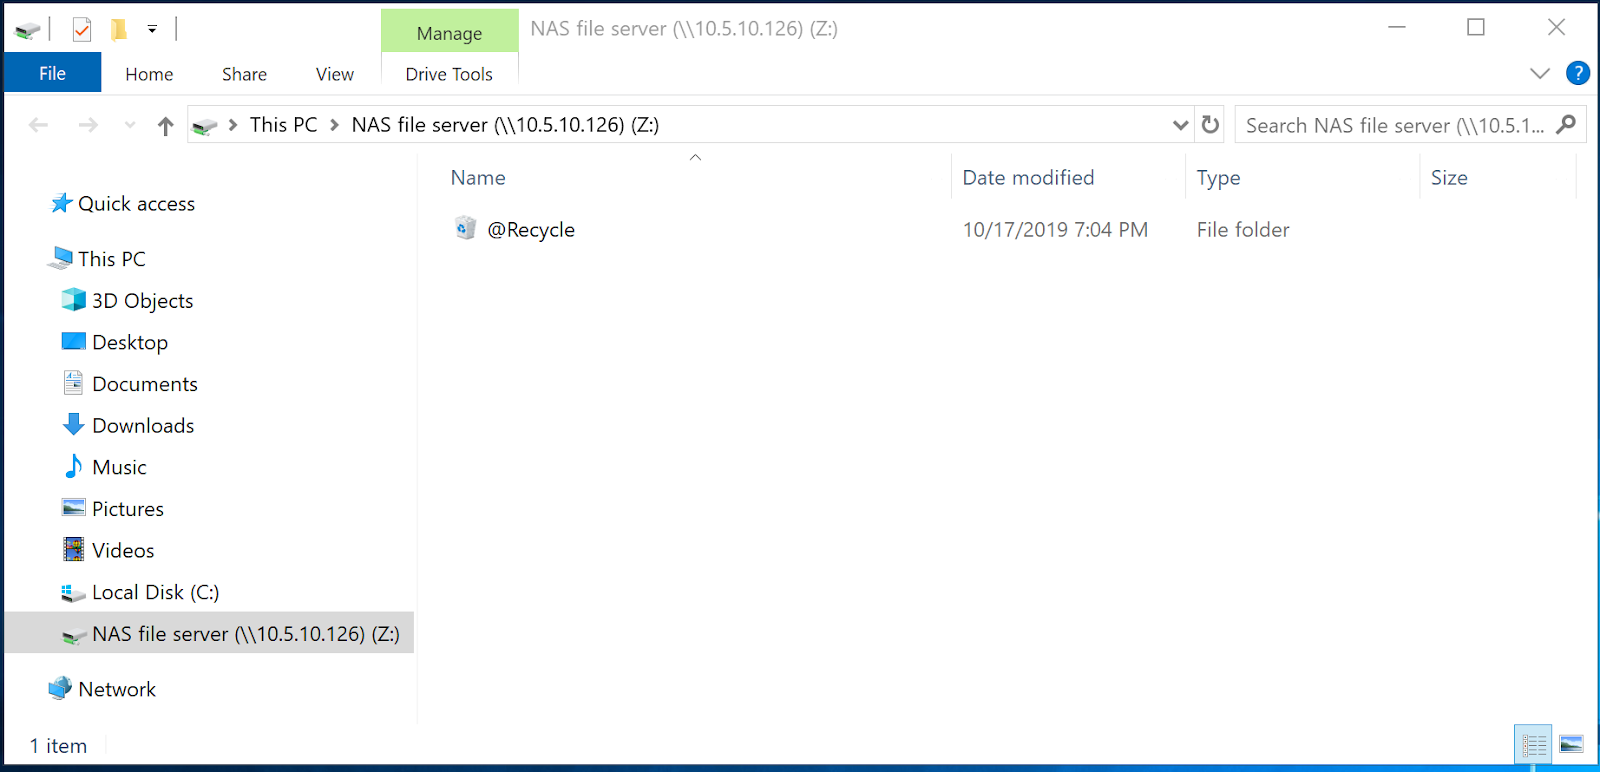
Mount this same folder as a network drive on Windows File Server
-
Edit Permission of network drive
- Right-click on network drive and Click Properties
- Find Advanced under Security tab
- Double click Everyone

- Change Applies to to This folder only

- Click Yes to when meeting warning message.
-
Download FastCopy, install and run
- Select the source folder to replicate the files from
- Selectthe network drive as the destination folder
- Enable ACL
- Click Execute

FastCopy will start to replicate the files with Window ACL from Windows file server to QNAP NAS
추가 도움이 필요하시면 커뮤니티에서 다른 사용자 및 QNAP 전문가에게 문의해 보세요. QNAP 커뮤니티로 이동


