How to use Plesk™ to build an email server
This tutorial assists users in setting up and using Plesk as an email server on a Windows Server virtual machine running in Virtualization Station.
What is Plesk™?
Plesk™ is a commercial web hosting platform that provides a control panel for server administrators to manage websites, email servers, databases, DNS and more through a web-based UI interface. Plesk™ also supports installing extensions such as WordPress, Docker®, Git and frameworks such as Node.js, PHP, and Python.
Prerequisites:
- A virtual machine running Windows Server (2008 R2 or later)
- A domain name
- Download the Plesk for Windows installer
Note: A license is required to use Plesk™. A free trial is also available from their website.
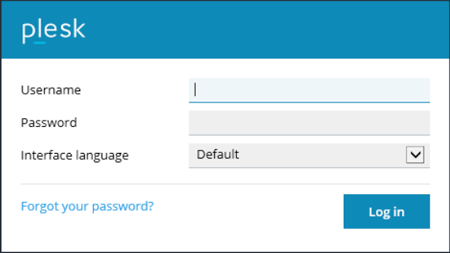
- Launch the Windows Server remote desktop and run plesk-installer.exe. Enter the Windows Server Login name and Password and click “Log in”.

- Click “Install or Upgrade Product” and select the latest install version (as of publishing this document, “Plesk Onyx 17.5.3” is the latest version). Click “Continue”.

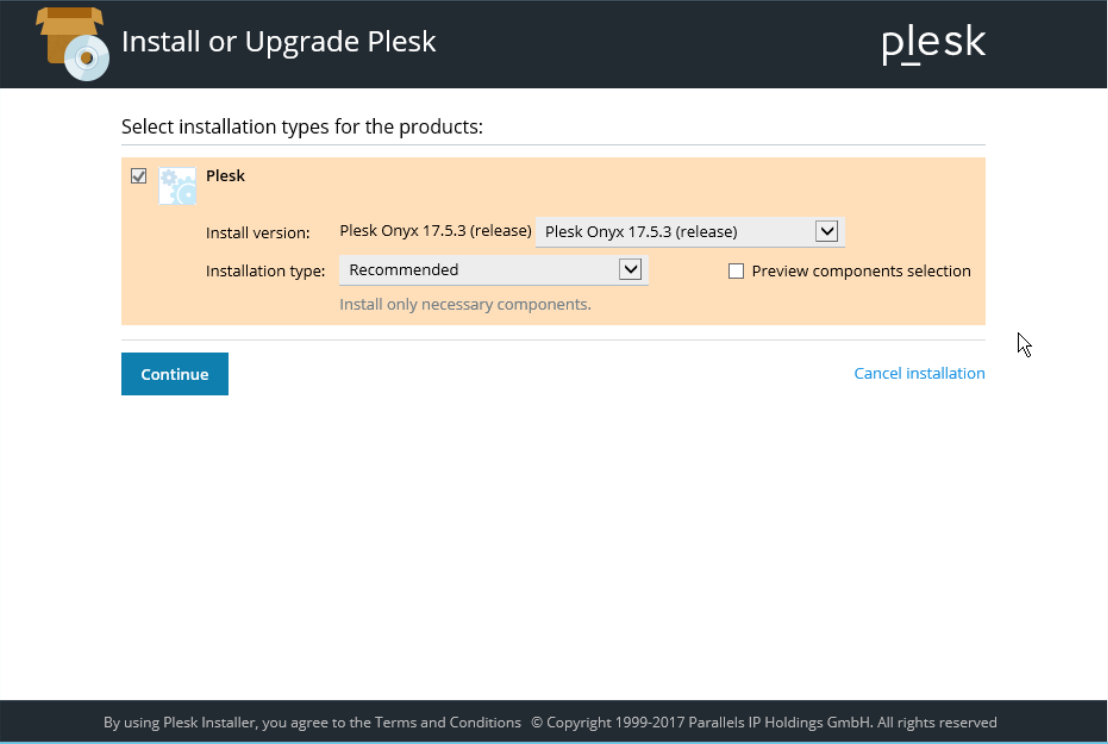
- Confirm the installation directory and enter a password. Click “Continue” to install Plesk™.

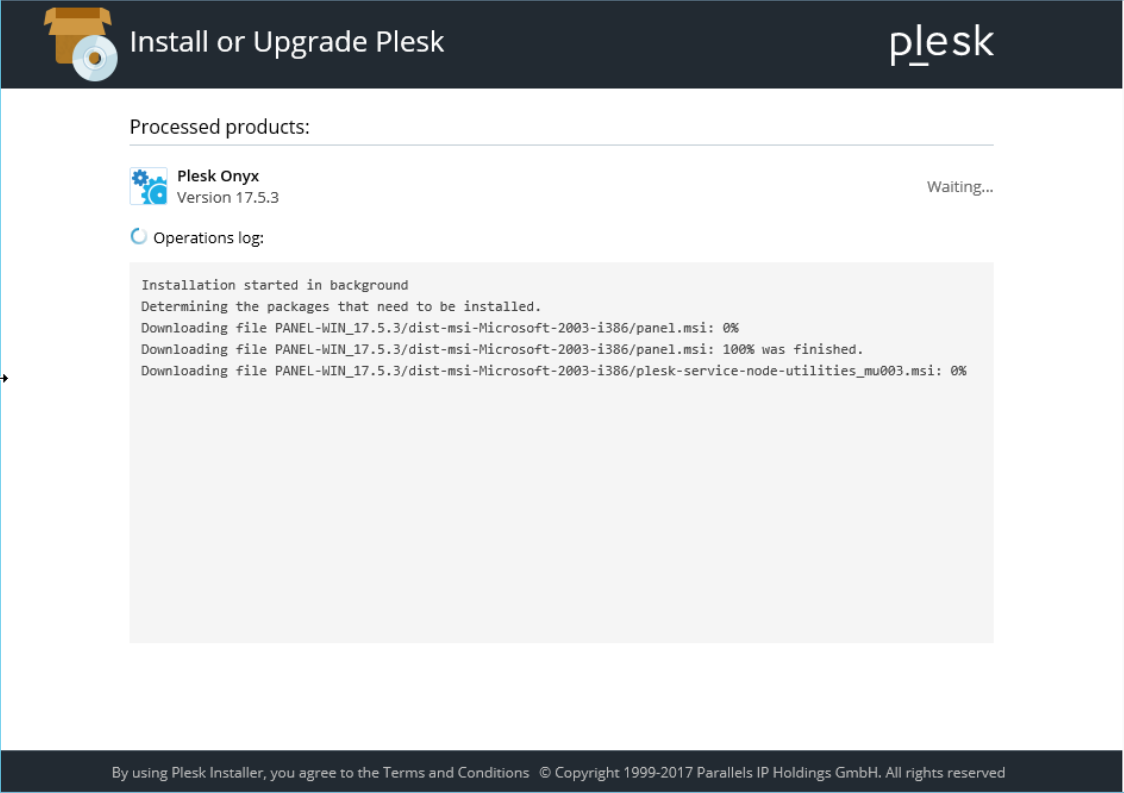
- Once Plesk™ has been installed, click “OK”.

- Use Plesk™ administrator or Windows Server Username and Password to log in.
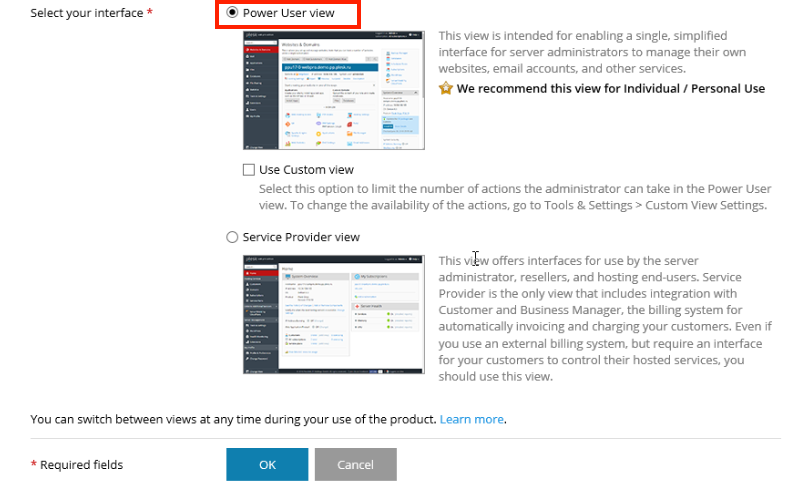
- Select “Individual /Personal Use” and “Power User view”. Click “OK”.
This will customize your web interface configuration. For more information regarding the Plesk™ GUI, consult the Plesk documentation.

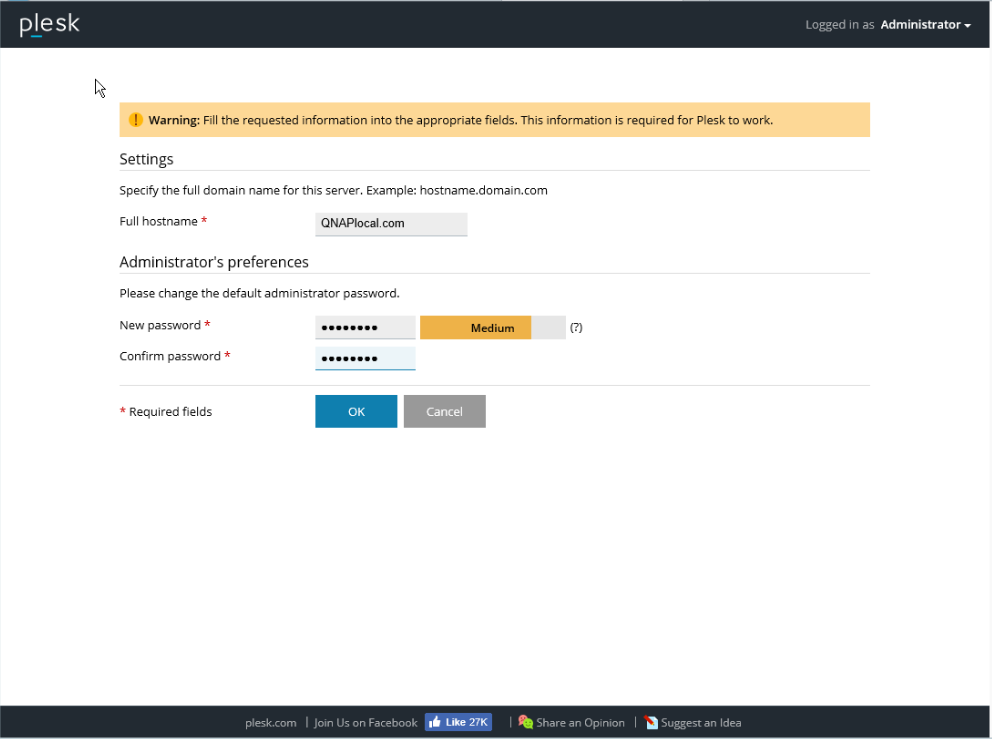
- Enter a domain name for the Windows Server and a change the password for the Plesk administrator. Click “OK”.
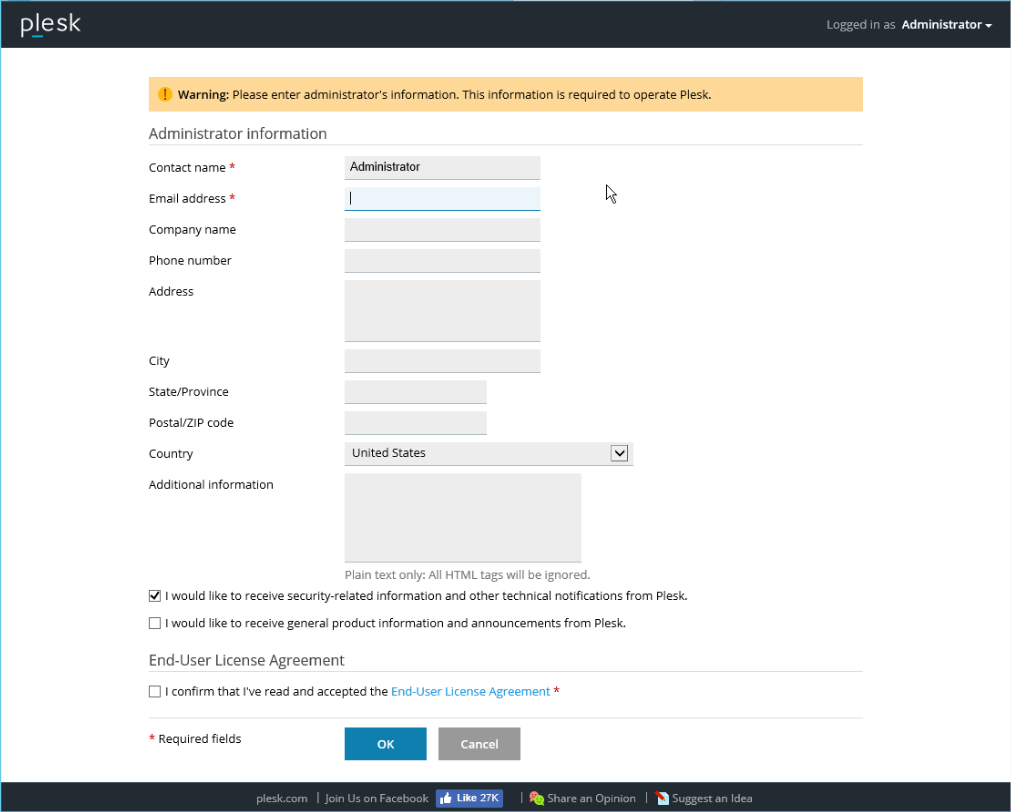
- Enter the administrator information and click “OK”.
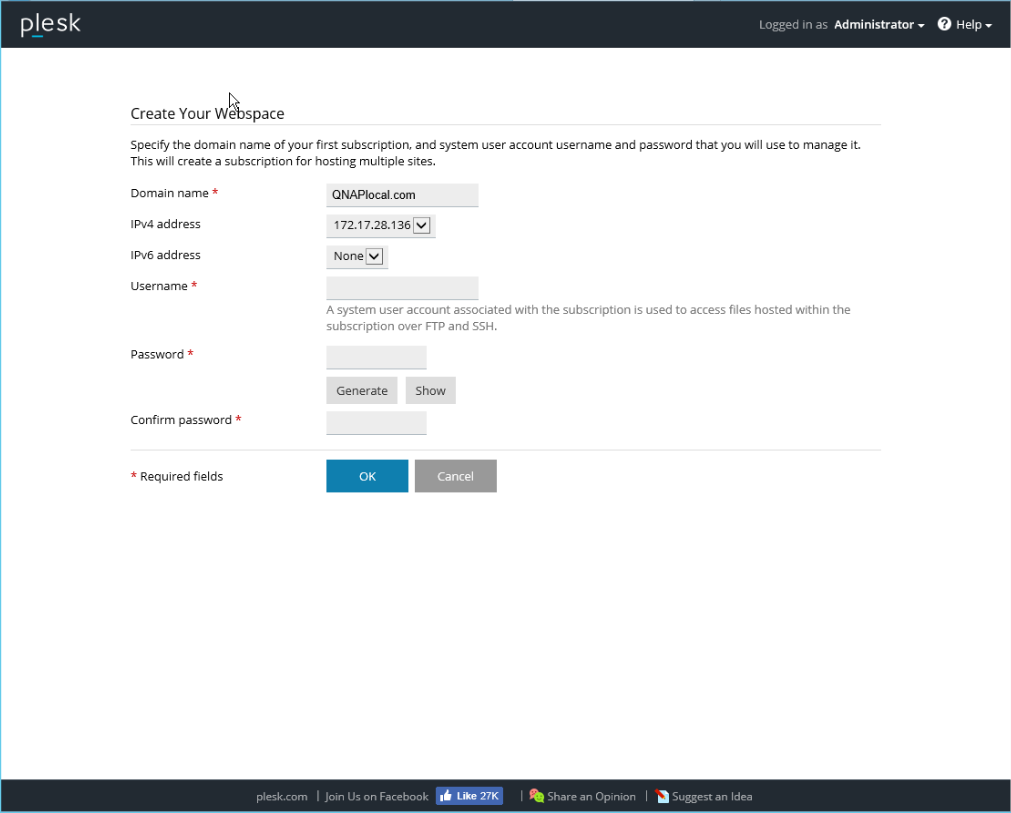
- Enter the domain name, IP address, and the log in credentials to create a web space. Click “OK”.
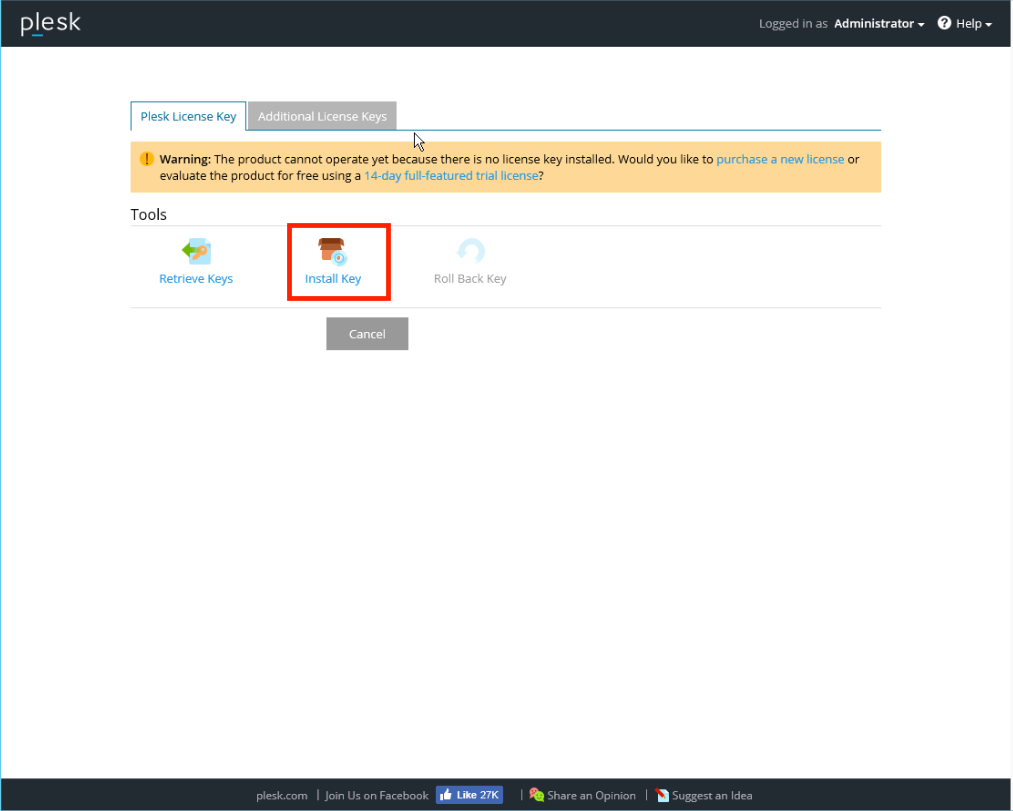
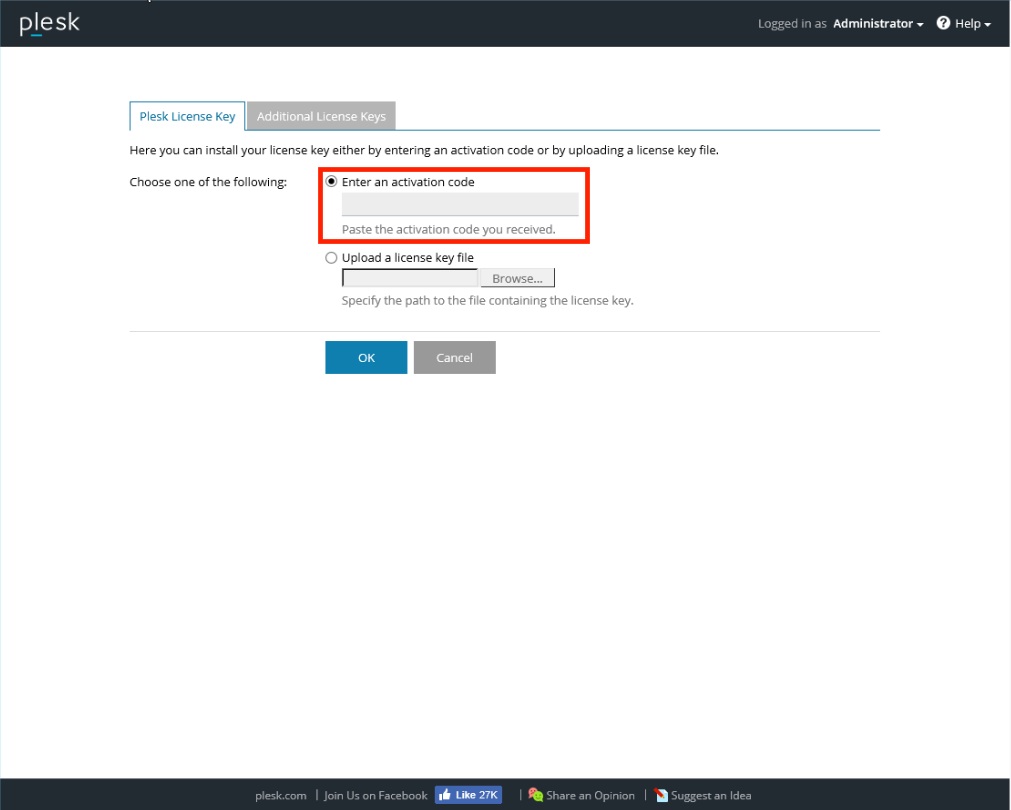
- Click “Install Key” and enter the Plesk activation code. Click “OK”.
If you do not have a Plesk activation code, you can apply for a free trial license for testing purposes.
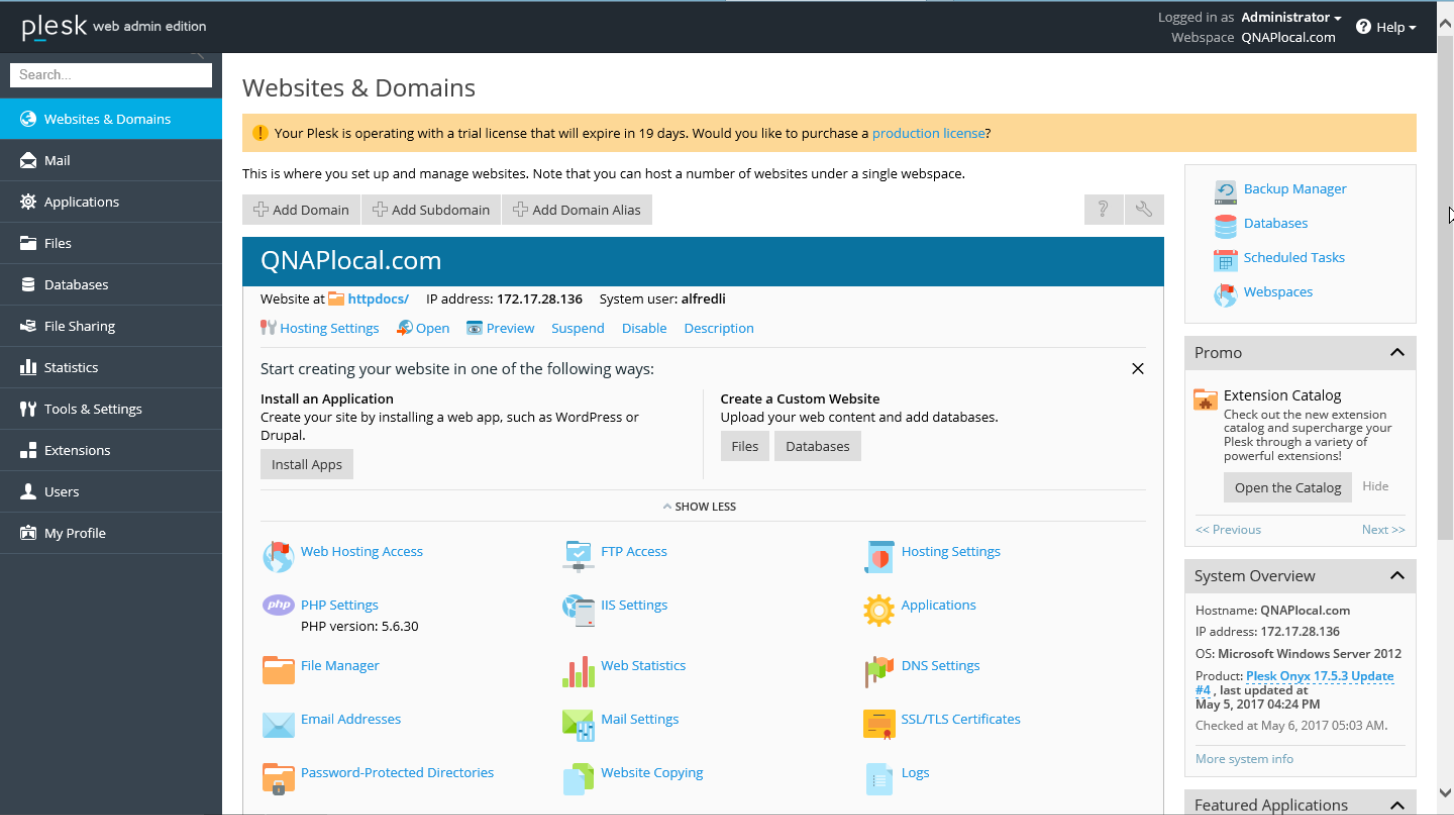
- Enter the Plesk™ web interface. You can manage the websites and domains of Windows Server.
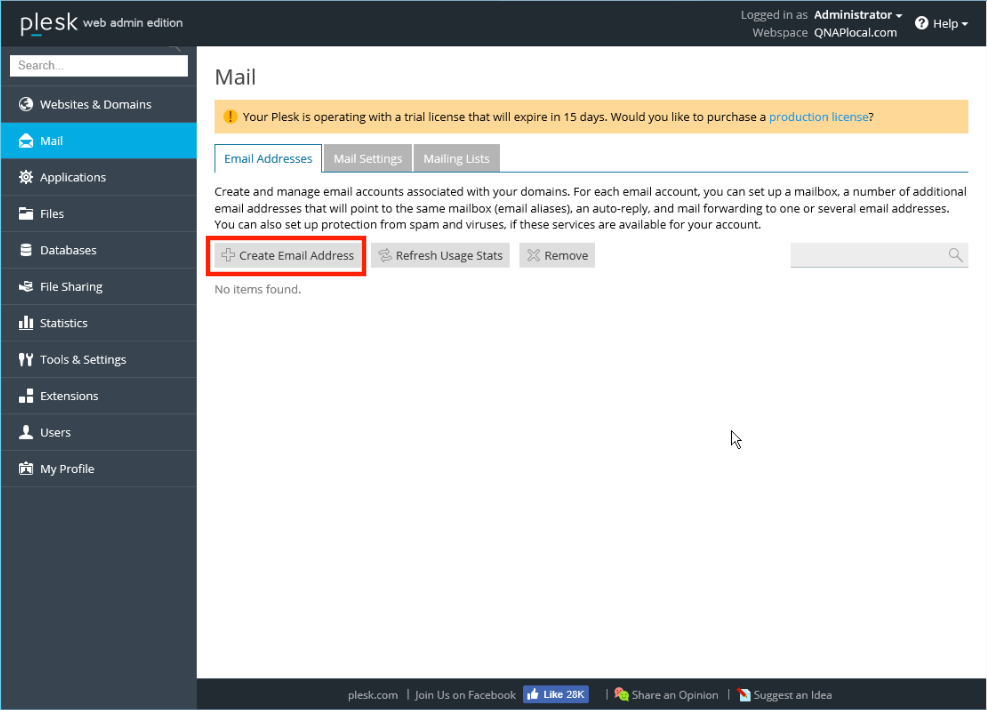
- Click “Mail” on the left menu. Click “Create Email Address”.
- Specify an email address. You can also set a limit for the mailbox space. Click “OK”.

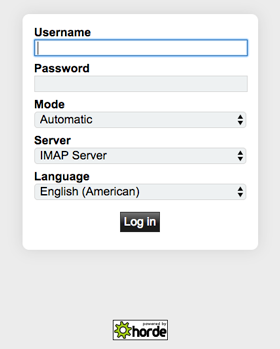
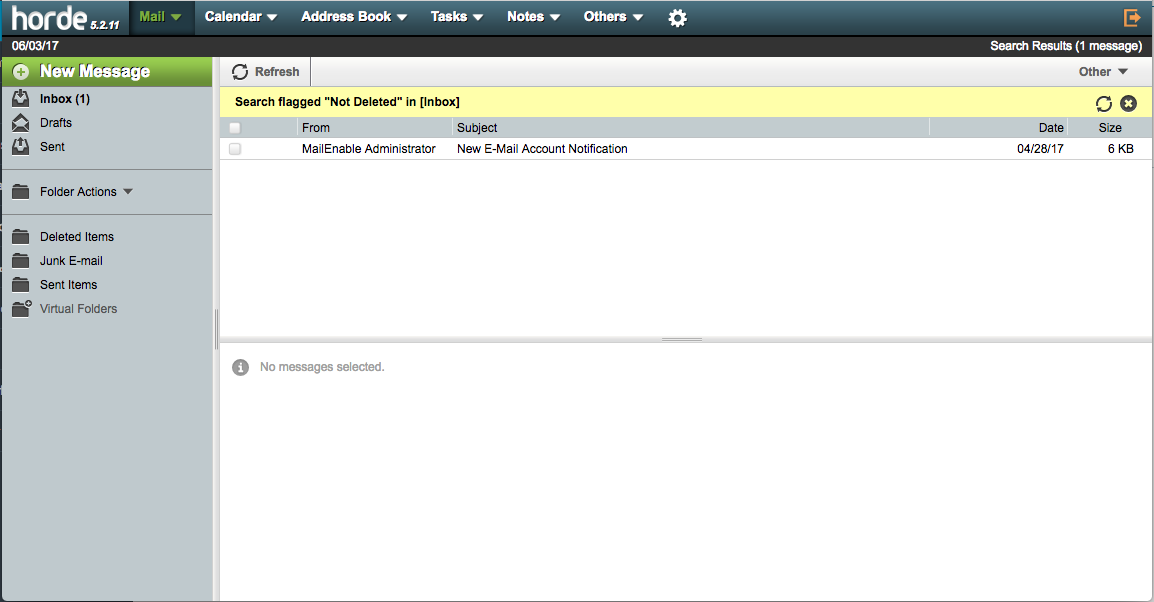
- Open a new web browser tab and go to “webmail.yourdomain.com”. A webmail page will be opened. Log in with the account details you created.
Other configurations (optional)
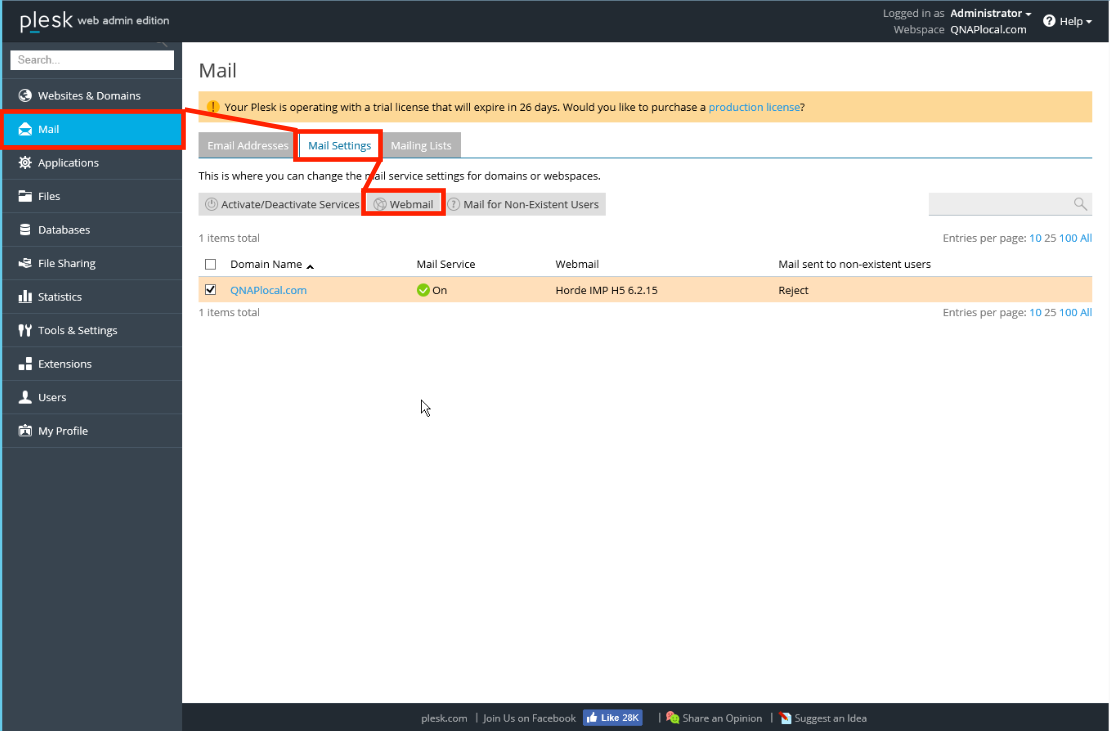
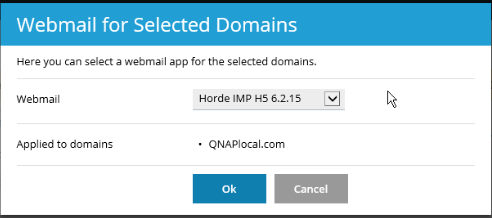
- Email client services in Windows Server only support Horde IMP H5. Linux-based servers support Horde IMP H5 and Roundcube.
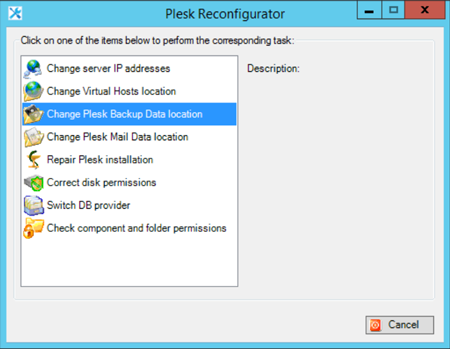
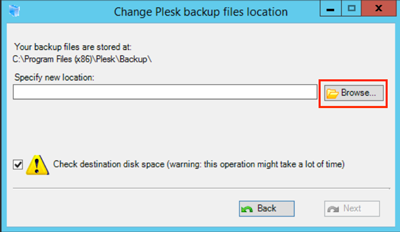
- If you need to modify the data storage location, go to Windows Server and launch “Plesk Reconfigurator” > “Change Plesk Backup Data location”. Click “Browse…” to specify a new location and click “Next”.
You can mount NAS shared folders or use iSCSI initiator to leverage NAS storage capacity. Click here for more information on using an iSCSI initiator
- If you already have a DNS management service, you can assign your Windows Server IP address to “ns1.yourdomain.com” and “ns2.yourdomain.com”. It will save the time to reconfigure original DNS settings.
References:
- https://www.plesk.com/
- https://docs.plesk.com/release-notes/onyx/software-requirements/
- https://docs.plesk.com/en-US/onyx/deployment-guide/plesk-installation-and-upgrade-on-single-server/1click-plesk-installation/installing-plesk-for-windows-in-one-click.76448/
- https://docs.plesk.com/en-US/onyx/administrator-guide/website-management/mail-settings.70616/
- https://www.qnap.com/en/how-to/tutorial/article/how-to-connect-to-your-qnap-turbo-nas-from-windows-server-2012-using-mcs


