This tutorial explains the process of transferring a virtual machine (VM) from ESXi into Virtualization Station.
- Open ESXi.
- Select an existing virtual machine.
- Select Action.
- Click Export.
The Download File window opens.
- Select the .vmdk format.
- Click Export.
ESXi prepares two export files (.ovf & .vmdk) for download. You'll need both files to import the VM into Virtualization Station.
- Open Virtualization Station.
- Import the VM file.
- Go to Overview.
- Click Import VM.
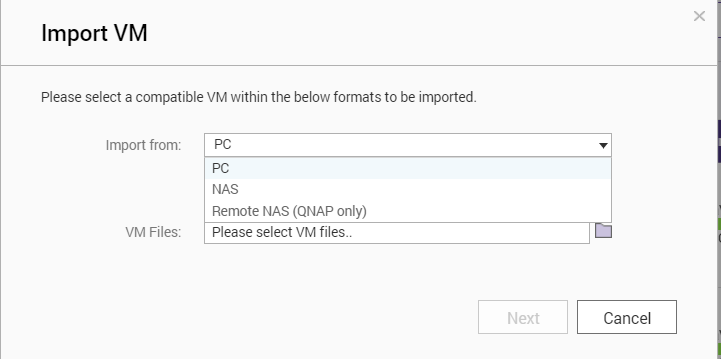
The Import VM window opens.
- Under Import from, select PC.
A file explorer window opens.
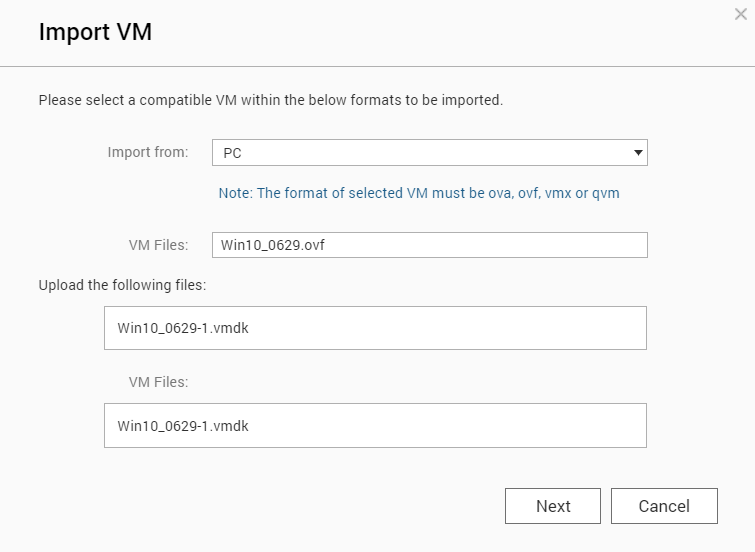
- Select the VM file.
Important:
ESXi will have created two files during export (.ovf & .vmdk).You'll need to select both during this step.
- Click Open.
The file explorer window closes.
- Click Next.
- Configure the VM settings.
|
Setting
|
Description
|
|
VM Name
|
The name used to identify the VM
|
|
Description
|
The description for the VM
|
|
CPU Cores
|
The maximum number of CPU cores available to the VM
|
|
Memory
|
The maximum amount of memory available to the VM
|
- Optional: Configure the advanced settings.
- Click Advanced Settings.
- Modify any of the following settings.
|
Setting
|
Description
|
|
CPU
|
The CPU type used by the virtual machine
Tip:
This setting is typically used when exporting the VM to another device.
|
|
Network
|
The MAC address and NIC model used by the VM
Tip:
Click  to generate a MAC address. to generate a MAC address.
|
|
Hard Disk
|
The source path, cache mode, and drive controller type used by the VM
|
- Click Import.
Virtualization Station imports the VM.
- Open Virtualization Station.
- Go to VM List.
- Select a VM.
The VM Information screen appears.
- Click
 .
.
Virtualization Station opens the VM console.


 to generate a MAC address.


