Adding a Virtual Network Interface Controller (NIC) in Virtualization Station
Last modified date:
2021-10-05
Introduction
A Virtual NIC can be used as a NIC in a virtual machine. Virtualizing a physical NIC into a visual NIC can allow a virtual machine (VM) to connect to the Internet or bridge to different network segments.
When constructing different network segments, Virtualization Station provides five different NIC modules for adding virtual Network Interface Controllers (NIC) to virtual machines including Intel Gigabit Ethernet, NE2000, PCnet32, Realtek Fast Ethernet and Virtual Gigabit Ethernet.
Steps for adding a Virtual NIC in Virtualization Station
- Log into your NAS.
- Open Virtualization Station
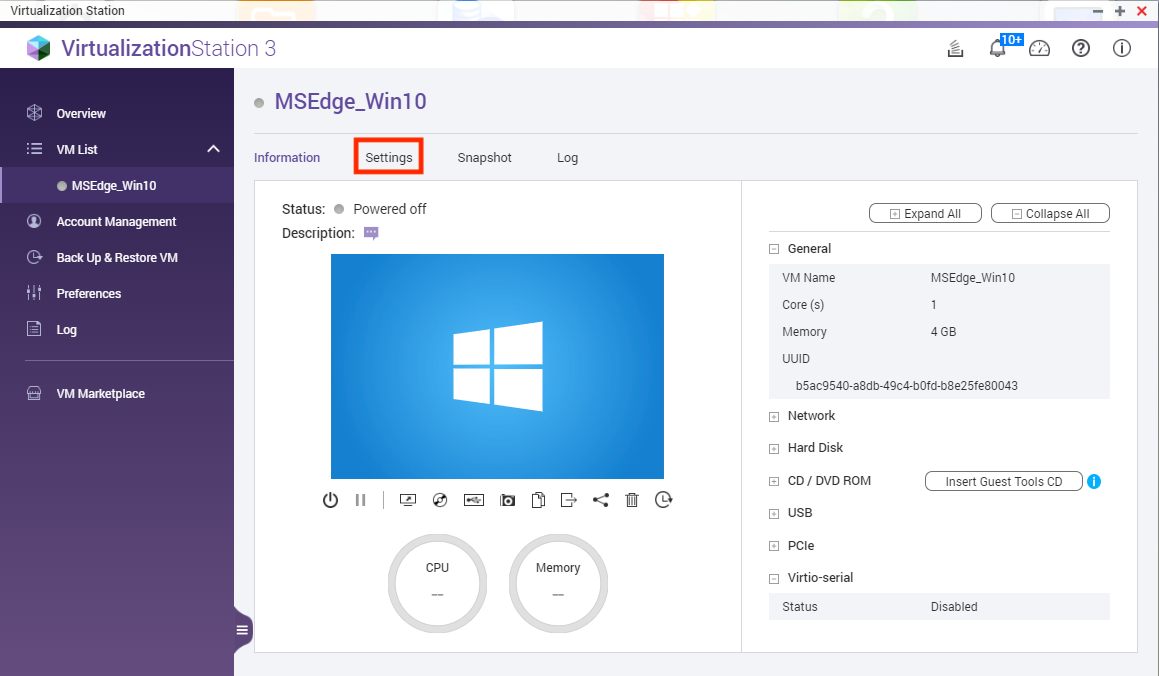
- Select the VM you will add the virtual NIC to.
- Click Settings.
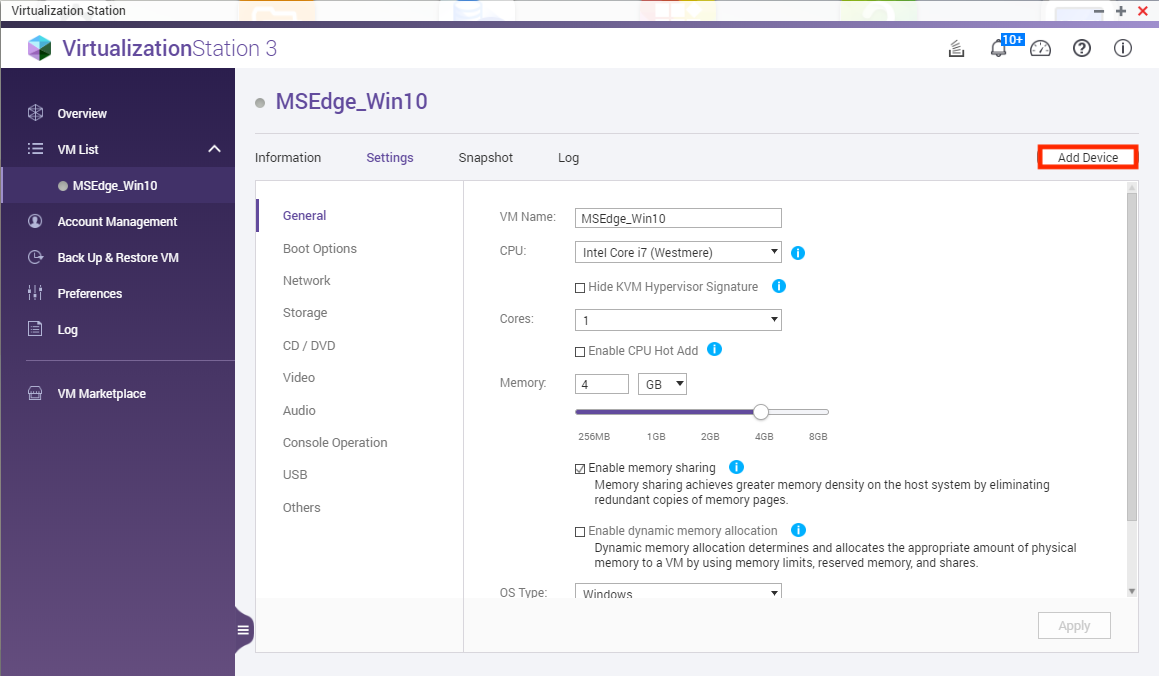
- Click Add Device.
The Add Device window opens. - Configure the device to be added.
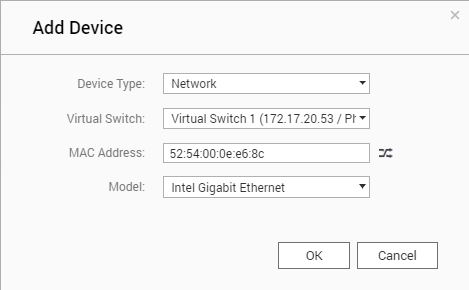
- Choose Network under Device Type.
- Select a Virtual Switch.
- Generate a MAC Address with

- Select a Model.
Tip: The model can be an NE2000, PCnet32, Realtek Fast Ethernet, Intel Gigabit Ethernet, or VirtIO.
- Click OK.
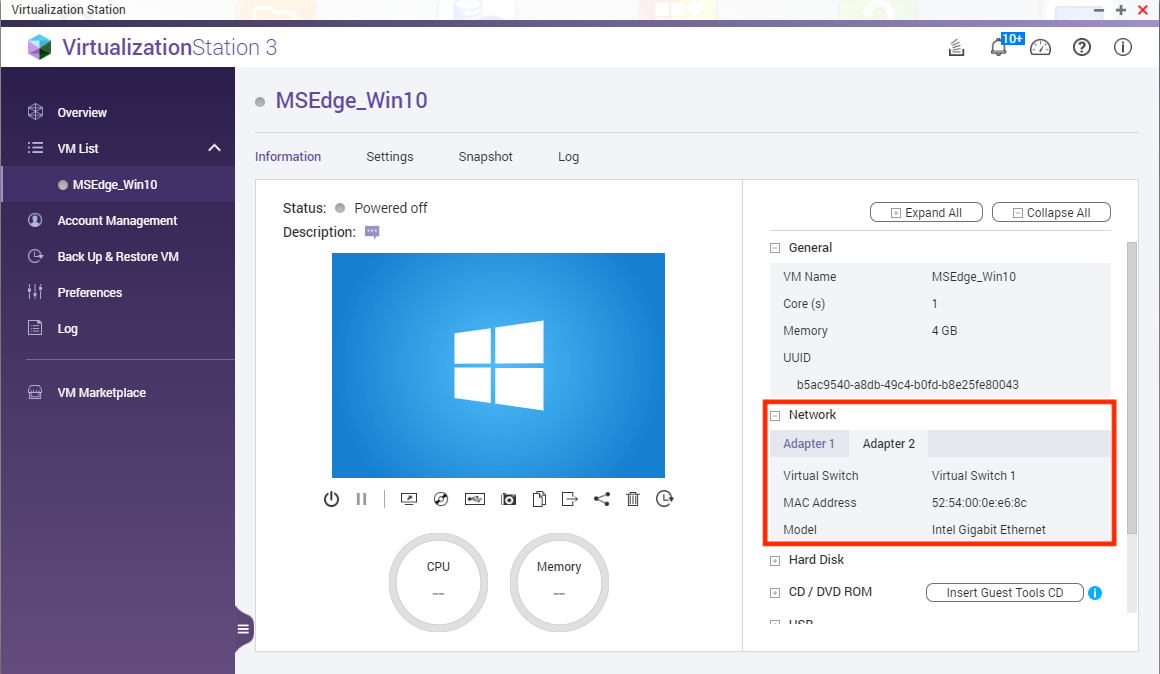
The virtual NIC is created and added to the VM.
Viewing the Virtual NIC in the VM
- Start the VM.
- Click Console to open the VM.

- Right-click on the Start menu.

- Click Device Manager.
The Device Manager app opens.
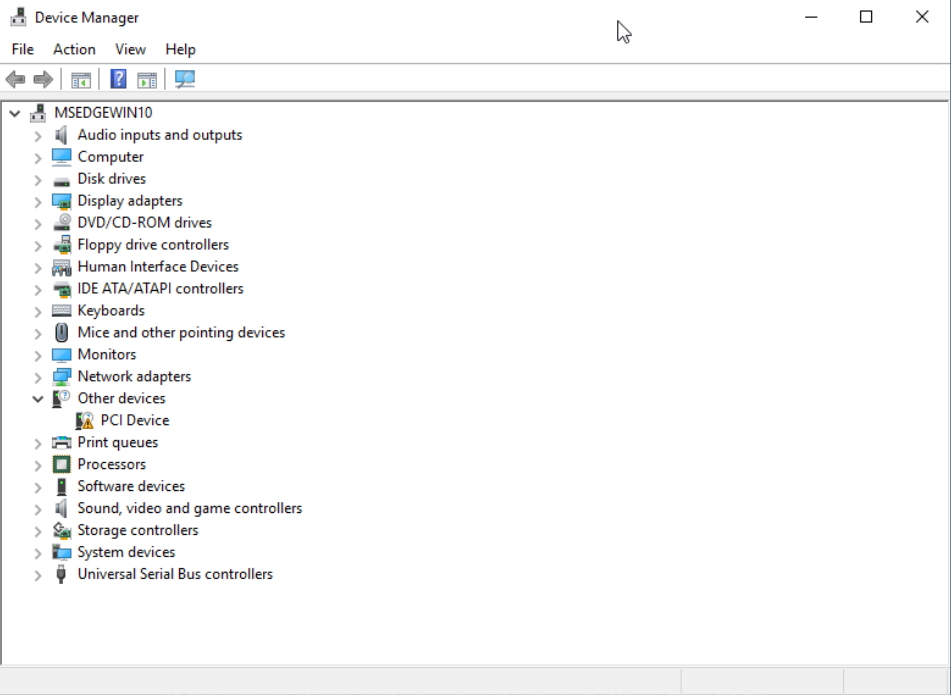
- Expand the Network adapters.
The Network adapters connected to the VM will be displayed.
Information: You may need to install a driver for the virtual NIC to operate.


