


How to use Qhora-301W replace my old router
Applicable Products:
- QHora Series
-
Things to prepare before setting up the QHora-301W router.
First, power off your old router device & remove all connection LAN cable, if your network devices have set a static IP address, please change this network device LAN setting to get IP address from the DHCP server first.
-
Connect QHora-301W router
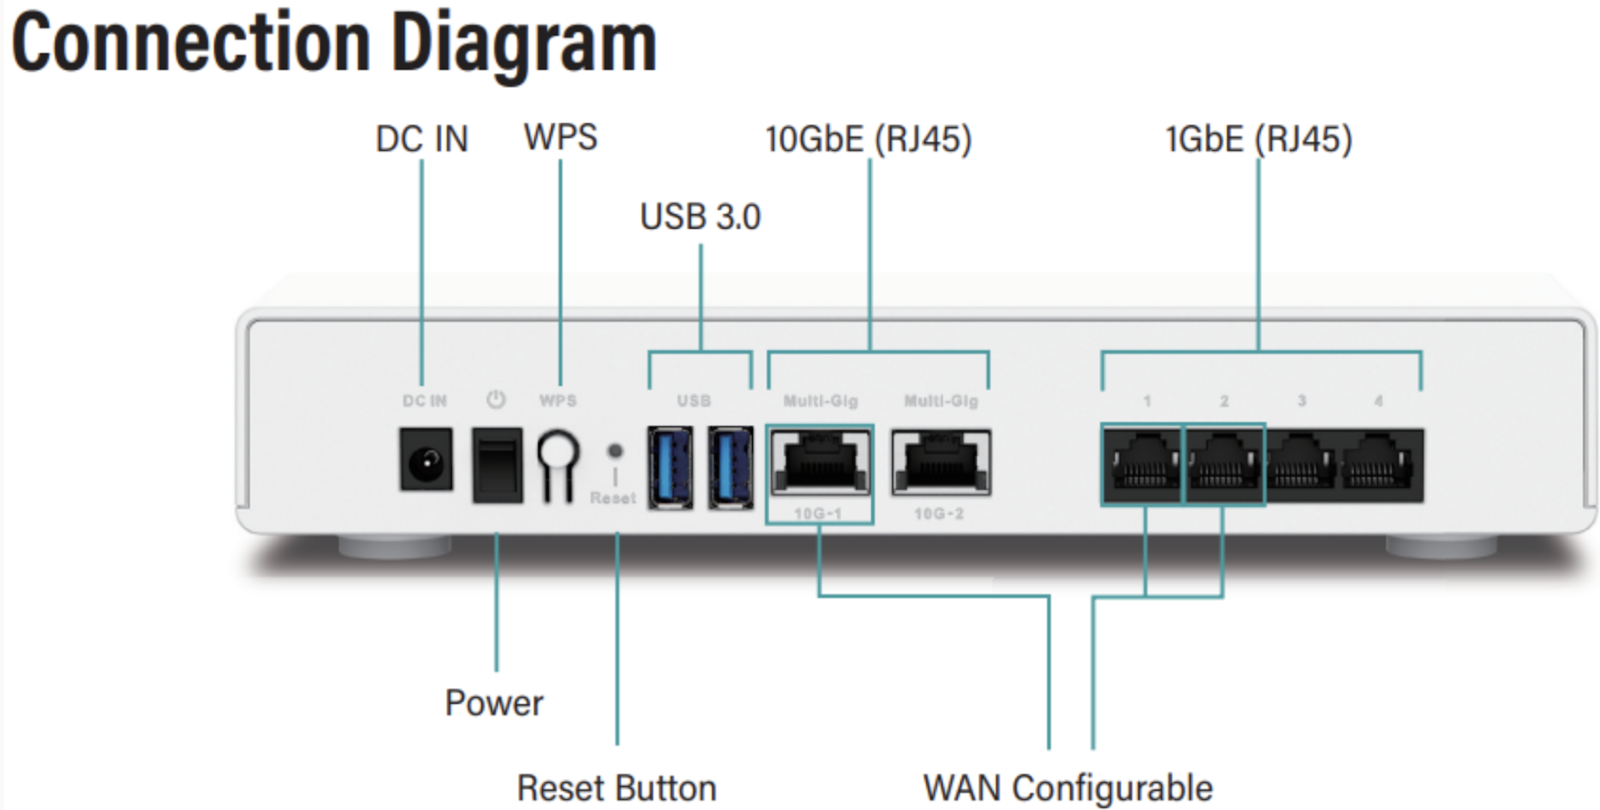
Power off or plug-out your modem power, plugin the WAN cable(from your ISP vendor modem) into the QHora-301W 1GbE LAN port 1, then use LAN cable connection between the client PC or switch device & QHora-301W 1GbE LAN port 4, connect AC Adapter into the QHora-301W DC IN port. See QHora-301W connection diagram as below screenshot
-
Turn on QHora-301W router
Power on or plugin your model power, then power on the QHora-301W router by Power switch, wait for the QHora-301W complete system boot, the QHora-301W router status LED will keep “Green” when complete system boot.

-
Start system initial with QHora-301W router
Download Qfinder tool & install it in client PC, the Qfinder tool will scan & find the QHora-301W router.
The QHora-301W router default IP address is “192.168.100.1”, if the Qfinder tool cannot find the QHora-301W router, please restart the client PC & switch device to get new IP address from the QHora-301W 1GbE LAN port 4.
Qfinder: https://www.qnap.com/en/utilities

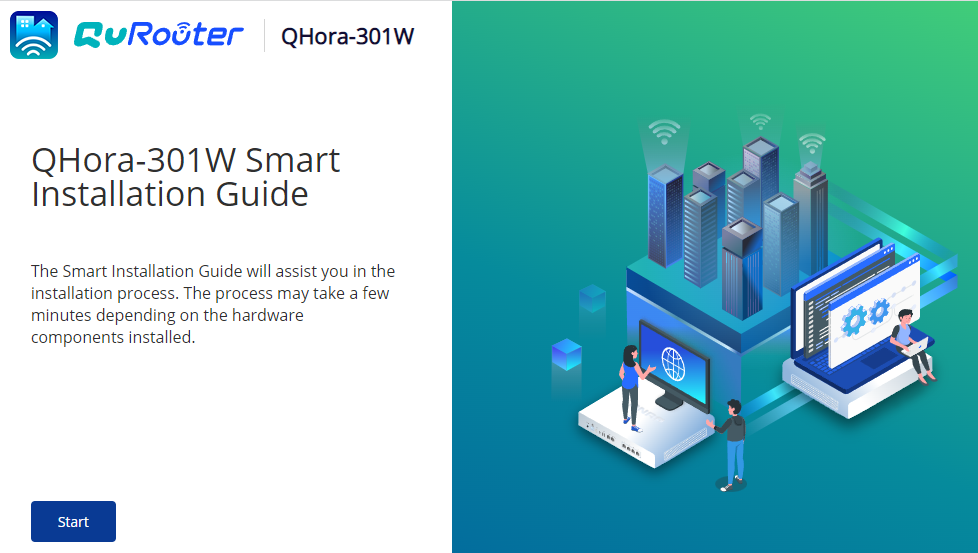
Select QHora-301W router & click “Login” icon in Qfinder tool, the Qfinder tool will open QHora-301W Smart Installation Guide web page in client PC browser, follow QHora-301W Smart Installation Guide step to complete system initial.
After completing the QHora-301W router, we recommend restart all network devices to get new IP address from the QHora-301W router.
For further assistance, ask other users and QNAP experts in the community. Go to QNAP Community


