How to Set Up Remote Backup to a Remote NAS via QuWAN Express Supernode
Last modified date:
2026-03-04
Applicable Products
Software
- QuWAN Orchestrator 2.9 and later versions
- QVPN Service 3.3 and later
- QNAP NAS running QTS with HBS 3 Hybrid Backup Sync installed
Overview
With QuWAN Express Supernode, two QNAP NAS devices on different networks can communicate over a secure virtual network. This guide shows you how to create a remote backup job in HBS 3 using the QuWAN virtual IP assigned to the destination NAS.
Prerequisites
Before creating a backup job, both NAS devices must first join QuWAN Express Supernode. The IP addresses used in HBS 3 are the virtual IPs assigned by QuWAN after joining — not the physical LAN IPs.
You can refer to the article "How to connect a NAS to QuWAN Orchestrator using QuWAN Express and the Super Node Service?" to learn how to join your NAS to QuWAN Express.
Procedure
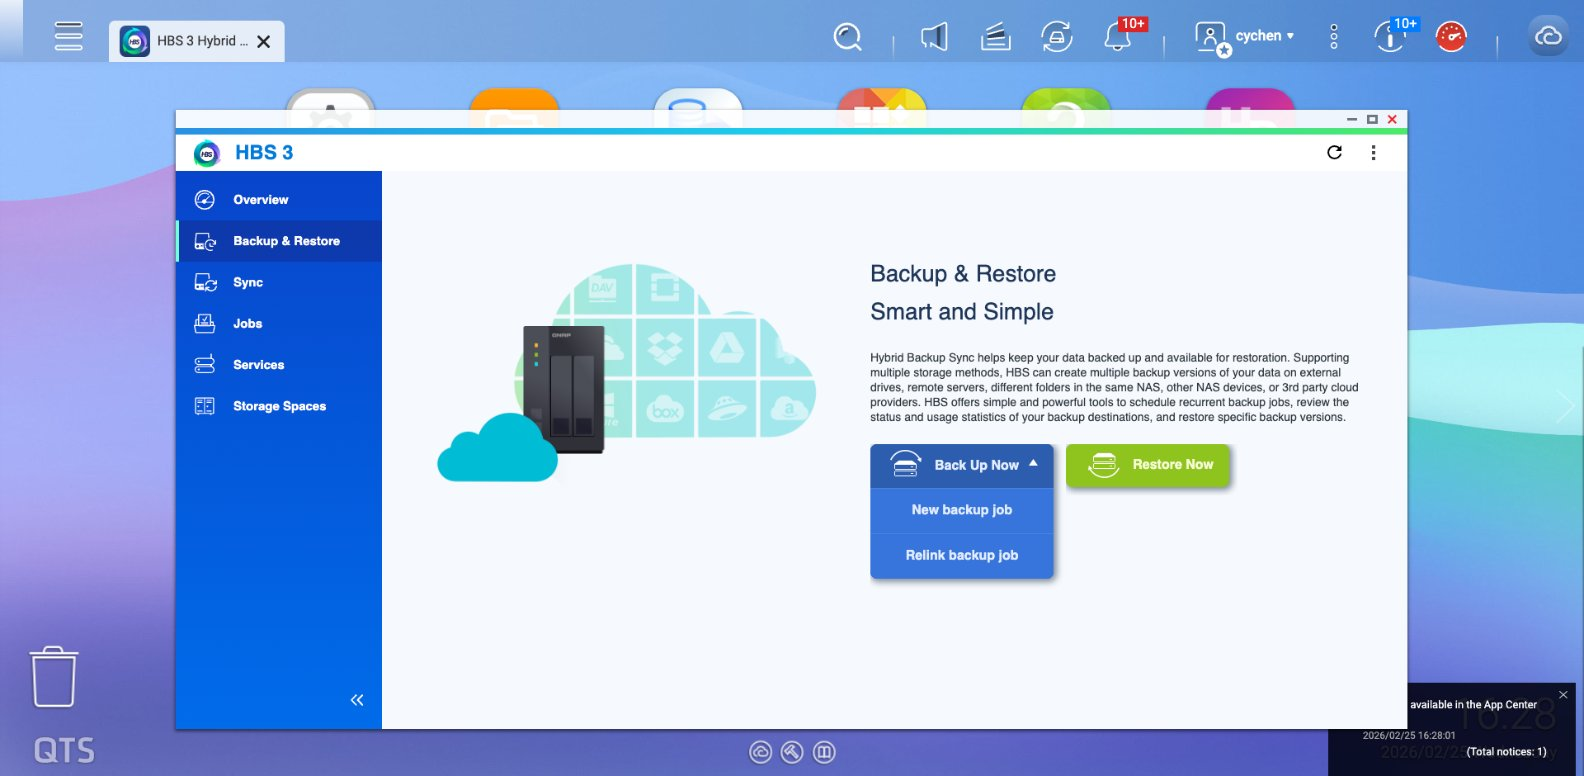
Step 1:Open HBS 3 and Start a New Backup Job
- HBS 3 Hybrid Backup Sync
- Go to Backup & Restore, click Back Up Now, then select New backup job from the dropdown.
- Select the Source Folder
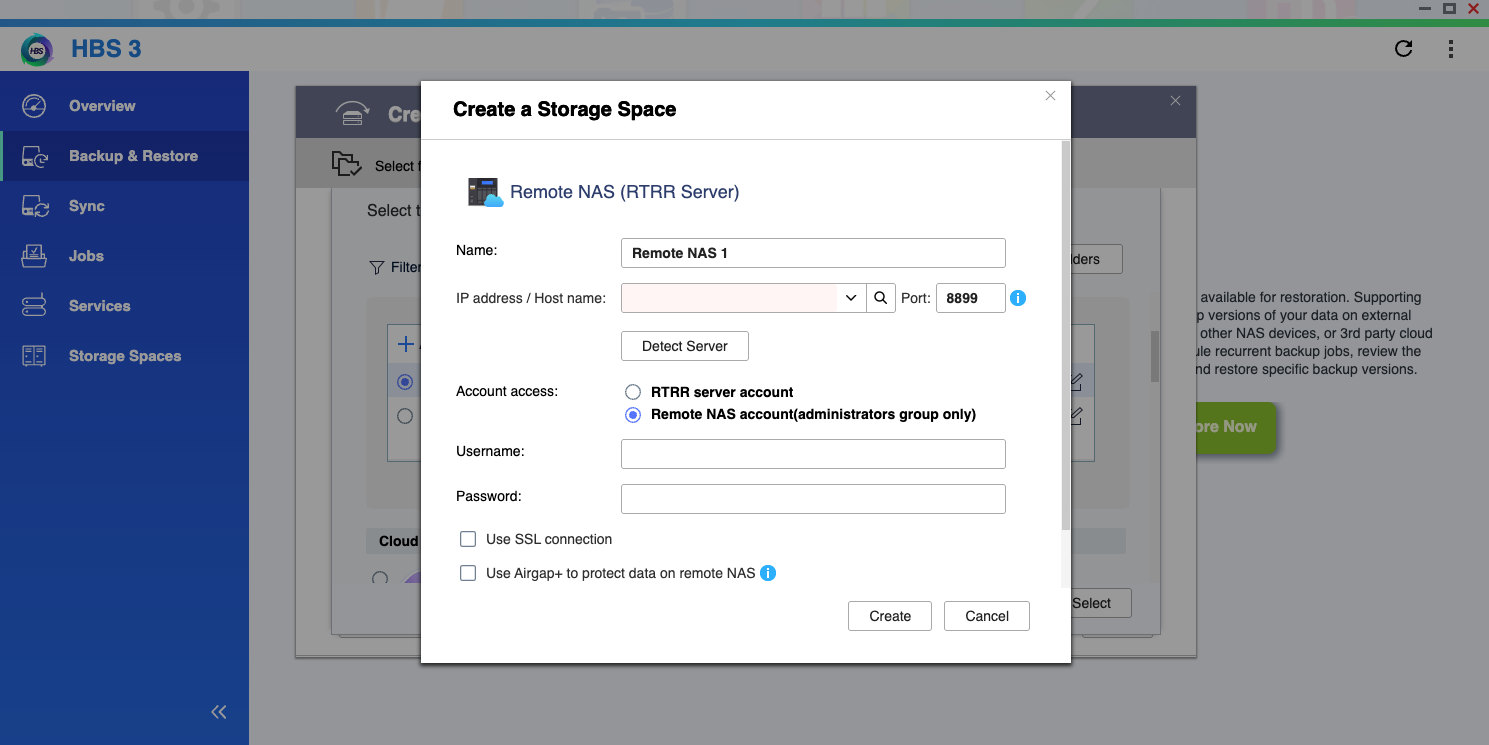
Step 2: Select Remote NAS and Add an Account
- On the destination screen, select Remote NAS.
- Click + Add new account.
- In the Create a Storage Space dialog:
- IP address / Host name field: enter the virtual IP of the destination NAS you get from QuWAN Express, then click Detect Server to check if it is connected.
- Account access: choose Remote NAS account, and enter the destination NAS user name and password.
- Click Create.
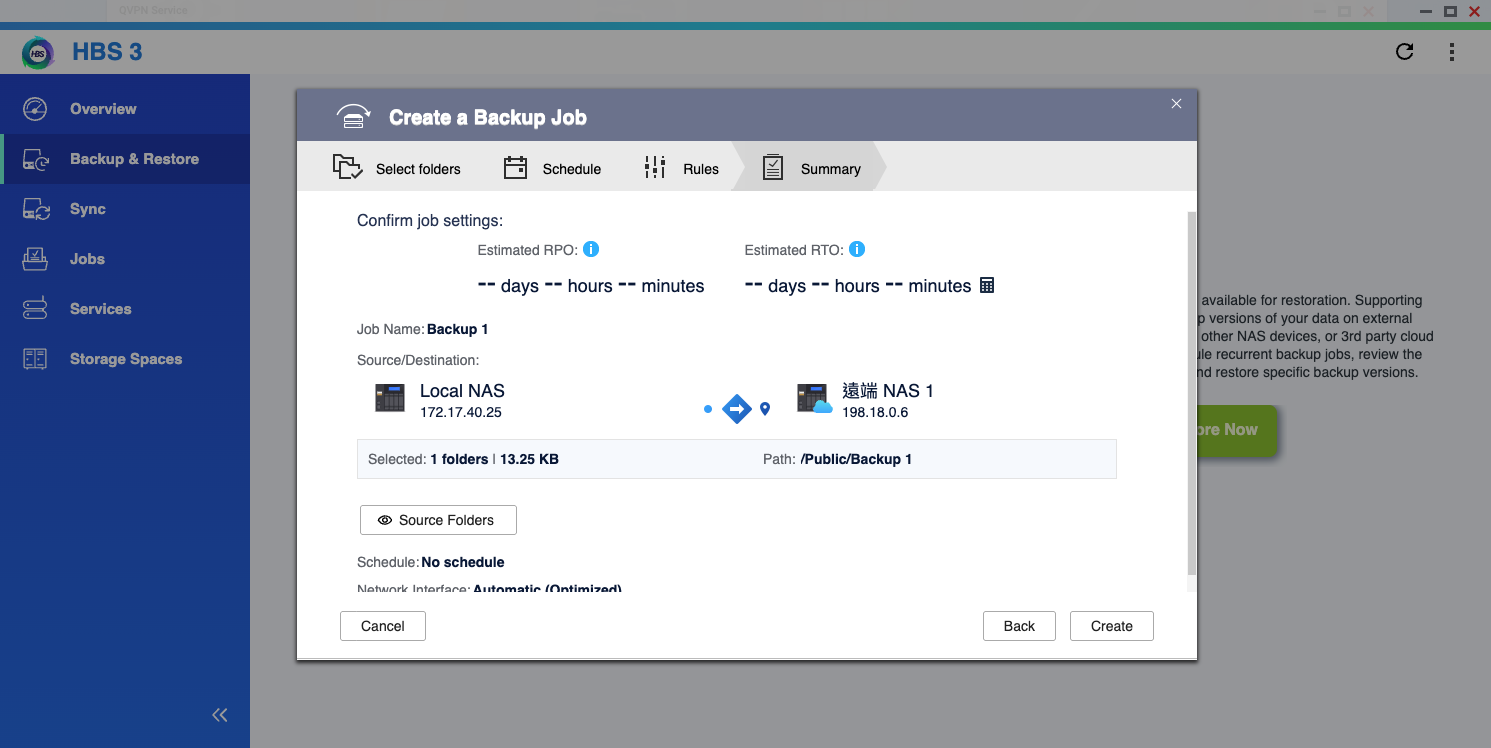
Step3: Task Configuration
Follow the process to complete the task:
- Select the destination folder.
- Set the schedule according to your preference.
- Select your transmission rules.
- Check the summary to ensure all settings are correct.
- Click Create.
- Complete your transmission settings; you can now see the page transferring data.