How to Use the QNAP NAS File Services Add-on
QNAP NAS File Services
The QNAP NAS File Services Gmail add-on is compatible with any web browsers and Gmail applications.
With the QNAP NAS File Services Gmail add-on, you can directly share access to your NAS files and folders when composing emails. The add-on shares your NAS files and folders using a share link. You can then protect the share link with a password or specify an expiration date for it. The add-on is free and available through the Google Workspace Marketplace.
If you want to save and back up your emails and attachments, install QmailAgent from the App Center on your NAS. For more information on QmailAgent, visit QmailAgent.
Getting Started
You must own a QNAP NAS. For more information on buying a QNAP NAS, visit Where to Buy.
Setting Up the Add-on
This task sets up the add-on from a browser.
- At the bottom-right corner of the New Message window, click
 .
. 
The QNAP NAS File Services window opens.
- Click Sign in.
The QNAP Account window closes, and the Select a NAS screen appears.
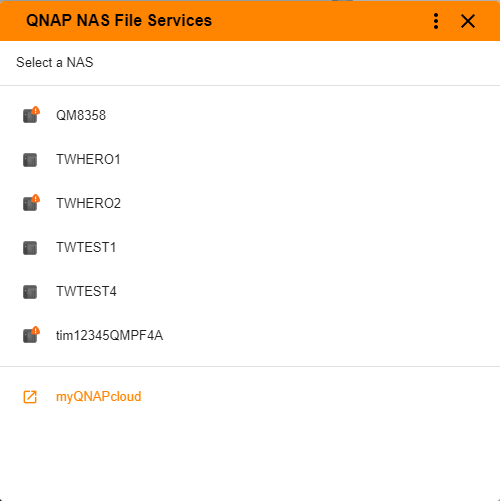
- Click LOG IN. Tip:
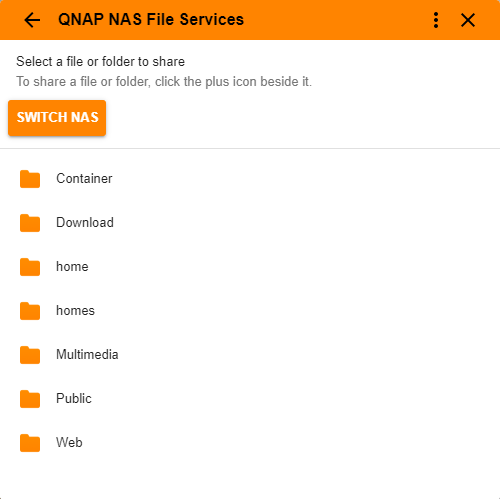
To select a different NAS device, click SWITCH NAS.
The Select a file or folder to share screen appears.
Sharing NAS Files and Folders From a Browser
A video tutorial for this process is available here.
- At the bottom-right corner of the New Message window, click .
The QNAP NAS File Services window opens.
Tip:You can click
 and then Refresh at any time to reload the add-on.
 - Identify a folder or a file you would like to share and click
 . Note:
You can only share a folder or file that displays an
icon.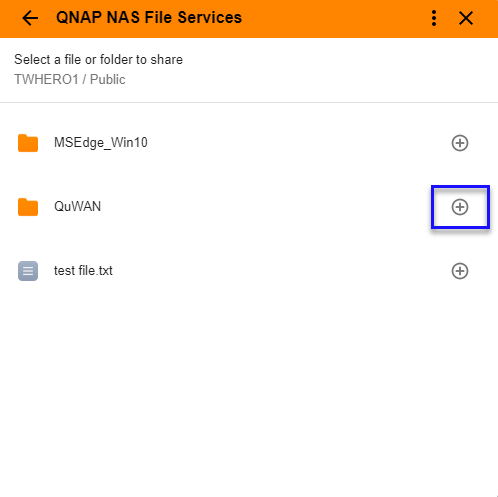
- Optional: Modify the Expiration date or time.
- Click
 .
. The Expiration screen appears.
- Click
- Optional: Enable Password Protection.
- Click .
The Password Protection screen appears.
Note:-
The Enable protection toggle switch is automatically enabled.
-
When password protection is enabled, the recipient of the email needs to enter the specified password to access the shared content.
-
- Click
Sharing NAS Files and Folders from a Mobile Device
This task requires that you open or compose an email using the Gmail application on your mobile device.
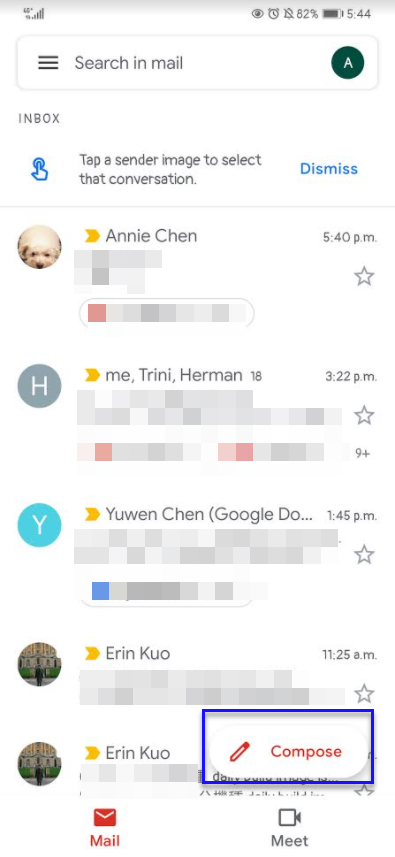
- Open the Gmail application and tap Compose.
- On the top right, tap
 .
. 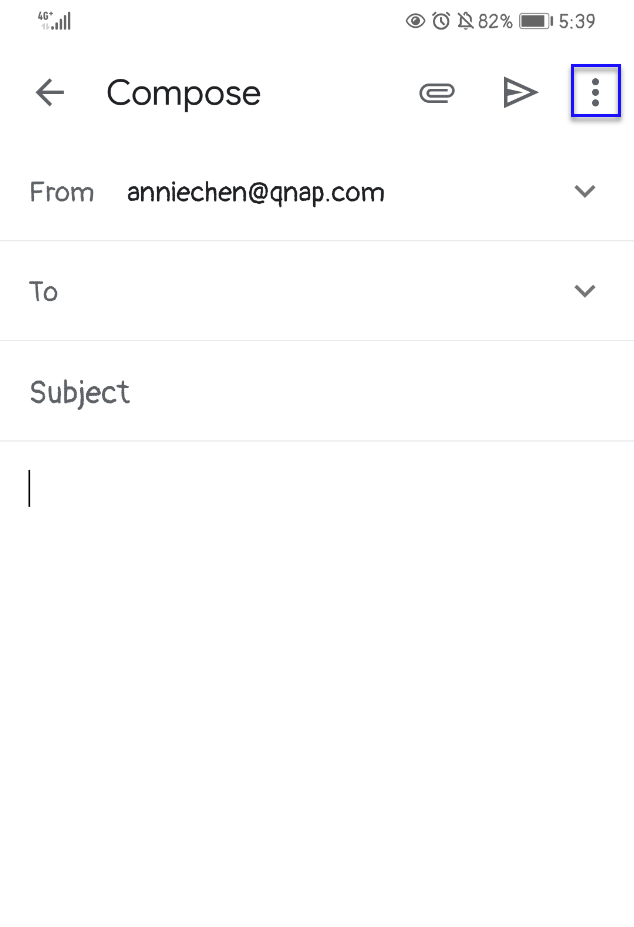
A menu list appears.
- Tap Insert from QNAP NAS File Services.

The QNAP NAS File Services screen appears.
- Identify the file or folder to share and tap
 . Note:
You can only share a folder or file that displays an
icon.
- Optional: Modify the Expiration date or time.
- Tap .
The Expiration screen appears.
- Tap
- Optional: Enable Password Protection.
- Tap .
The Password Protection screen appears.
Note:-
The Enable protection toggle switch is automatically enabled.
-
When password protection is enabled, the recipient of the email needs to enter the specified password to access the shared content.
-
- Tap


