


How to turn a QGD-1600P/QGD-1602P into a QNE ADRA NDR
Last modified date:
2026-06-18
- Prerequisites and requirements
- Install QTS
- Reinitialize your device
- Switch from QGD to ADRA
- Configure ADRA
- Register your device on myQNAPcloud
Prerequisites and requirements
Equipment
| Supported devices | Minimum storage |
|---|---|
| QGD-1600P | 256GB 2.5-inch SSD *1 |
| QGD-1602P | 128GB M.2 SSD *1 and 256GB 2.5-inch SSD *1 |
SSDs are sold separately. Consult the QNAP Compatibility List before purchase.
Software
Qfinder Pro (download)
Firmware
QTS 5.0.1 (or later) is required.
Internet Connection
Firmware Update requires an internet connection to download the latest version from QNAP.
Note
ADRA NDR is now free and no longer requires a license. If you still see a license requirement, update ADRA NDR to the latest version.
Install QTS
- Open the Control Panel.
- Go to System > Firmware Update > Live Update
- Click Check for Update

The A newer firmware version/patch is available for download prompt appears - Click OK
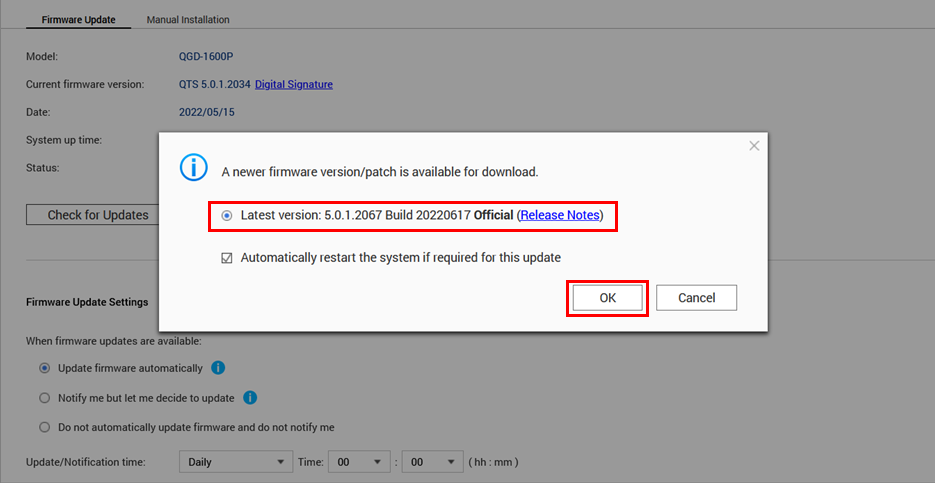
- Follow the on-screen prompts to install the firmware.
Note: For more information in updating your device firmware, see Firmware Update
Reinitialize your device
- Open Control Panel
- Go to System > Backup/Restore > Restore to Factory Default
- Click Reinitialize NAS
Important: This action will erase all data on your device.
The Reinitialize NAS confirmation prompt appears. - Read and understand the confirmation message and what will happen when your device is reinitialized.
- Select Restart and click OK.

- Enter your password and click OK to confirm this action.

Your device reinitializes and restarts.
Switch from QGD to ADRA
- Access the device Web GUI
- The QNAP Warranty Service page opens.
- Click Close.

The QTS Smart Installation system starts. - Click Choose Another Firmware

- Select the “QNE ADRA” option. Click Apply.

- A confirmation prompt appears.
- Click OK

The QNE ADRA firmware downloads and installs on your device. Your device restarts once the process is complete.
Configure ADRA
- Open Qfinder Pro on your computer.
Note: Your device has been renamed to QNE. - Find your device on the list. Double click on the device to open the Web GUI.

The Welcome screen appears. - Click Start Smart Installation
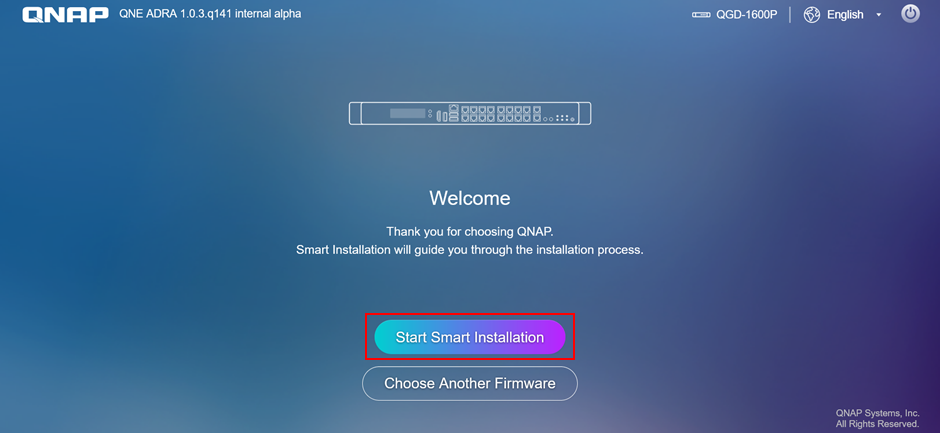
- You will be prompted to confirm this action. Read and click Yes.

- Select “Latest available version” and click Next.
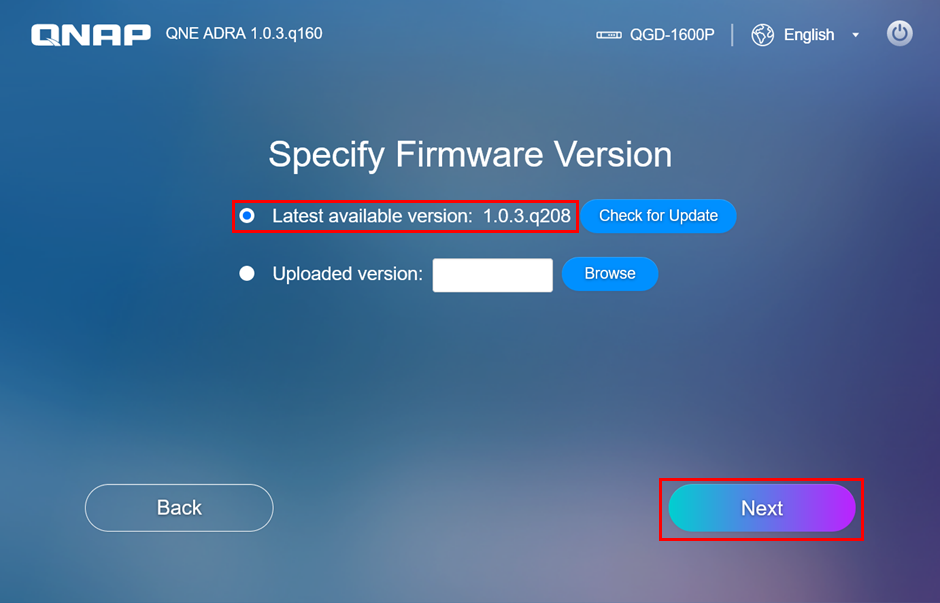
Your device firmware is updated.
- Choose to configure your ADRA in Stand-Alone Mode or Cloud Management Mode. Click Start to install the ADRA.
Note: Stand-Alone Mode is recommended for beginners. Stand-Alone Mode can be changed to Cloud Management Mode after installation.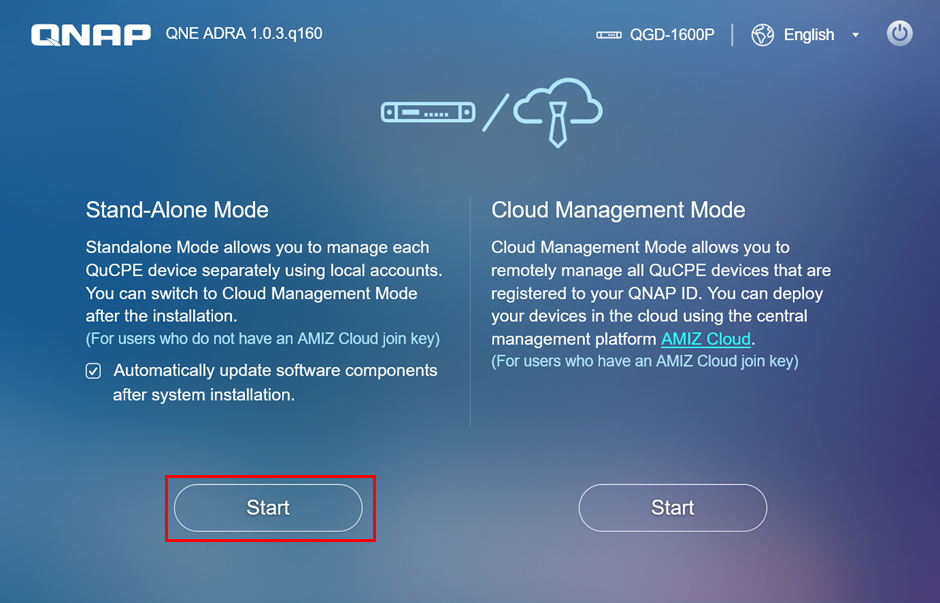
- Enter your Host name, Username, and Password. Click Next.

- Specify your Time zone and how the system Date/Time is configured. Click Apply.
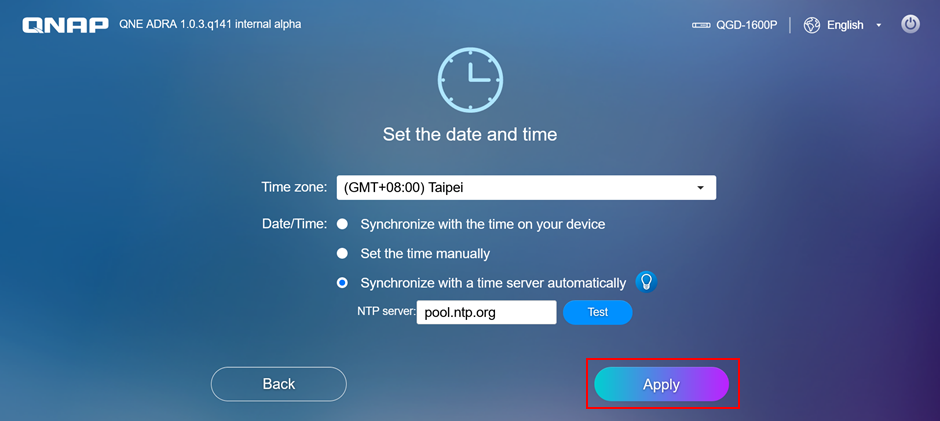
Your device applies these settings.
- Click Log In.
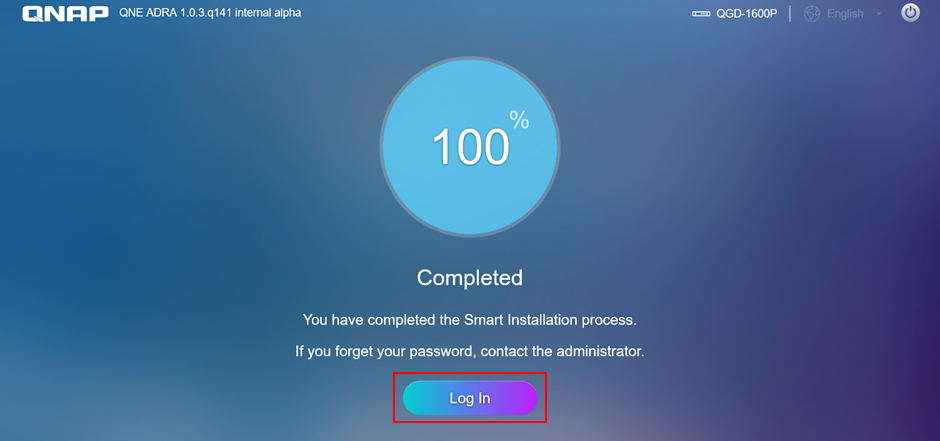
- Enter your Username and Password. Click Login.

- Read and agree to QNAP’s Data & Privacy policy. Click Continue.
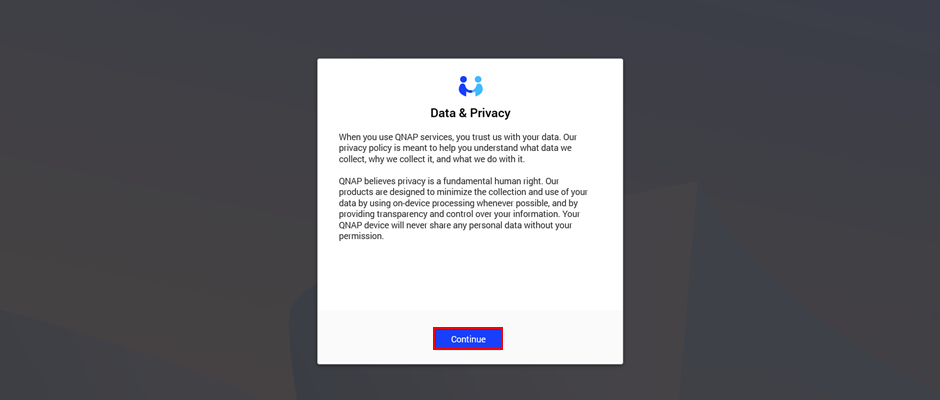
Your QNE ADRA is ready to use.
Note: You can confirm that your device is using QNE ADRA by opening the Control Panel and going to System > System Update > Firmware Update
Register your device on myQNAPcloud
- Go to Main Menu > myQNAPcloud
- Click Get started using a QNAP ID under Stand-alone Mode or Cloud Management Mode based on your configuration.

- Enter your QNAP ID and Password. Click Sign In.

- Enter the Device Name. Click Next.

- Enable myQNAPcloud Link and Server Mode (DDNS). Click Apply.

myQNAPcloud settings are complete.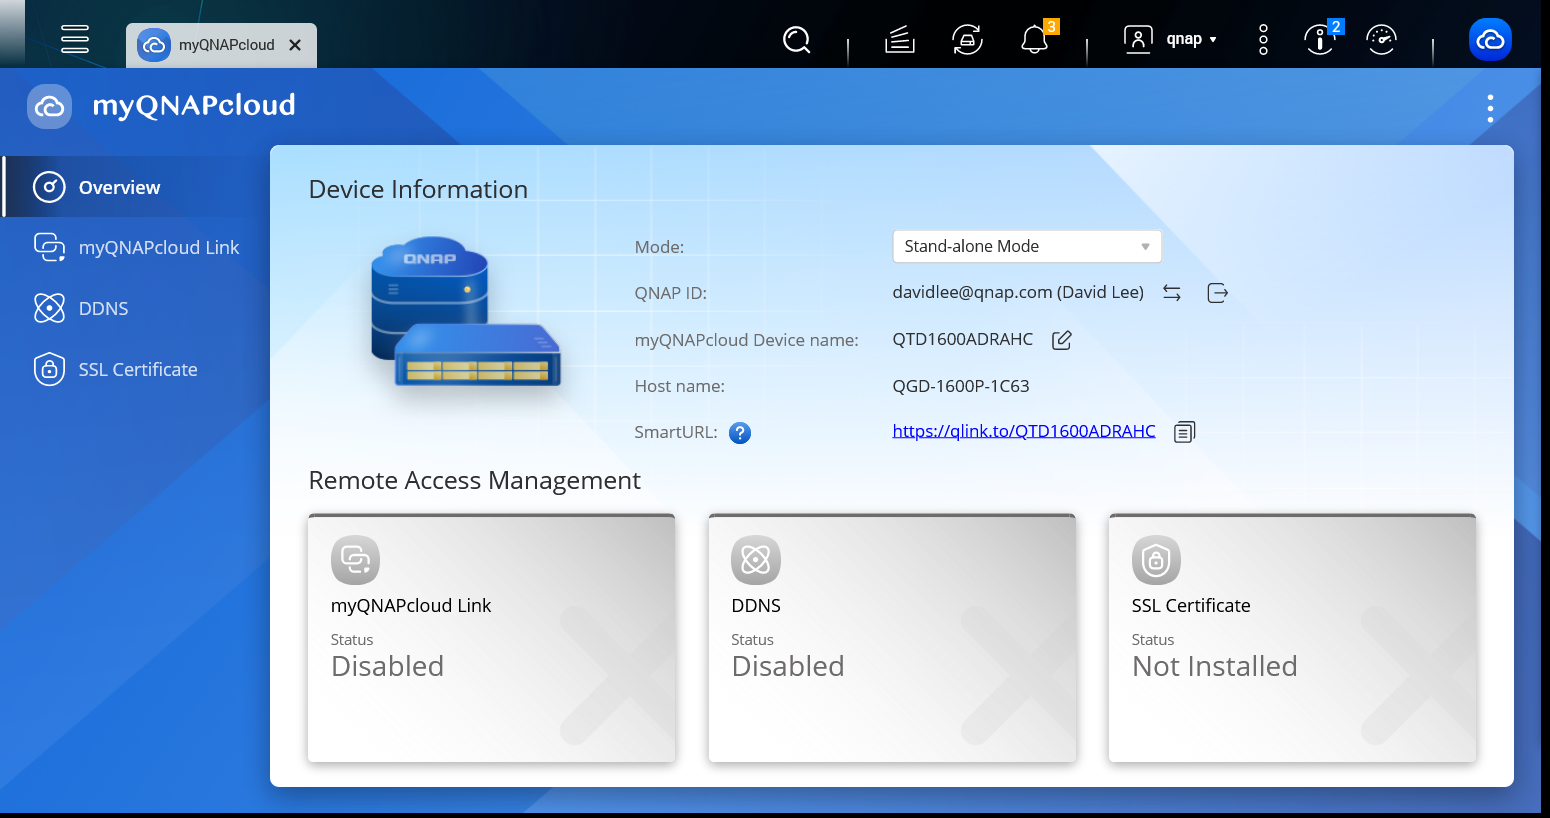
For further assistance, ask other users and QNAP experts in the community. Go to QNAP Community


