How to Use NordVPN on a QNAP NAS
This tutorial explains how to use NordVPN on your QNAP NAS using OpenVPN. This tutorial is also available on the NordVPN website.
- What is a VPN?
- Downloading NordVPN Server Information
- Installing QVPN
- Creating an OpenVPN Connection
- Connecting to the VPN
What is a VPN?
A virtual private network (VPN) is a network architecture used to enable private and encrypted communication between two endpoints over a public network. Sending data over a VPN allows the devices to act as if they were directly connected to a private network, and reduces the changes of data being intercepted.
What is a VPN service provider?
VPN service providers are VPN servers publicly established by third-party companies to provide VPN services that can connect to the public internet. Connections routed through a VPN service provider will appear to originate from the VPN server location rather than the NAS location. For example, a NAS located in Taipei might route all connections through a VPN server located in New York. Any connections routed through the VPN would appear to originate from New York.
NAS admins can use the QVPN Client to open connections to a remote VPN service provider, making data access more secure without geographical restrictions. Additionally, the NAS can use the VPN connection as the default gateway, redirecting all outgoing network traffic through the VPN service provider.
The QVPN Service can integrate with many popular OpenVPN services to provide more VPN connection options to secure virtual private networks. Refer to the specific VPN service provider documentation for details.
The QVPN service currently supports OpenVPN connections between QNAP devices configured with an OpenVPN server or client.
Downloading NordVPN Server Information
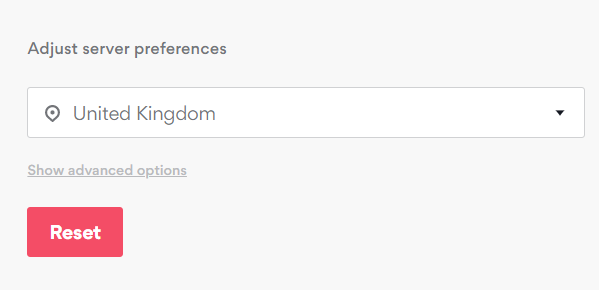
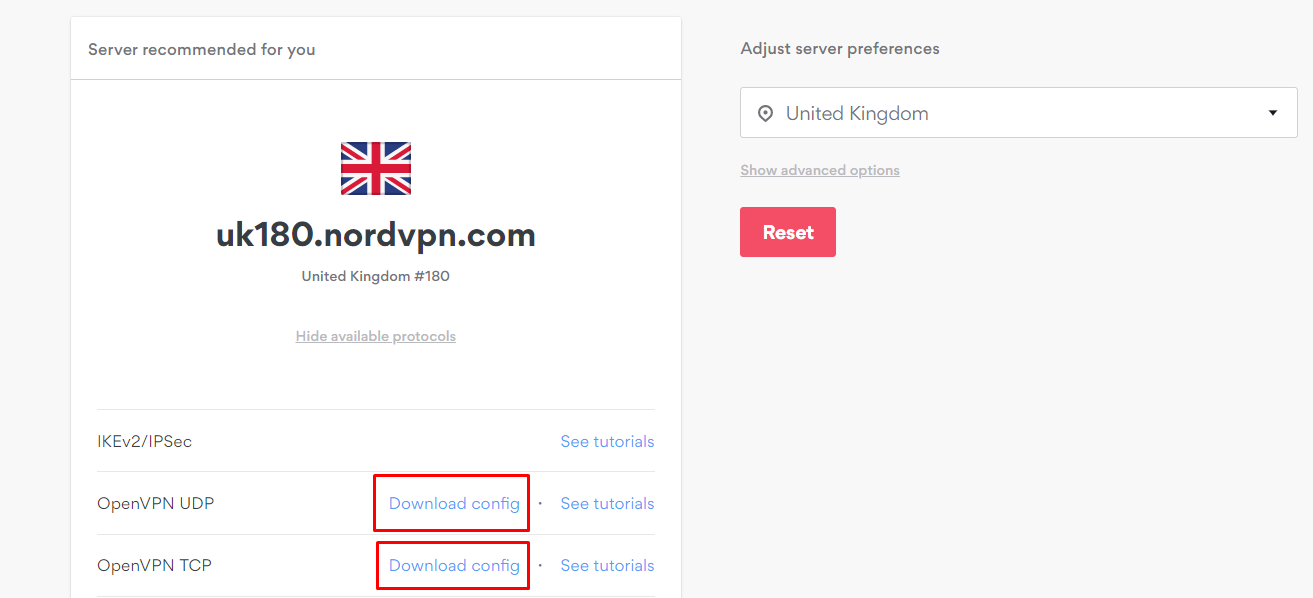
The first step is to download an OpenVPN configuration file. These files are used to configure QVPN to access the NordVPN server that best meets your needs.
NordVPN downloads the OpenVPN configuration file to your computer.
Installing QVPN
Creating an OpenVPN Connection
The next step is to configure QVPN using the file you downloaded earlier.
Connecting to the VPN
The final step is to connect to the VPN from the QNAP device.
QVPN Service establishes the client VPN connection.


 .
.


