How do I disable the snapshot function and free up snapshot space?
Applicable Products
- QTS, QuTS hero
Overview
This FAQ guides you through deleting all existing snapshots, disabling scheduled snapshot tasks, and freeing up reserved snapshot space on your QNAP NAS. The steps may vary depending on your operating system version and storage setup.
Note: A snapshot is a point-in-time copy of your data that enables quick recovery from accidental deletion or data corruption. For more information, see the links in Further Reading.
Procedure
While QNAP NAS does not allow you to fully disable the snapshot feature, you can manually delete all existing snapshots and remove any scheduled snapshot tasks. After completing these steps, no new snapshots will be created and space reserved for snapshots will become available for other uses.
1. Disable scheduled snapshots
- Go to Storage & Snapshots > Storage/Snapshots.
- Select the relevant volume, shared folder, or LUN.
- Click Snapshot, and then select Snapshot Manager.
- Click Schedule Snapshot in the top-right corner to open the Snapshot Settings window.
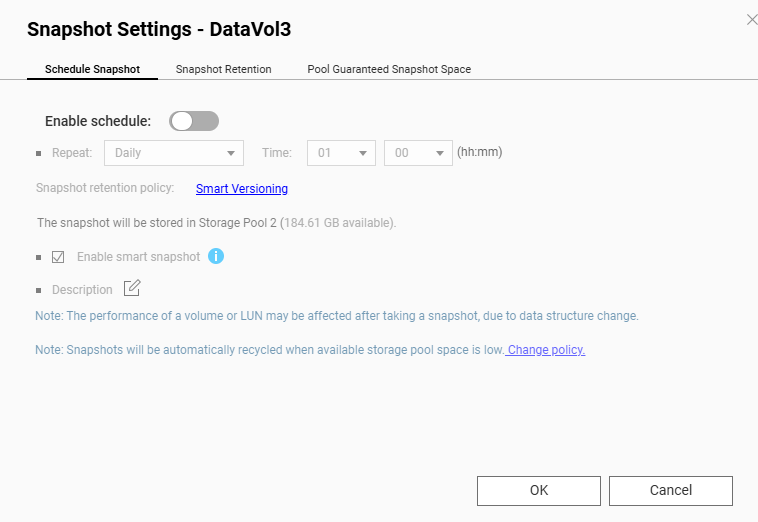
- Toggle off Enable Schedule.
- Repeat these steps for other volumes, shared folders, or LUNs as needed.
2. Delete all snapshots
- Go to Storage & Snapshots > Storage/Snapshots.
- Select the relevant volume, shared folder, or LUN.
- Click Snapshot, and then select Snapshot Manager.
- Click the list view icon to change display mode for easier selection.
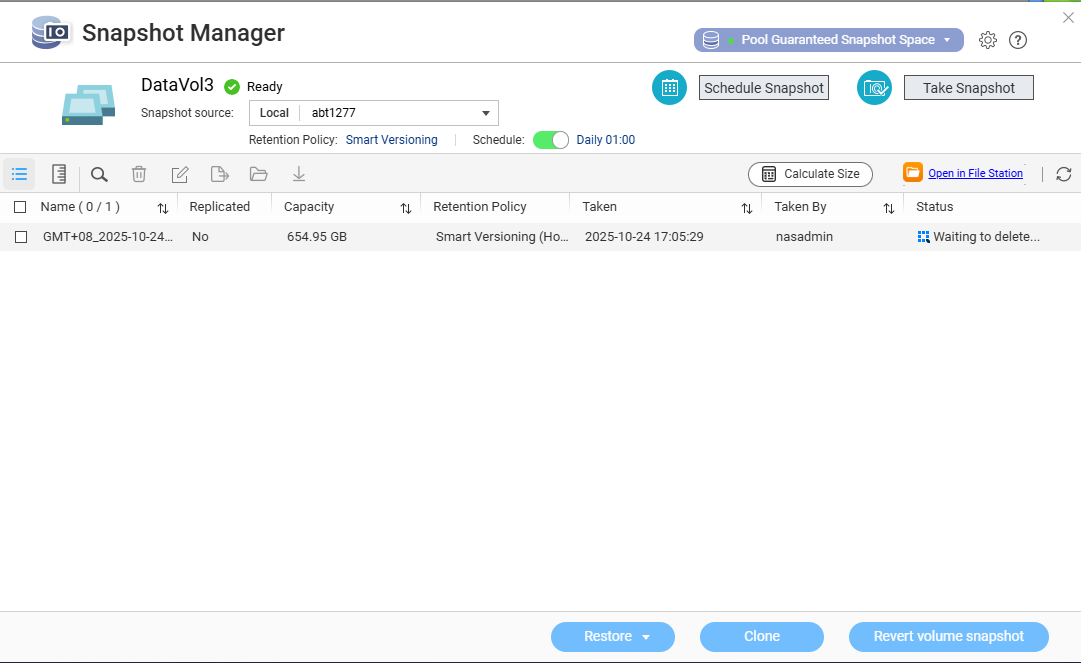
- Select all snapshots you want to delete.
- Click Delete.
- Repeat these steps for other volumes, shared folders, or LUNs as needed.
Reminder: Deleting snapshots is permanent and will remove all recovery points for those items. Back up important data before deletion.
You can also disable Pool Guaranteed Snapshot Space to release reserved space for snapshots:
- Go to Storage & Snapshots > Storage/Snapshots.
- Select the storage pool and click Manage.
- Click Action > Configure Pool Guaranteed Snapshot Space.
- Toggle off Enable Pool Guaranteed Snapshot Space.
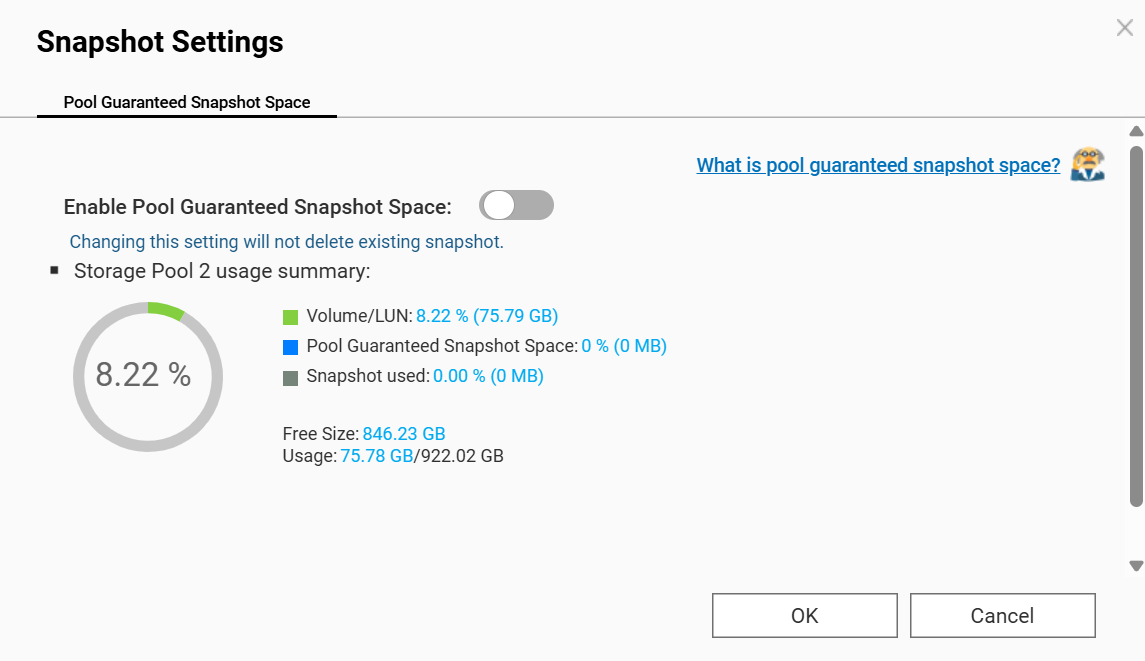
Note: Pool Guaranteed Snapshot Space reserves a portion of your storage pool specifically for snapshots. Disabling this returns the space to your general storage pool.


