How can I use a domain user for Time Machine after adding my NAS to an Active Directory domain?
Applicable Products
HBS 3 (Hybrid Backup Sync)
Scenario
After adding the NAS to an Active Directory domain (AD domain), when attempting to perform a Time Machine backup task on a Mac as a domain user, you may encounter some issues, such as being unable to log in or receiving an error message: Time Machine couldn’t complete the backup, as shown in the following screenshot.

Solution
You can add a Time Machine destination using the tmutil command with a domain user account. To perform this task, ensure that you have administrator privileges on your Mac.
- Configure access settings.
- Go to System Settings > Privacy and Security.
- On the left-hand side, click Full Disk Access.
- On the right-hand side, click + and search for Terminal.
- Select Terminal.app and click Open.
- Select Quit & Reopen if you are prompted to quit Terminal.
- Search for Terminal using Spotlight and then launch the Terminal application.
- In the Terminal window, enter the following command to configure Time Machine with the desired credentials:
sudo tmutil setdestination -p "smb://DOMAIN\\DOMAIN_USER@IP/FOLDER"- DOMAIN: Domain name
- DOMAIN_USER: Domain user
- IP: IP address of NAS
- FOLDER: Backup folder
- Enter the password of the Mac administrator when you are prompted for a password.
- Enter the password of the user that you will be using for Time Machine when you are prompted for a destination password.

- Open System Settings, go to General, click Time Machine, and then check whether Back up automatically is enabled.
Before performing a backup task as a domain user, ensure that this domain user has permission to access the shared folder. If you have not yet configured permission settings, you can follow these steps.
- Log in to the NAS
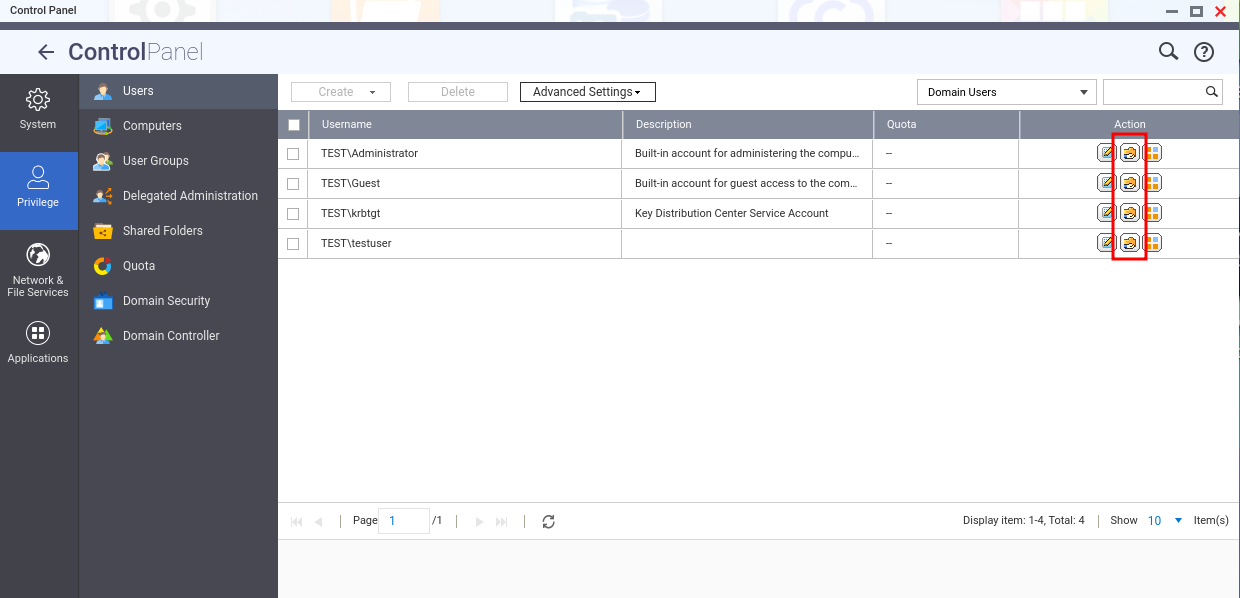
- Go to Control Panel > Privilege > Users.
- From the drop-down list on the top-right corner, select Domain Users.
- Click Edit Shared Folder Permission in the Action column.
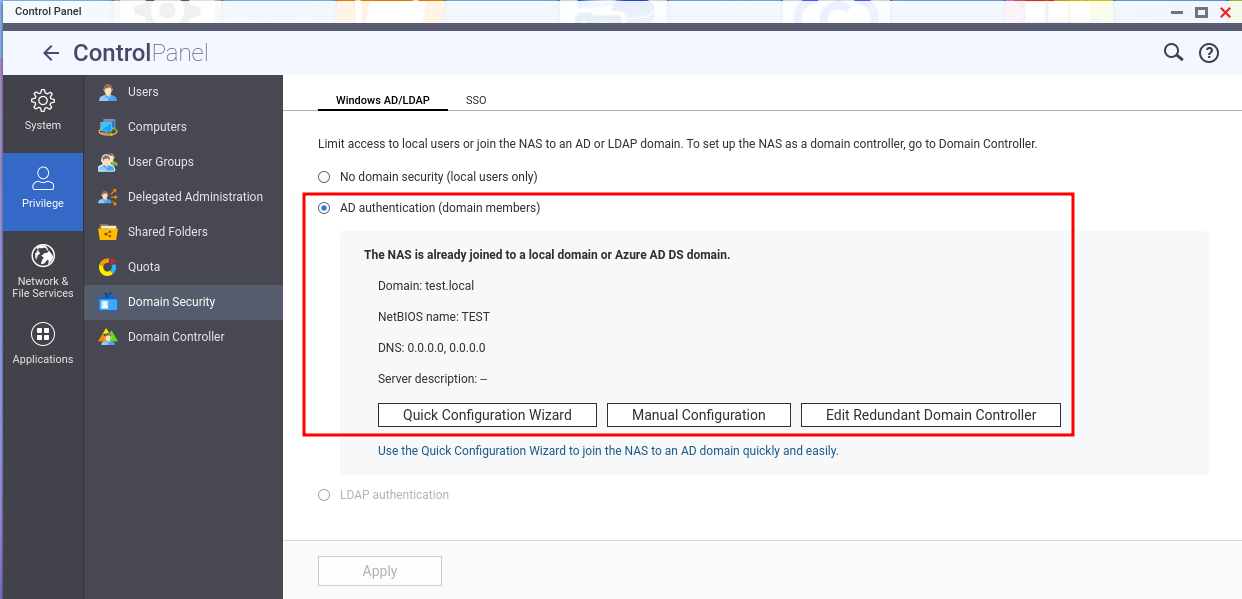
If you want to view the AD domain that NAS has joined, you can go to Control Panel > Privilege > Domain Security.