使用 QNAP Enterprise Storage ES NAS 建立 WORM 共用資料夾 - Linux
WORM Overview
WORM (Write Once, Read Many) is used to avoid modification of saved data. After this feature is enabled, data in shared folders can only be written, and can not be deleted or modified to ensure data integrity.
With increasingly stringent regulations on how information is stored, many countries require government agencies, financial institutions, and health care providers to comply with strict data archiving regulations. Many of these require storage systems to not tamper with archived data. This has led to WORM becoming increasingly common.
Good examples are photos, contracts, financial reports, emails, employee information, and other important documents. They should not be modified once stored. In some professional fields, massive data needs to be analyzed, and huge amounts of real-time data needs to be recorded and tracked. WORM technology is ideal for protecting these records, so that they will not be overwritten and can be saved as a reference for future use.
To meet the security requirements of enterprise storage, QNAP ES Series NAS has added WORM functionality to help information personnel protect important organizational information. It can provide substantial benefits to organizations and avoid the risk of breaking relevant information laws.
Create shared folder with WORM (Linux)
System architecture
| Device | Description |
|---|---|
| Storage Units | QNAP ES Series NAS (system version QES 1.1.3) |
| Servers | Install VMware ESXi 6.0 |
| Virtual machine | Install Linux Ubuntu 16.04 to mount the NFS WORM shared folder |
| IP Settings | As the ESXi host and NFS Server in the NAS connect and communicate with each other using IP, it is recommended that both the ESXi host and NAS server be set to static IP addresses. |
Server role and network settings list
| Server Network Settings | ||
|---|---|---|
| Role | IP | Description |
| ESXi server A | 192.168.8.20 | VMware ESXi host |
| Data Network | 10.10.8.20 | 10G Data port in ESXi host |
| Virtual Machine | 192.168.8.11 | Linux Ubuntu 16.04 |
| Storage Network Settings | ||
|---|---|---|
| Setting | Value | Description |
| SCA Management IP | 192.168.8.40 | Management IP of controller A |
| SCA Ethernet1 IP | 10.10.8.40 | Data port 1 IP of controller A |
| SCA Ethernet2 IP | 10.10.12.40 | Data port 2 IP of controller A |
| SCB Management IP | 192.168.8.41 | Management IP of controller B |
| SCB Ethernet1 IP | 10.10.8.41 | Data port 1 IP of controller B |
| SCB Ethernet2 IP | 10.10.12.41 | Data port 2 IP of controller B |
| Pool at SCA | Pool1 | RAID6 pool at controller A |
Enable NFS Service
Step 1: Log in to QES

Step 2: Go to “Control Panel” > "Network Services" > "WIN / NFS” and click the “NFS Service” tab.

Step 3: Ensure that "Enable NFS Service" is checked and click “Apply”.

Create WORM shared folder in an existing Pool
You must complete the following steps before creating a shared folder with WORM functionality. Refer to the link below to complete the process.
- Add the server to the QNAP ES Series NAS whitelist
- Create RAID and Storage Pool
Reference link:Set up a VMware ESXi Datastore via NFS with QNAP Enterprise-Class ES NAS
Step 1: Log in to QES and click “Shared Folders”.
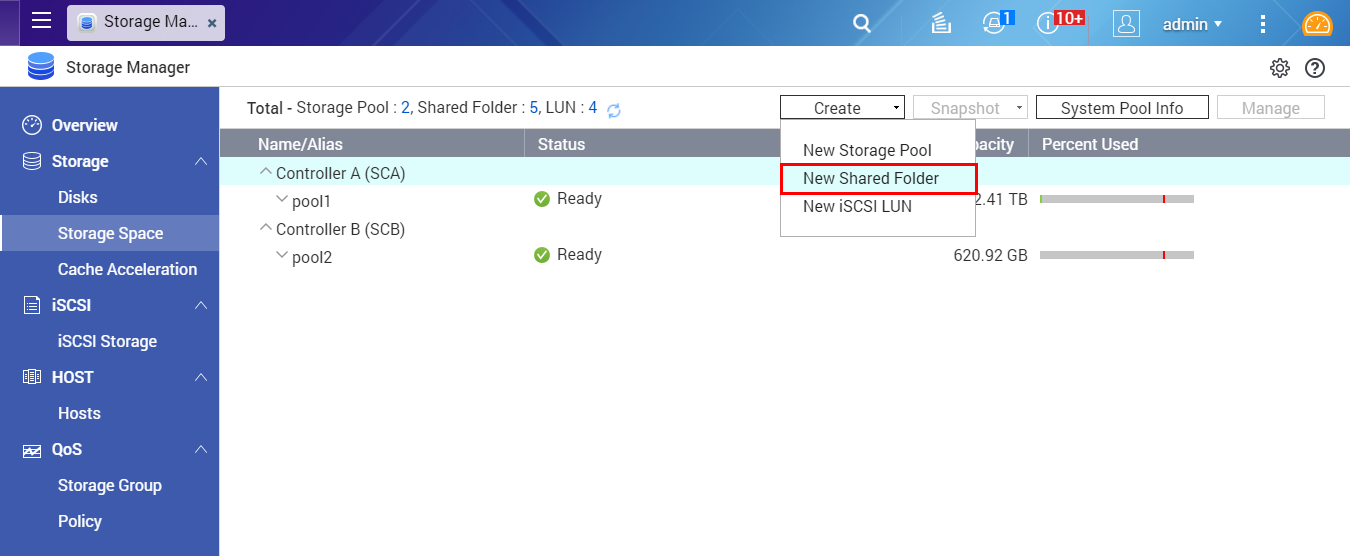
Step 2: Go to “Storage Space”, click "Create" > "New Shared Folder”.
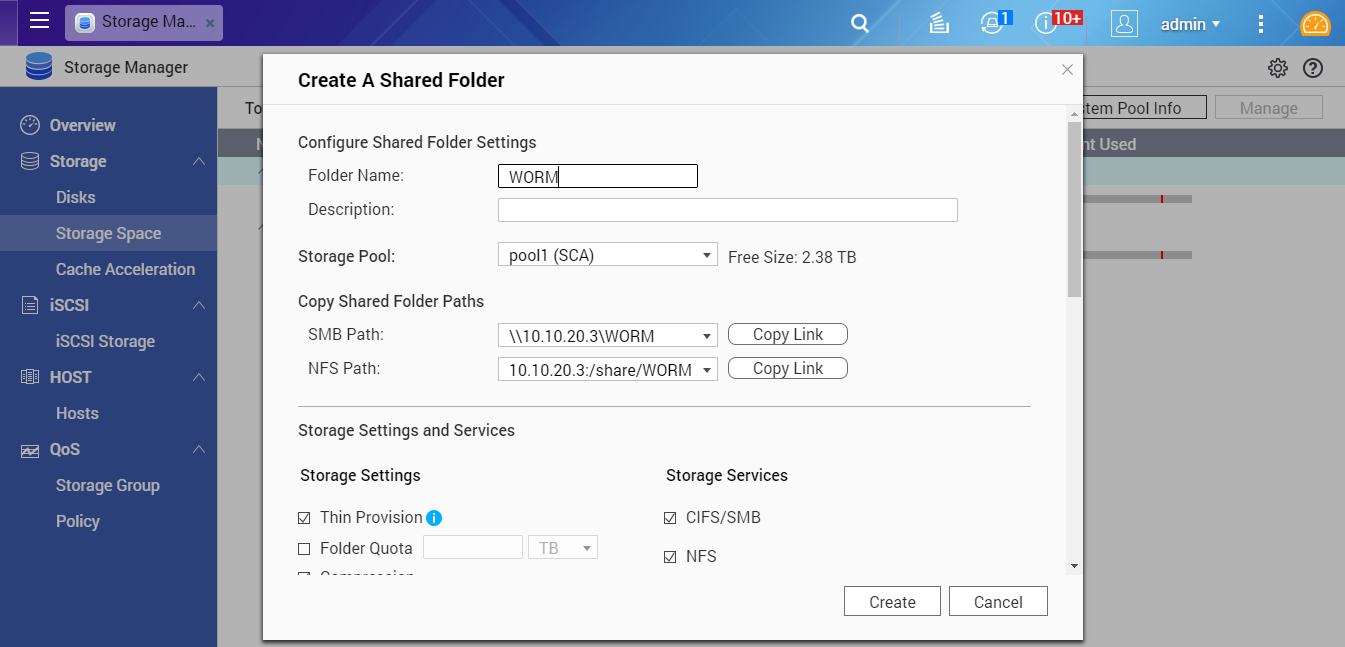
Step 3: Enter the desired WORM folder name. In "Storage Settings", set the WORM storage quota, and select other options according to different application scenarios. If there are no special requirements, you can just select the default values.
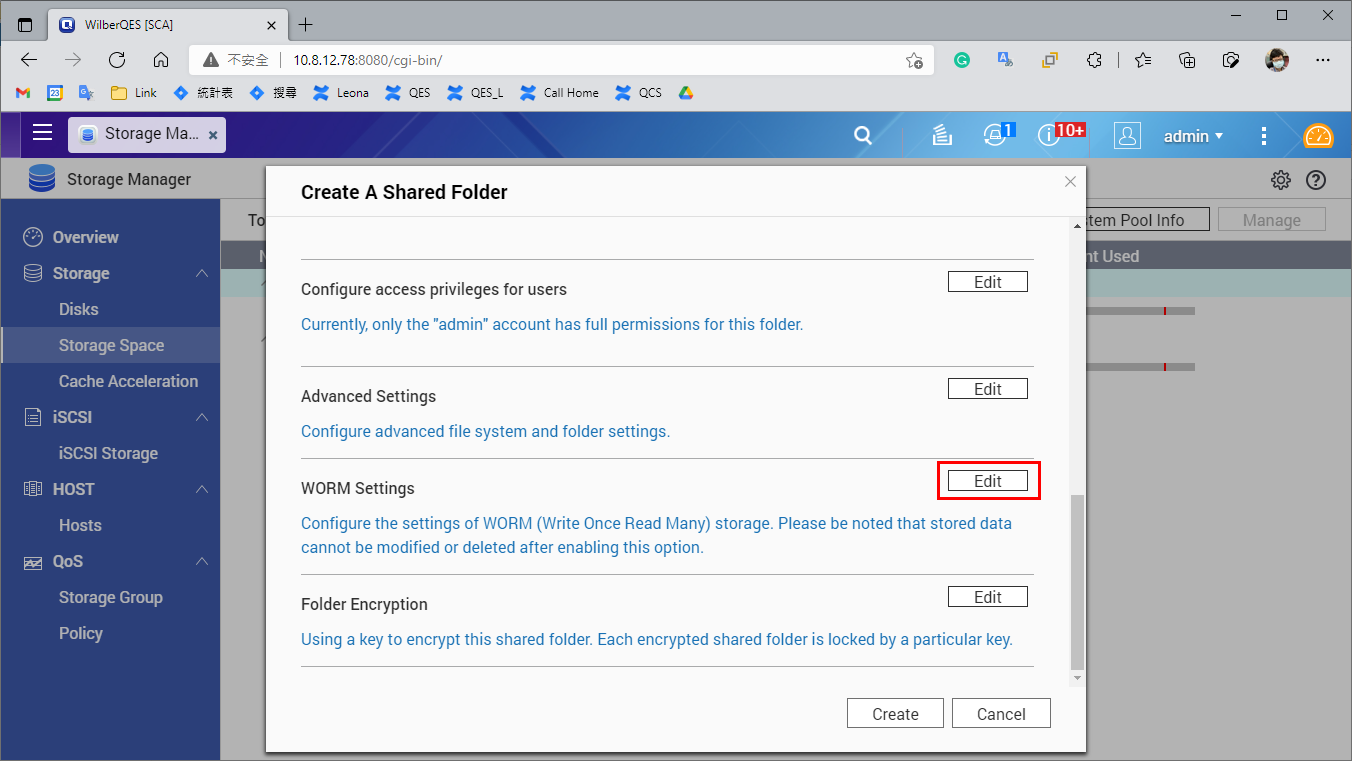
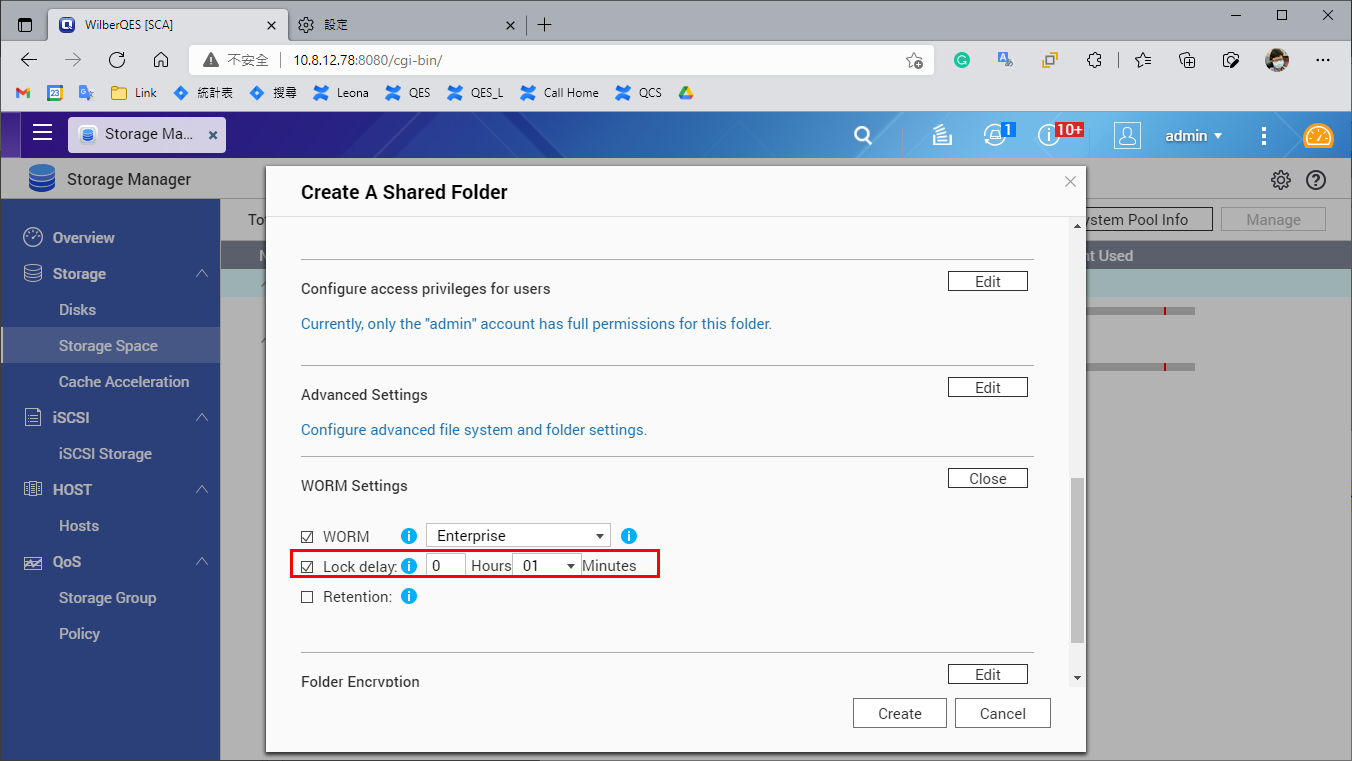
Step 4: Find "WORM Settings” and click “Edit”.
Step 5: Enable “WORM” and select a WORM folder Type in the drop-down menu.

Note:
WORM Folder Types:
- Enterprise: Folders can only be written, but cannot be deleted, modified or restored. You can remove the shared folder through QES or CLI commands.
- Compliance: Folders can only be written, but cannot be deleted, modified or restored. To remove a folder, you must take the Storage Pool offline and remove the Pool.
Step 6: Set the “Lock delay”, when enabled, a file added to the folder can be modified within the lock delay time period. After this time has passed, the file automatically becomes locked and unmodifiable.
If disabled "Lock delay", a file can’t be WORM type automatically, you need modify the file property to “Read only” by manually.
Step 7: Set the retention period of the WORM folder. In this example, it is set to 1 day, meaning the WORM restrictions can only be removed after 1 day. After setting the retention period, click "Apply" to create the WORM folder.
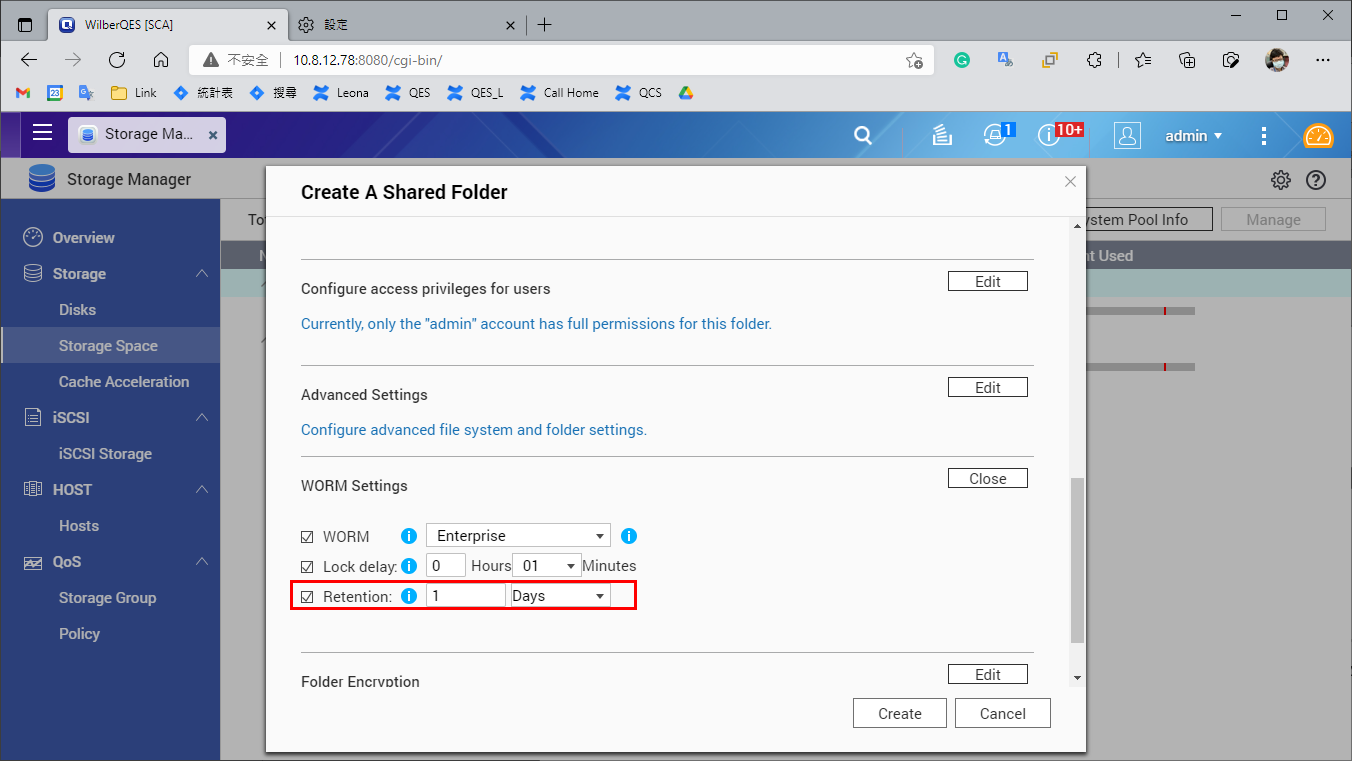
The WORM folder appears in the list of shared folders.
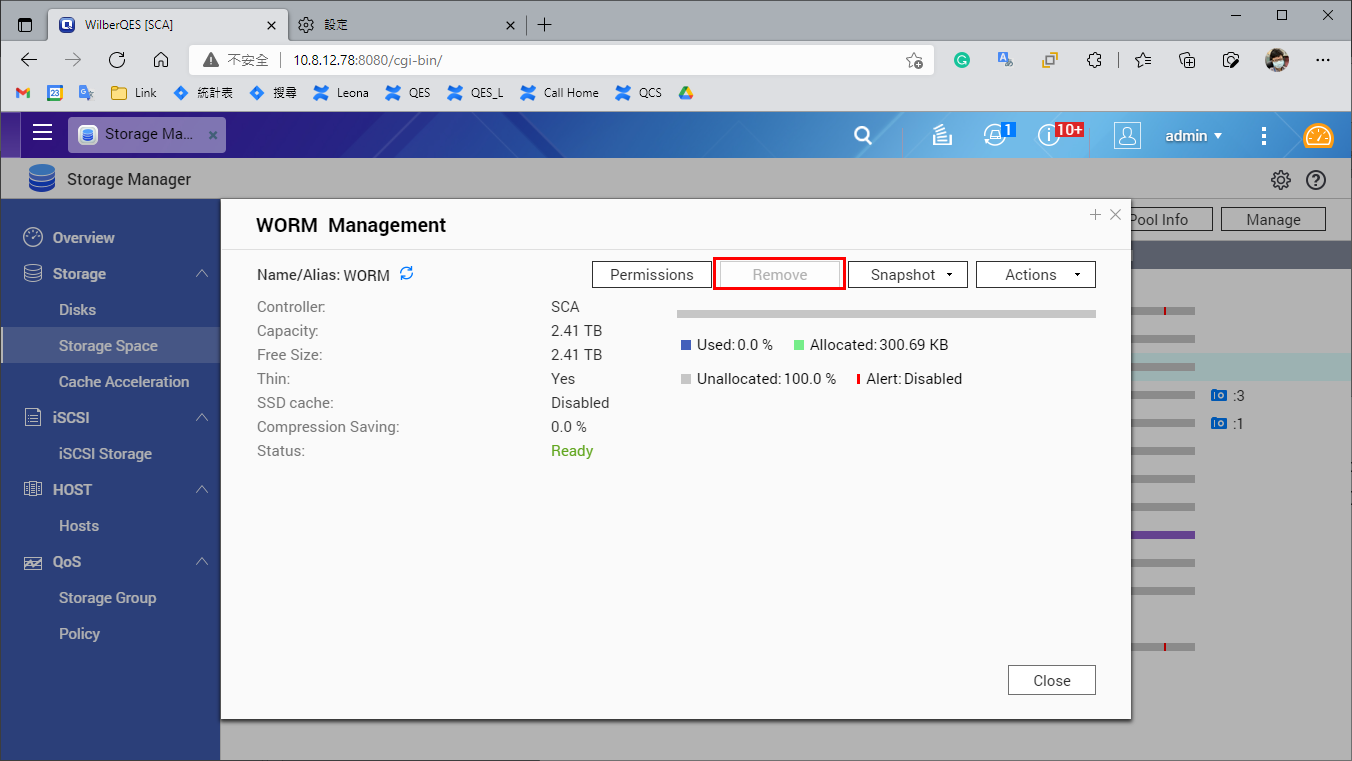
Step 8: Select the WORM folder and click "Manage".
Note: If the WORM type is set as “Compliance”, the remove option (in “Actions”) is disabled.
The WORM folder is created and available to use.
QNAP ES Series NAS WORM Shared Folder function
QNAP WORM architecture
After enabling QNAP WORM in the shared folder, any files/folders in this folder can be set to "Immutable" or "Append Only". The difference is as follows:
| Description | |
|---|---|
| Append Only | You can add data, but not modify, delete, or rename it. |
| Immutable | You cannot add, modify, delete or rename it. |
QNAP WORM trigger conditions
| Description | |
|---|---|
| Append Only | Empty folders will have Append Only status if set to read-only. |
| Immutable | If a folder with data is set to read-only, or an Append Only folder is again set to read-only, it will change to the Immutable state. |
QNAP WORM permissions
Below is description of QNAP WORM permissions
WORM status is similar to denied permissions in ACL, but there are some differences. The main difference is as follows
- If a folder uses WORM, then even users with the highest privileges ("administrator" or "root") cannot change the WORM status of files contained within.
- If a child directory (Child) triggers WORM state, the parent directory will be unable to be renamed and deleted, and this is true for any folder level: as long as the WORM state is triggered, the parent folder will be unable to be renamed and deleted.
- When the WORM folder retention period expires, the "remove privilege" and "delete child privilege" will be automatically granted.
For details, please refer to the following table:
| Write data (rename child) | Append data (add child) | Delete (delete folder, delete child) | Rename | Rename parent | |
|---|---|---|---|---|---|
| NONE | ○ | ○ | ○ | ○ | ○ |
| AppendOnly | X | ○ | X, (WORM expiry is ○) | X | X |
| Immutable | X | X | X, (WORM expiry is ○) | X | X |
Mount the WORM shared folder to the Linux operating system via NFS
Step 1: Open the Linux client (in this document we use Ubuntu 16.04 as an example).

Step 2: Open the Terminal, and enter the following commands to install the NFS Client required package.
# sudo apt-get update
# sudo apt-get install nfs-common


Step 3: Set the WORM shared folder location locally, as shown in the following figure. We set a worm subfolder as a shared folder in /mnt.
- Open the Terminal in the mnt directory

- Enter the following command to create a folder called “worm”.
# sudo mkdir worm

- Enter the following command to mount the NFS WORM shared folder. The WORM shared folder NFS address in the example is 10.10.8.40:/share/worm, after it is successfully mounted, you can see that /mnt/ worm has become NFS WORM shared folder.
# sudo mount -t nfs 10.10.8.40:/share/ /mnt/worm


Verify the WORM shared folder
Preparation
Step 1: Open the Terminal in the “worm” folder and enter the following command to enter root mode
# sudo su

Step 2: Create two subfolders in the WORM shared folder, one named “appendonlytest”, another named “immutabletest”, as two different types of WORM directories.
# mkdir appendonlytest
# mkdir immutabletest


Verify the Append Only status
Step 1: Set the “appendonlytest” folder to read-only (WORM status will become Append Only). We can see that this folder as shown below has read-only status.
# chmod a-w appendonlytest/

Step 2: Verify Append Only
a. Enter the “appendonlytest” folder
# cd appendonlytest/

b. Add the file "test" in the “appendonlytest” folder. The file will be added, which is in line with Append Only folder's feature of being able to add new files.
# touch test

c. Remove the file "test", it will show rm: cannot remove `test': Input/output error
The file can not be removed, which is in line with Append Only folder's feature of being unable to be removed.
# rm test

Verify the Immutable status
Step 1: Trigger the “immutabletest” folder to the Immutable state
a. Enter the following command to enter the "immutabletest" folder
# cd /mnt/worm/immutabletest

b. Add a new file to “immutabletest”, and enter the following command
# touch test

c. Go back to the parent folder "worm"
# cd ..

d. There are files in the “immutabletest” folder. If the folder is set to read-only, it will trigger the Immutable state, and you cannot add or delete files.
# chmod a-w immutabletest/

Step 2: Verify Immutable
a. Enter the "immutabletest" folder.
# cd immutabletest

b. Add file "test2" , it shows touch: setting times of `test2': No such file or directory
You cannot add files, which is in line with the Immutable feature.
# touch test2

c. Remove the originally-added file "test", it will show rm: cannot remove `test': Input/output error
You cannot remove files, which is in line with the Immutable feature.
# rm test

Test using root mode to reset write permissions
Step 1: Open the Terminal in the worm shared folder and enter the following command to enter root mode:
# sudo su

Step 2: Try to reset the write permissions of the “appendonlytest” folder, enter the command and it will display the error:
chmod: changing permissions of `appendonlytest/': Operation not permitted
You can not cancel the read-only state even under root mode
# chmod a+w appendonlytest/

Step 3: Try to reset the write permissions of the “appendonlytest” folder, enter the command and it will display the error:
chmod: changing permissions of `immutabletest/': Operation not permitted
You can not cancel the Immutabletest state even under root mode
# chmod a+w immutabletest/

NOTE: If the folder triggers the WORM state, then even if you are a user with the highest privileges ("administrator" or "root"), the file in the WORM folder still cannot be changed from the WORM state
Trigger Immutable state for all files in the folder
Step 1: Open the Terminal in the worm folder and enter the following command to enter root mode:
# sudo su

Step 2: Create the folder "triggerall".
# mkdir triggerall

Step 3: Add eight files to the triggerall folder.
# cd triggerall/
# touch 1 2 3 4 5 6 7 8

Step 4: Go back to the parent directory and enter the command below to set all files in triggerall folder to read-only.
# cd ..
# chmod –R a-w triggerall/

Step 5: Test deleting the files, as shown below, the files can not be deleted, that is, all files have been triggered to Immutable state.
# cd triggerall/
# rm 1 2 3 4 5 6 7 8


