How can I update NAS firmware without disks installed?
Last modified date:
2024-10-14
Applicable Products
All NAS series
- Locate the firmware for your device.
- Identify the model name and current firmware version of your device. For instructions, see here.
- Go to the Download Center.
- Under Product type, select NAS/Expansion.
- Under Bay, select the number of drive bays for your NAS.
- Under Model, select your NAS model.
- In the Download items section, click Operating System.
- The list is filtered to only display firmware versions available for your device.
- Download the firmware file for your device.
- Identify a firmware version.
- Click the icon in the Remarks column.
- A list of release notes is displayed.
- Review the release notes for any specific instructions.
- Click an icon in the Download Link column.
- The firmware download is prepared. After the download completes, you must extract the firmware image from the .zip file.
- Install Qfinder Pro on your PC.
- Power off the NAS.
- Remove all the disks.ImportantPlease make a note about the drive order, you will have to plug them back in in the same order.
- Power on the NAS.
- Wait for a short beep and a long beep from the NAS.
- Open Qfinder on your PC.TipIf a message appears asking you if you want to initialize a server, you can click no.

- Locate your NAS and click on it.
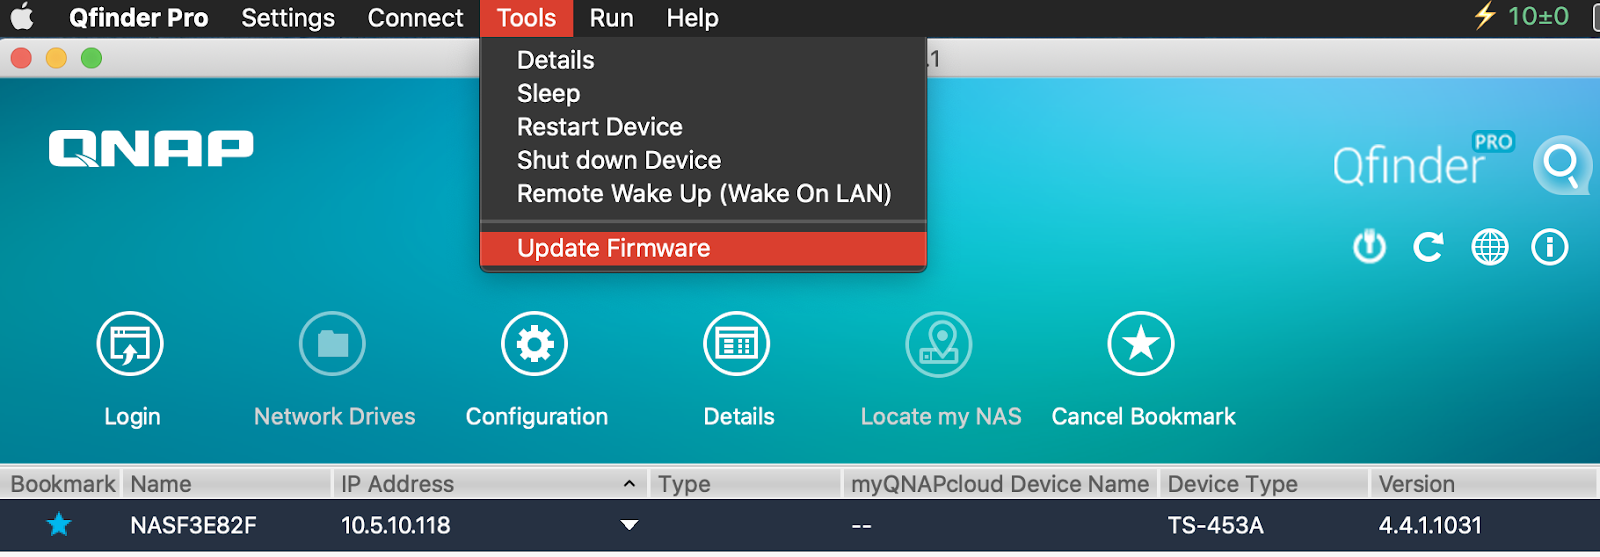
- Go to Tools > Update Firmware.

A login window appears. - Login in to your NAS with an administrator account. If the default administrator account "admin" is enabled, you can log in with this account. For details, see What is the default system administrator password for my NAS?

- Select Path of system firmware image file.
- Click Browse.
Your PC's file explorer opens. - Select the firmware downloaded from step 2.

- Click Start.
- The warning message may pop up, click Yes to proceed.

The firmware is installed on the NAS. - After the update finishes, the NAS reboots

- After the NAS reboots, you can verify the new NAS firmware version in Qfinder Pro.


