How to add a virtual hard disk in Virtualization Station?
Last modified date:
2021-10-05
Introduction
Virtual Machines (VM) often require more storage space to accommodate increasing data when running application services.
Virtualization Station allows users to add additional virtual hard drives or to expand existing virtual hard drives as needed to fit growing storage needs.
- Adding a virtual hard disk to Virtualization Station
- Initializing the virtual hard disk in Windows
- Initializing the virtual hard disk in Ubuntu
- Expanding the capacity of a virtual hard disk
- Allocating expanded virtual drive space in Windows 10
Adding a virtual hard disk to Virtualization Station
- Log into your NAS.
- Open Virtualization Station.
- Select the VM to add a new virtual hard disk to.
- Click Settings.

- Click Add Device.
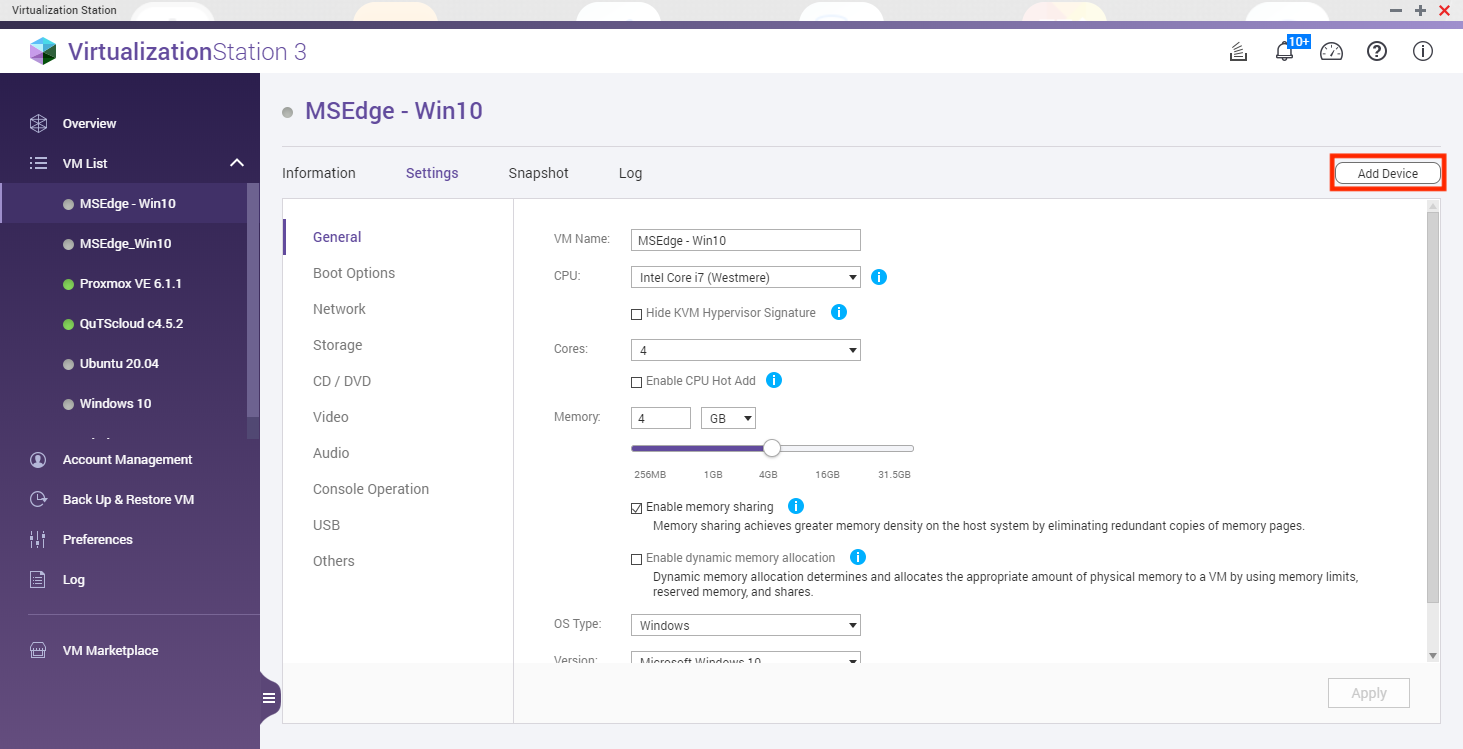
The Add Device window opens.

- Configure the device to be added.
- Choose Hard Disk under Device Type.
- Choose a Controller.
Tip: This can be IDE, SCSI, SATA, or VIRTIO - Choose a Cache Mode.
Tip: For QTS this can be None, Writeback, Writethrough or Force Writeback. For QuTS hero this can be Writeback, Writethrough or Force Writeback. - Select to create a new image or use an existing image for the HDD Image.
- Select a Location to save the virtual hard drive image.
- Allocate a Size for the virtual hard drive image.
- Click OK.
The virtual hard drive is created and added to the VM.

Initializing the virtual hard disk in Windows
- Start the VM.
- Click Console to open the VM.
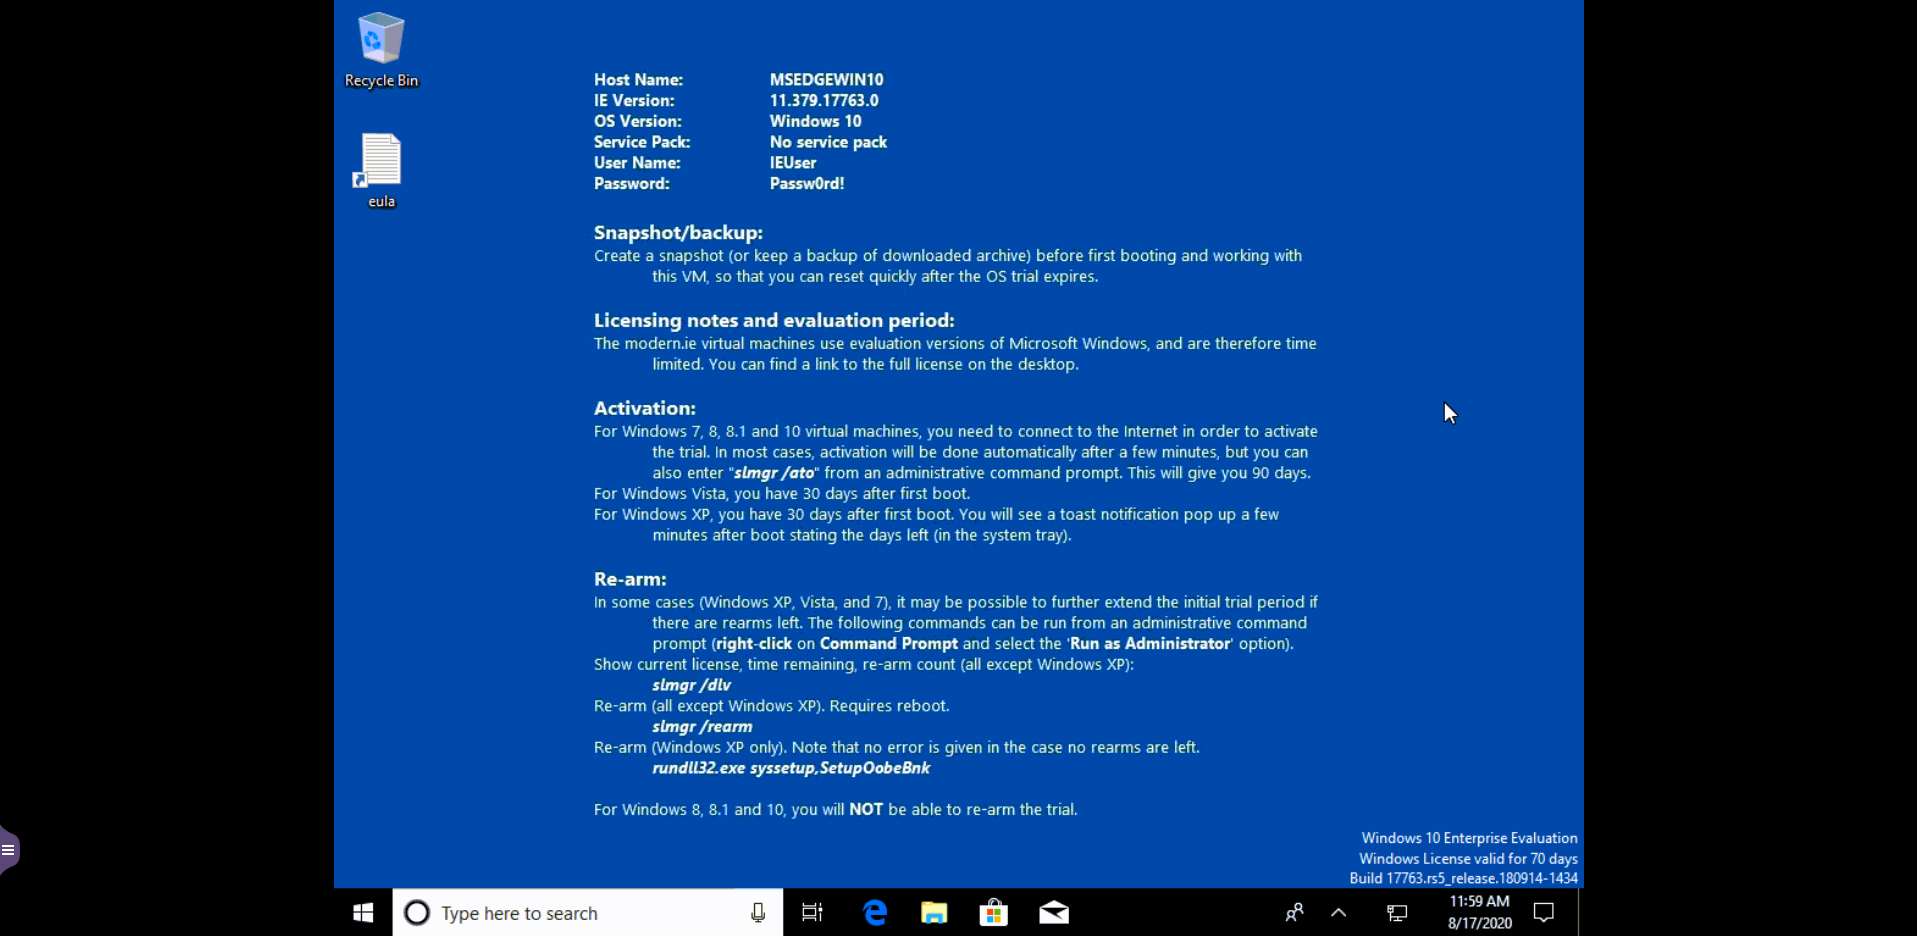
- Right click on the Start menu.
- Select Computer Management.

The Computer Management app starts. - Click Storage.
- Click Disk Management (Local)

The new disk will appear as Unknown with all its space unallocated.
Information: You must initialize a disk before it can be used.
The Initialize Disk window appears. - Ensure the disk is checked.
- Select either MBR or GPT for the partition style.
Information: If your virtual disk size is greater than 2TB, please choose GPT. If you are using a window-based VM and you want to choose GPT, please change the boot firmware to UEFI.

- Right click the Unknown, unallocated Disk.
- Select New Simple Volume.

- The New Simple Volume Wizard appears.

- Click Next.
- Configure the size of the volume.
- Click Next.

- Select Assign the following drive letter and choose a Drive letter.
- Click Next.

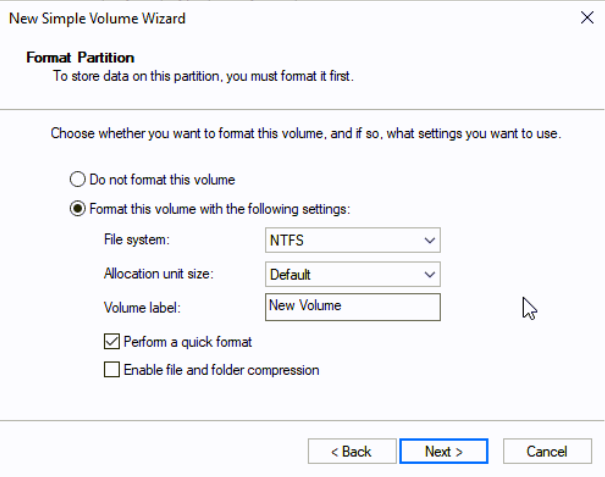
- Configure the format partition.
- Set the File system as NTFS.
- Set the Allocation unit size as Default
- Enter a Volume label.
- Check Perform a quick format.
- Click Next.
- Review your settings and click Finish.

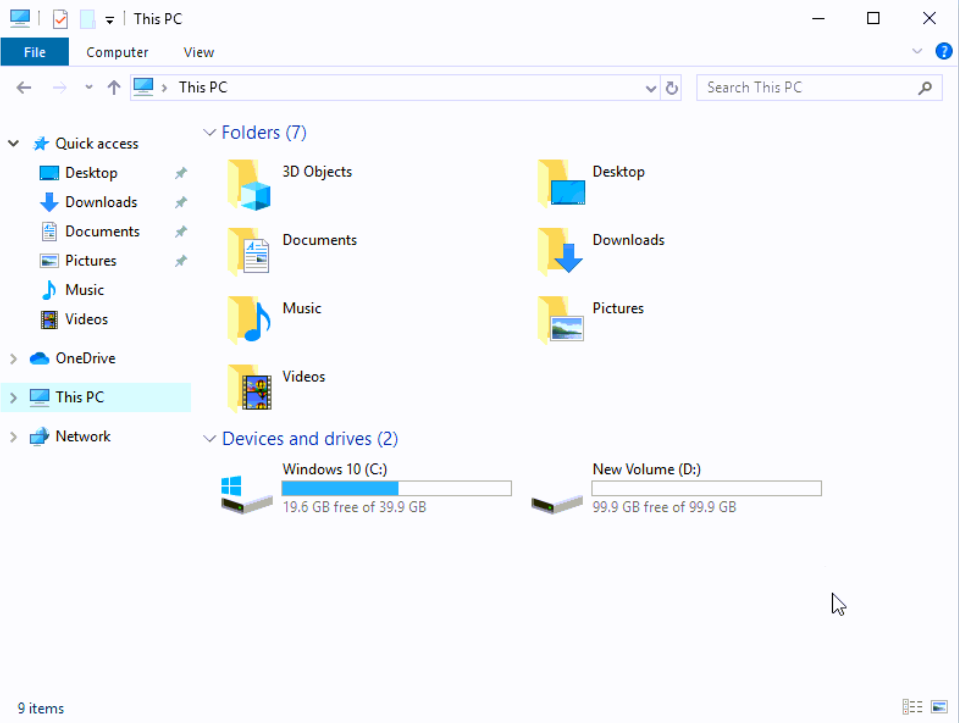
The virtual hard drive is now initialized and ready to use.
Tip: You can view and access the new virtual hard drive by opening the Start menu and opening This PC.
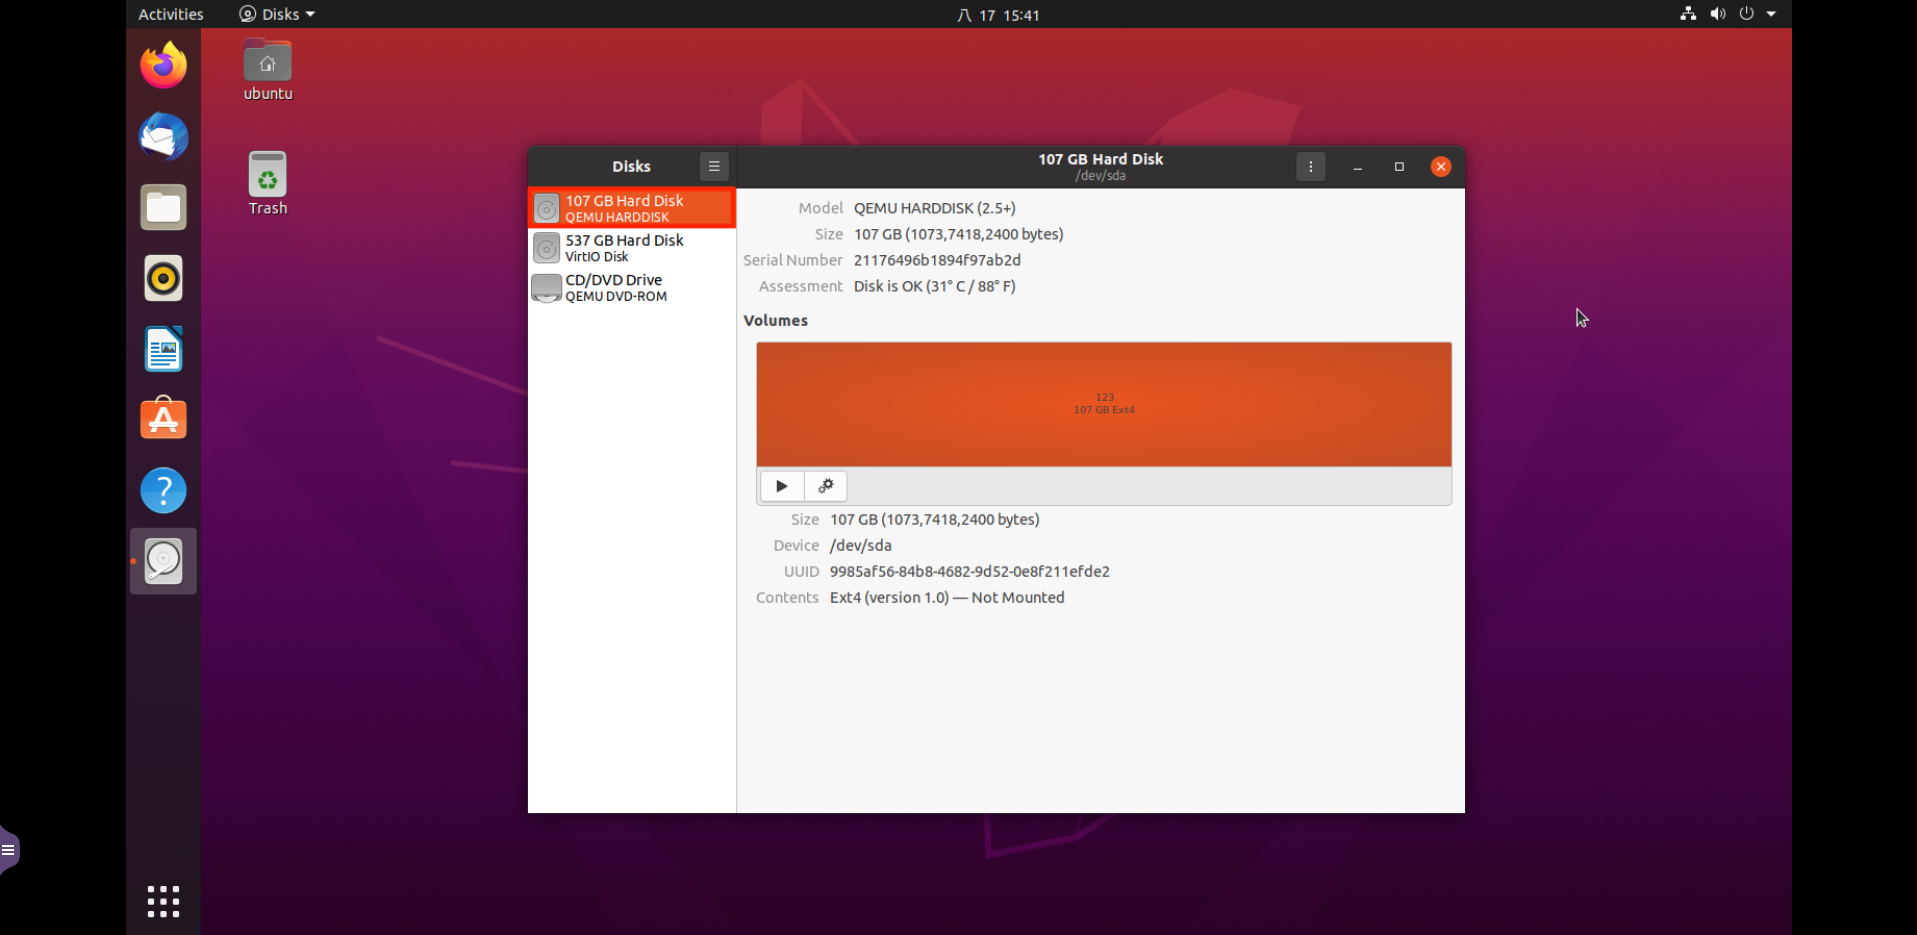
Initializing the virtual hard disk in Ubuntu
- Click Show Applications.

- Enter Disks.
- Click Disks.

The new virtual hard disk will be displayed in Disks.
Expanding the capacity of a virtual hard disk
- Select the VM with the virtual hard disk to expand.
Note You must delete all of the snapshots belonging to this VM before applying the following settings. - Click Settings.

- Select Storage.
- Expand the size by entering a new value or by dragging the bar to the right.
- Click Apply.
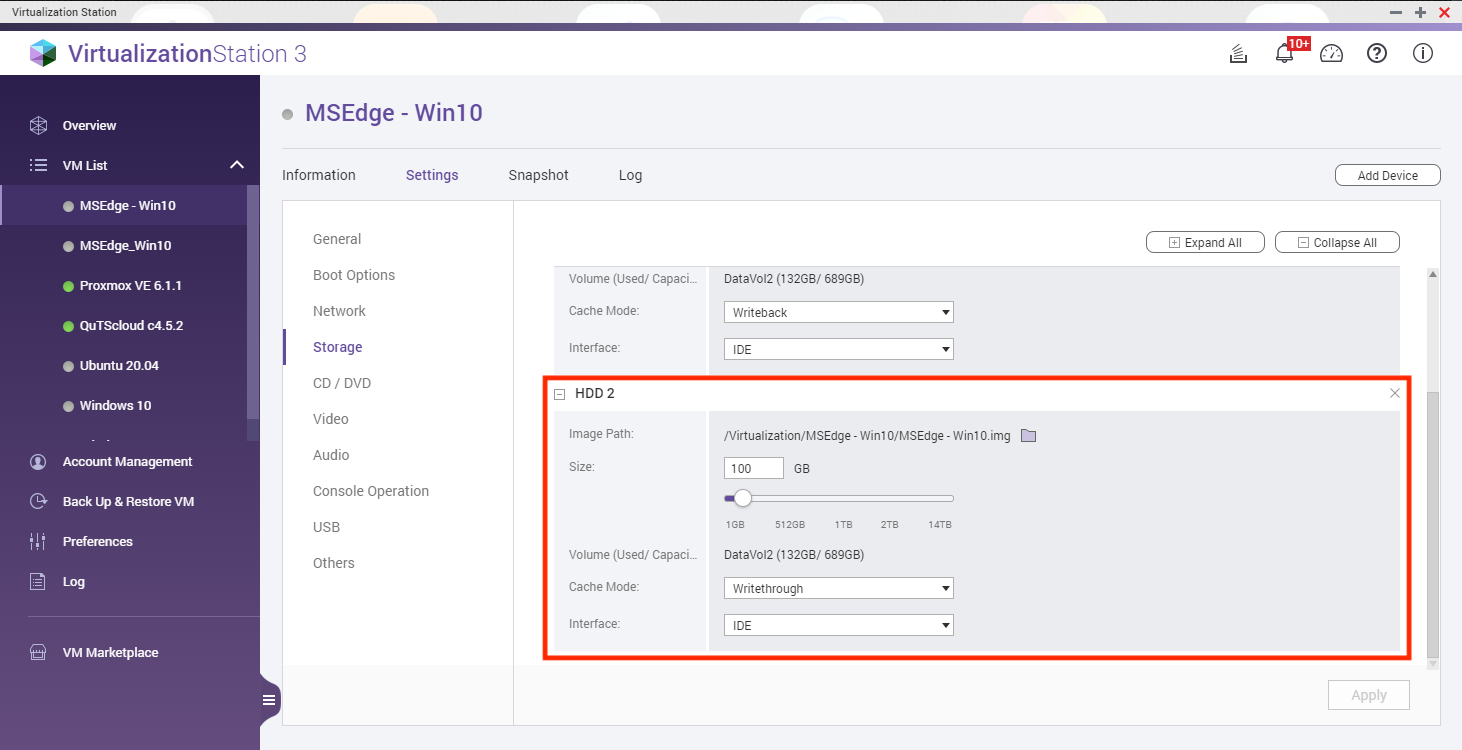
The virtual hard drive has now been expanded.

Allocating expanded virtual drive space in Windows 10
- Enter the VM console.
- Right-click on the Start menu.
- Select Computer Management.

The Computer Management app starts. - Click Storage.
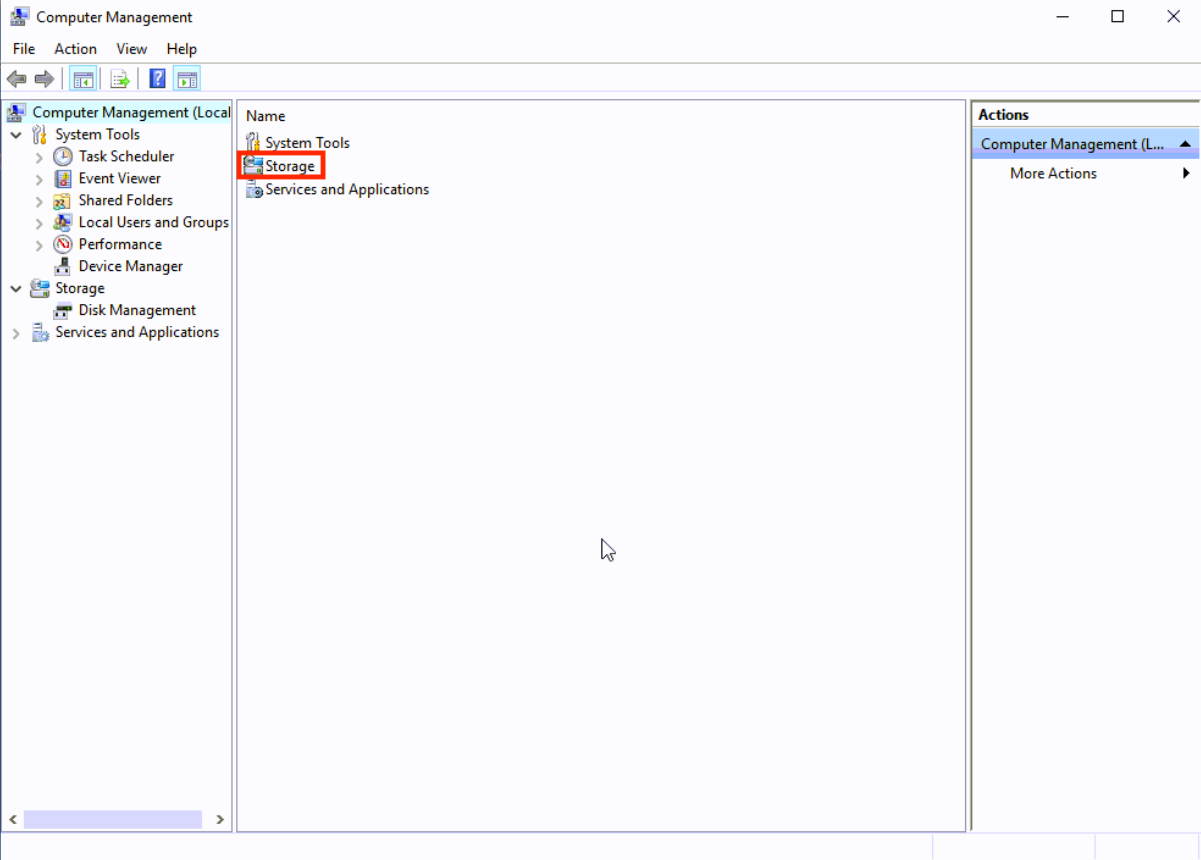
- Click Disk Management (Local).

Information: The extended space of the original virtual hard disk will be displayed as Unallocated.

- Right click the virtual hard disk.
- Select Extend Volume…

The Extend Volume Wizard opens. - Click Next.

Information:The system will select the unallocated space by default. - Click Next.

- Click Finish.

- The extended space is now merged into the original virtual hard disk.


