How to use QmailClient to manage your email accounts?
Overview
QmailClient is a companion mobile app for QmailAgent that allows users to centrally manage all of their email accounts, providing convenient and universal access to emails.
1. Install QmailClient
QmailAgent must be installed on your NAS and add an email account to use QmailClient. Your NAS must be using QTS 4.2.2 (or later).

Install QmailClient on your device from the App Store or Google Play.

2. Add NAS to QmailClient
When adding a NAS, QmailClient will first automatically search the local network for QNAP NAS. On the search results, you can select a NAS and sign in with your username and password.
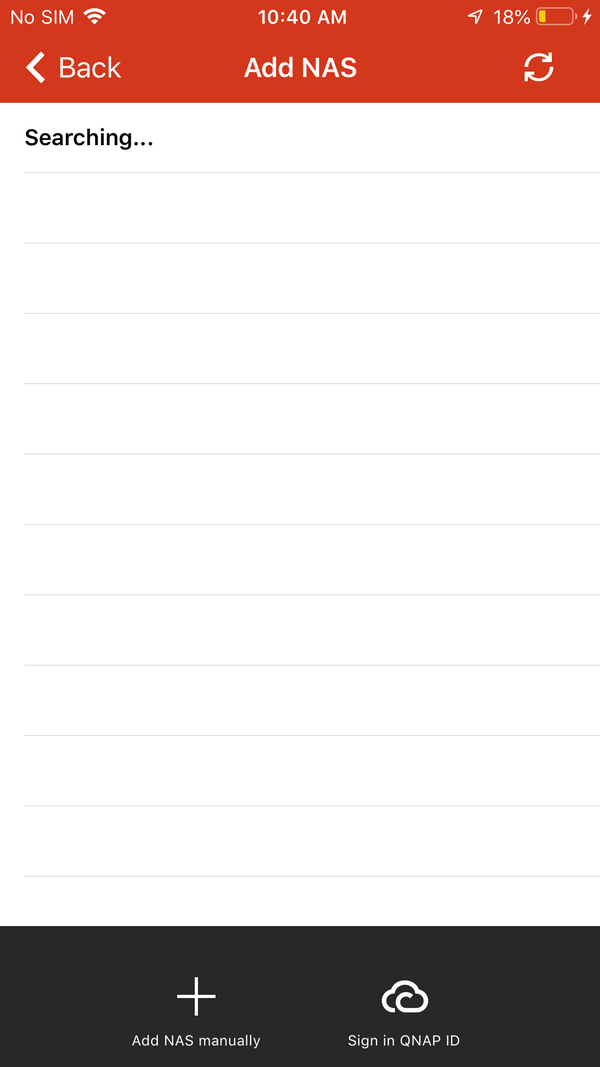
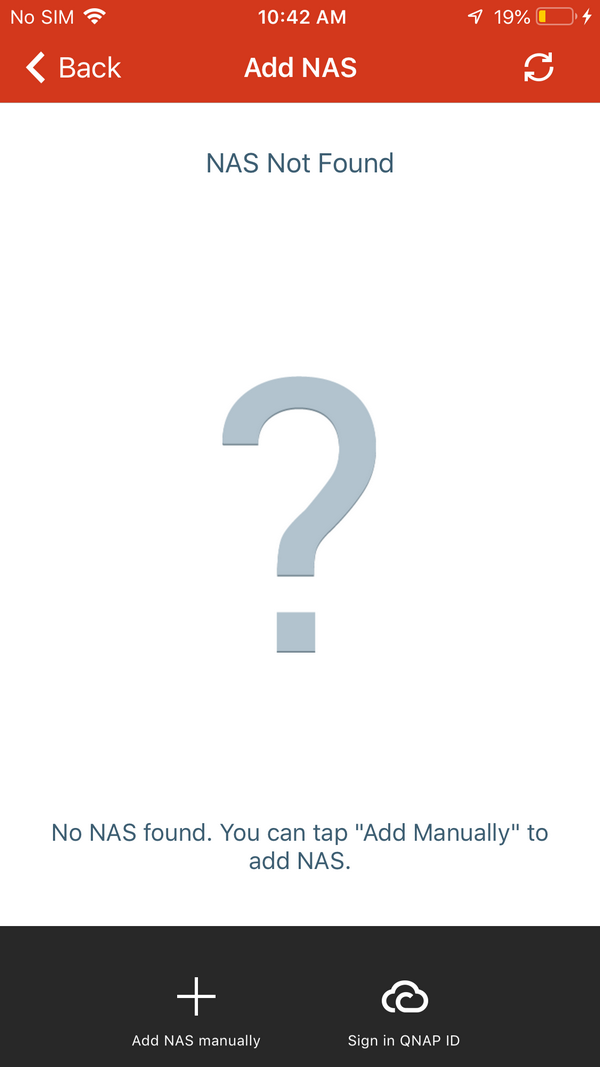
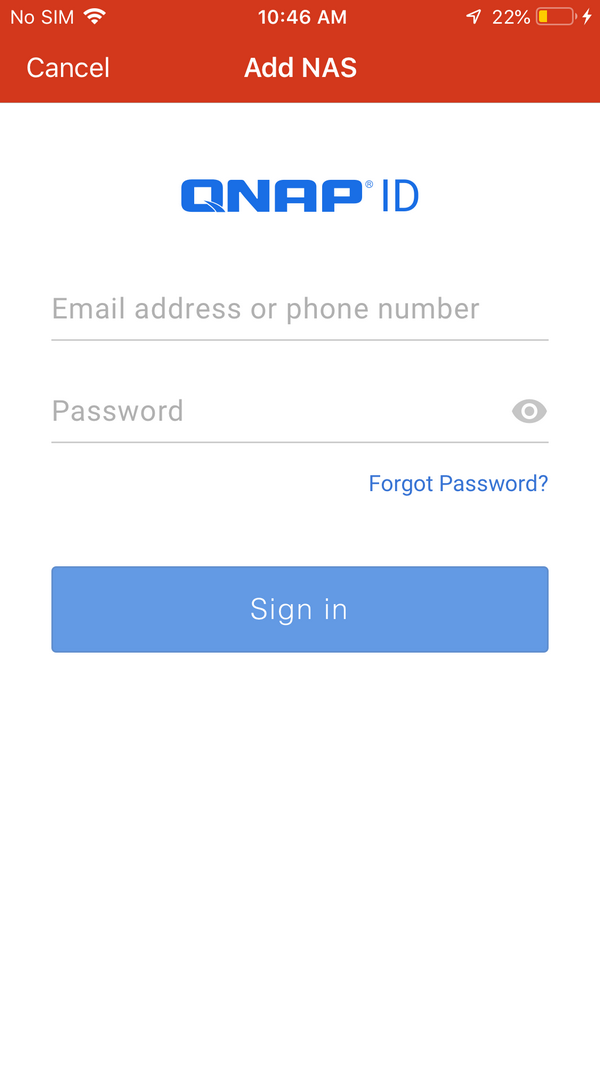
If no NAS is found, select “Add NAS manually” or “Sign in QID”.
3. Manage QmailClient accounts
After logging into an email account, it will display your email account inbox page. You can choose whether or not to receive notifications from the NAS. Users can change the push notifications settings in the setting page.

Tap  to write a new email.

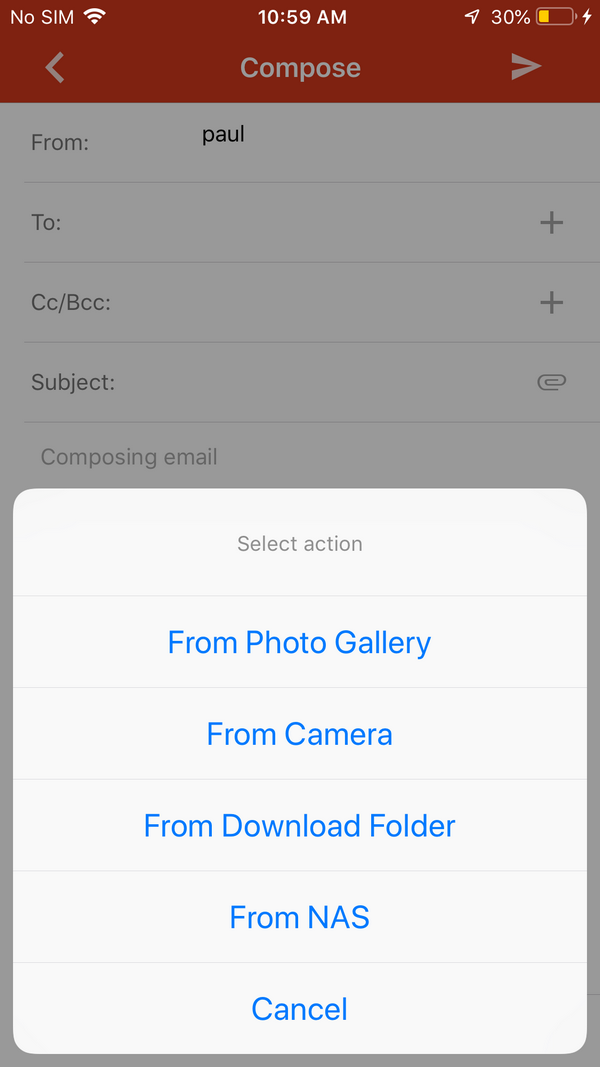
Tap  to attach files. You can choose to attach files from your mobile device or NAS.
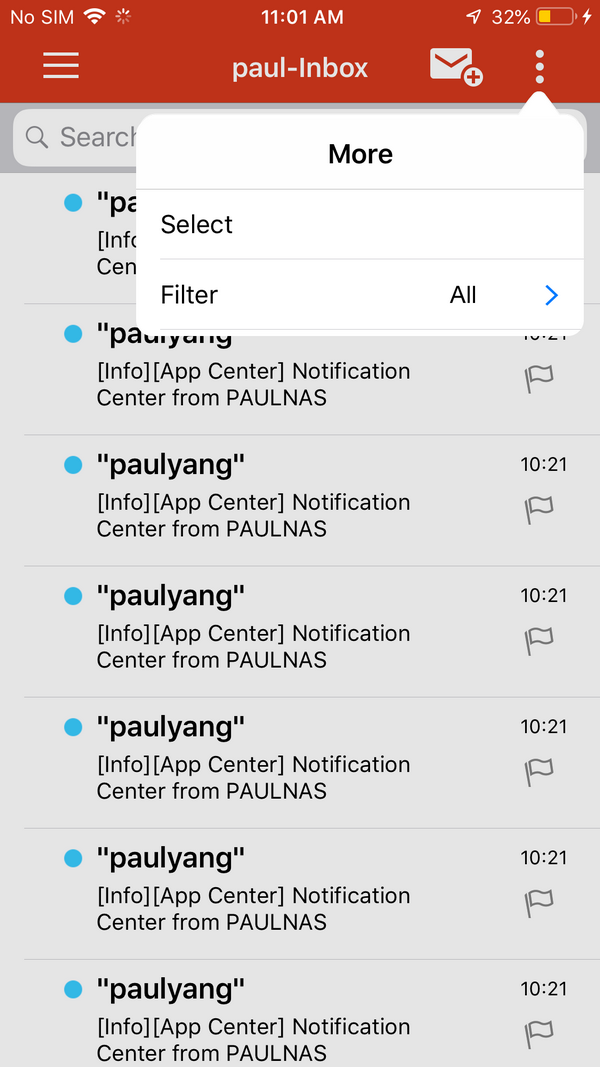
Tap  to view more options.
- Tap “Select” to select multiple emails.
- Tap “Filter” to browse other email categories (including flagged emails, unread or with attachment).
Tap  to switch email accounts or to view other functions.
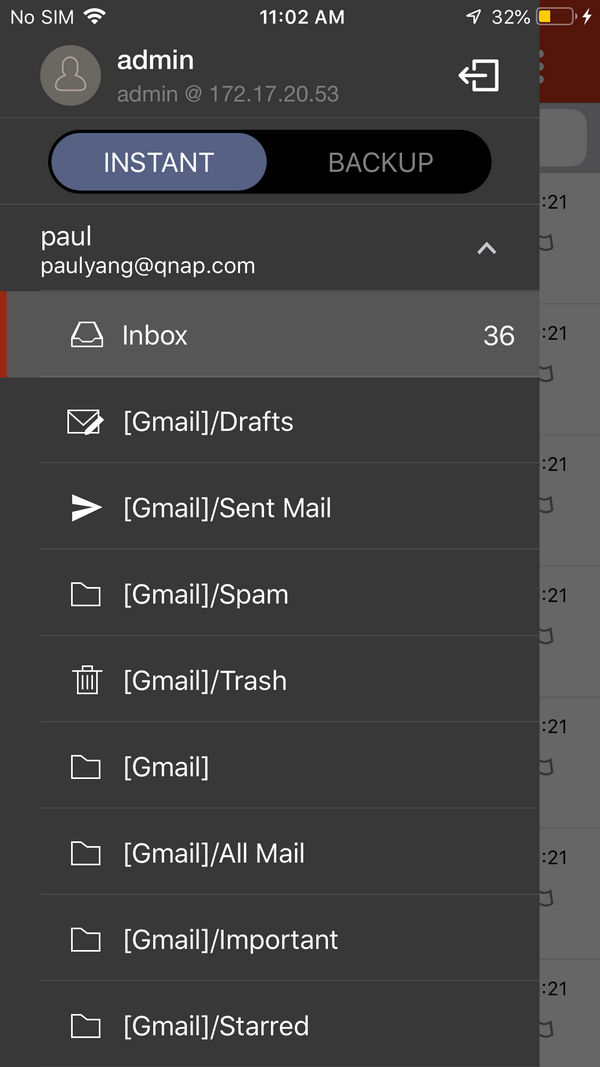

Tap “Download folder” to view files downloaded from emails. QmailClient separates downloads into folders based on email accounts.


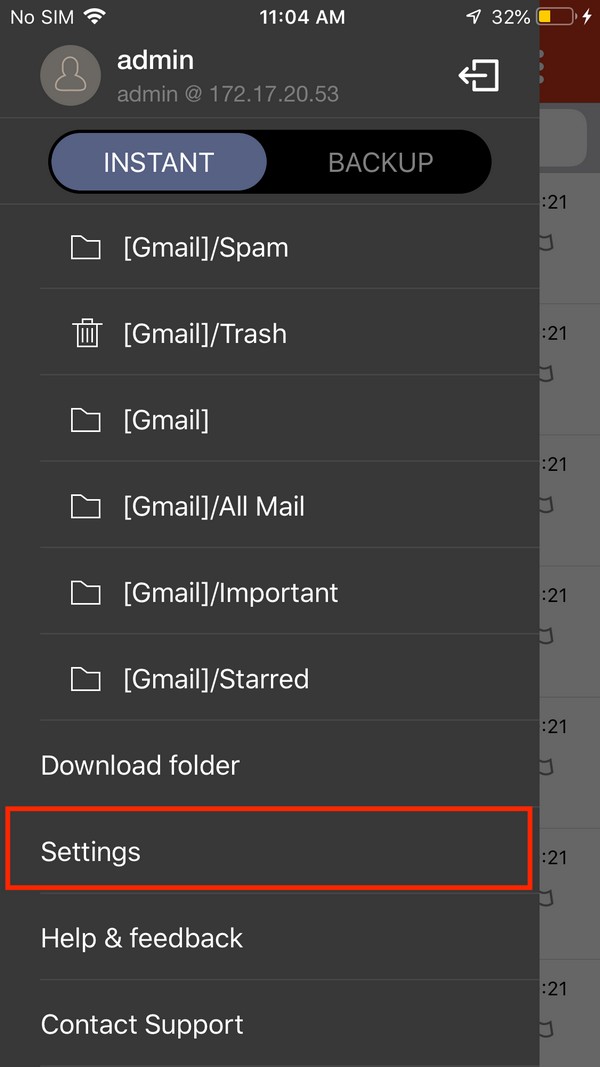
Tap “Settings” to change settings including QID, download folder, push notifications, general and cache.
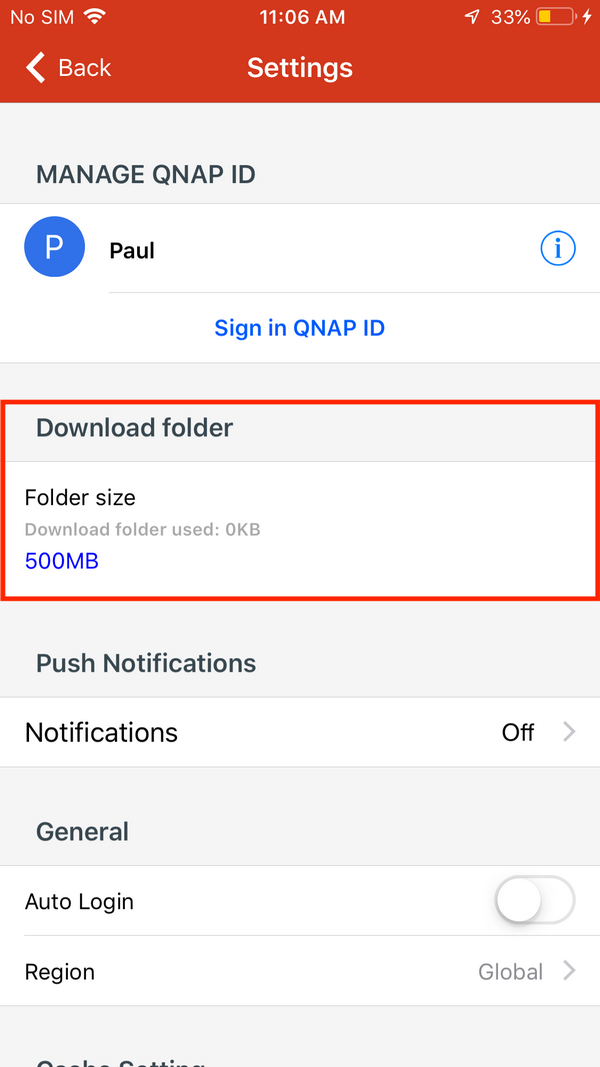
- In "Download folder" you will see the folder capacity and used space. You can set an upper limit for the folder capacity.
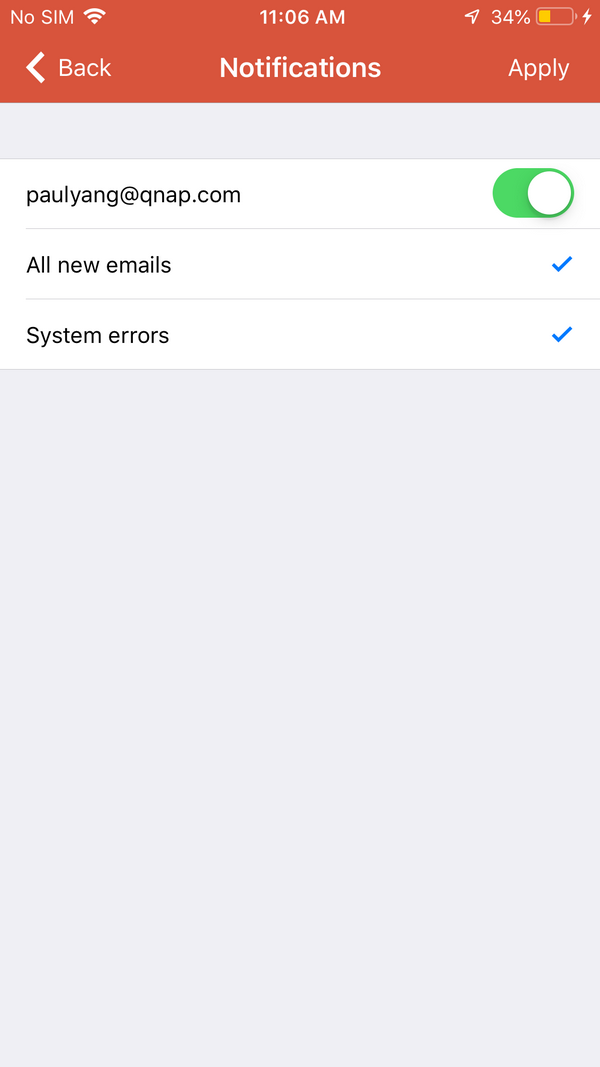
- In "Push Notifications" you can select what notifications to receive (new emails or system errors) for email accounts.
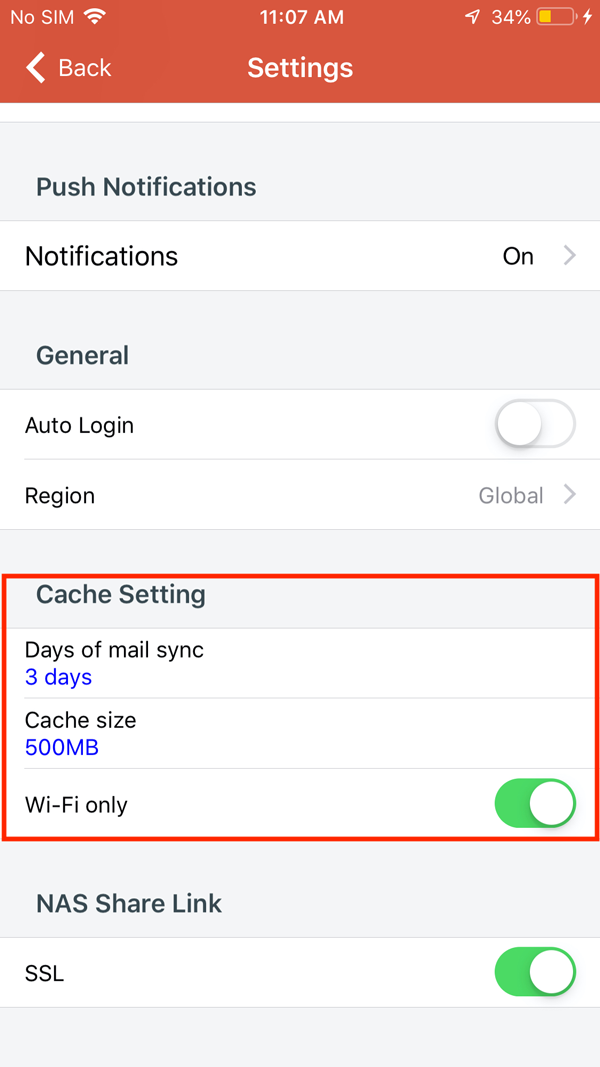
- QmailClient will cache emails for offline reading. In "Cache Setting" you can set the number of days to sync emails, the cache size, and whether or not to sync using Wi-Fi only.
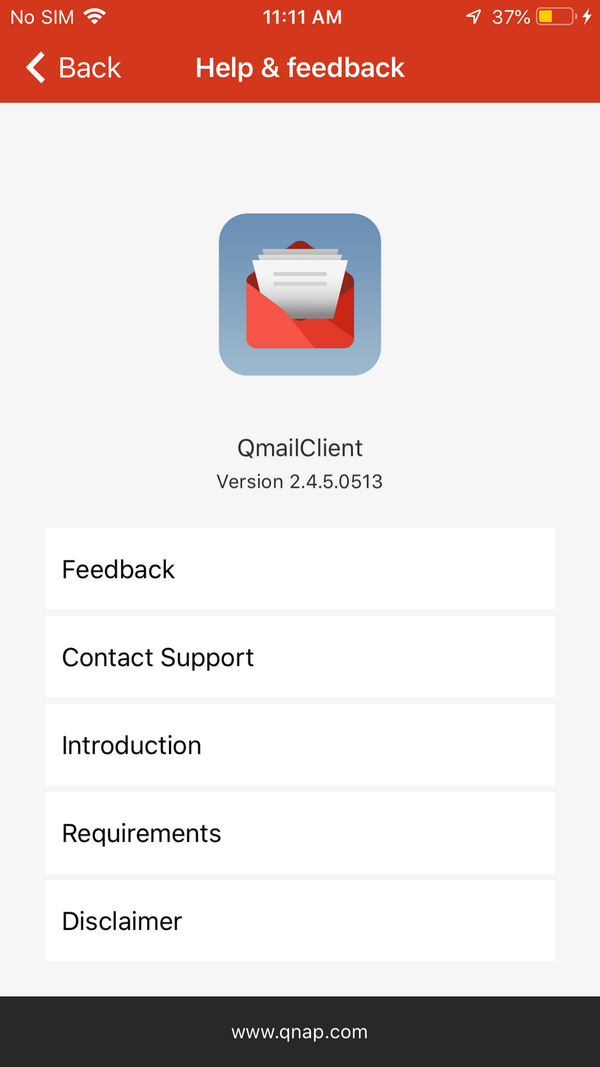
Tap “Help & Feedback” to view more information regarding QmailClient and QNAP. You can tap “Feedback” to provide QNAP with your suggestions and to report technical issues.
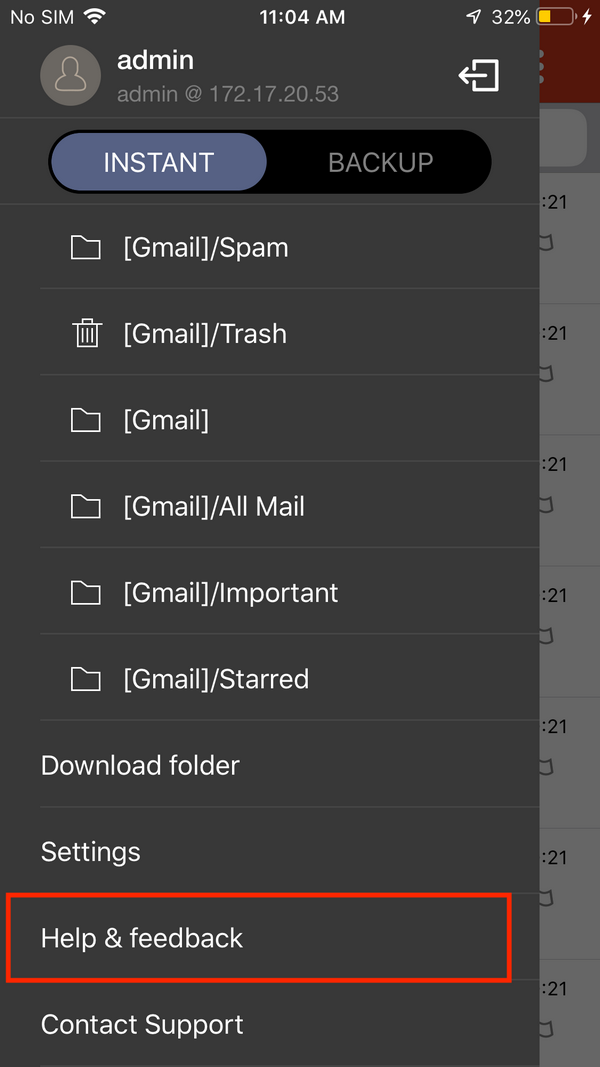
Tap  to switch accounts or to add another NAS.


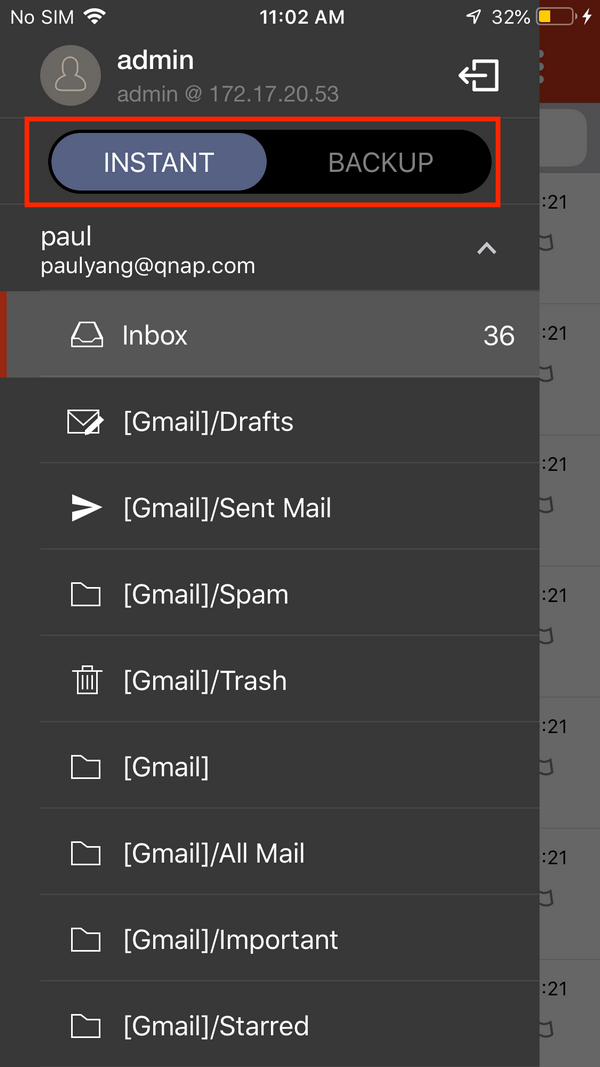
4. Change backup modes
Tap  to change between "Instant" and "Backup" modes. Instant mode: All of the changes you make in this mode will be saved and applied to the emails on the email server. Backup mode: Even if an email is deleted on the email server, you can still view its backup copy on the NAS.
5. Notes
- You must have at least one email account in QmailAgent to use QmailClient.
- Bonjour must be enabled in “Control Panel” > “Network Services” > “Service Discovery” for QmailClient to find your NAS on the local network.
- Local user accounts on the NAS must be used to sign in to QmailClient.


