How to get authentication credentials for adding a Microsoft 365 Domain to Boxafe?
How to get authentication credentials for adding a Microsoft 365 domain to Boxafe?
This tutorial will guide you through how to register a Microsoft Azure Active Directory (AD) application and generate a certificate for authorizing Boxafe to back up Microsoft 365 domain data. Additional instructions are provided in this tutorial on how to obtain API access permissions to back up Microsoft Teams and SharePoint Sites data in Boxafe.
This tutorial is only applicable to Boxafe 1.5 or later versions. If your Boxafe is an earlier version, follow this tutorial instead: How to obtain authentication for adding a new Microsoft 365 domain in Boxafe?
Requirements
| Category | Requirements |
|---|---|
| Hardware | A computer |
| Software |
|
Generating a Microsoft 365 Tenant ID, Client ID, and Certificate
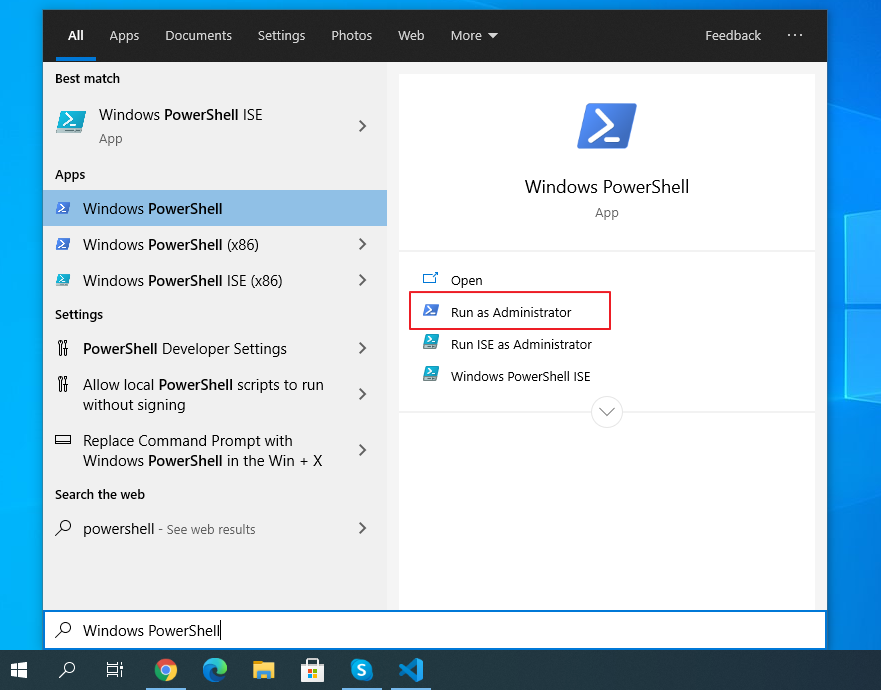
- Open PowerShell.
- Choose Windows PowerShell.
 Tip:
Tip:Make sure you do not select Windows PowerShell (x86).
- Choose Windows PowerShell.
- Enter Y or Yes.
The PowerShell execution policy is modified.

- Download the BoxafeAppGenerator.ps1 PowerShell script and follow the instructions below:
- Copy the file Location details.
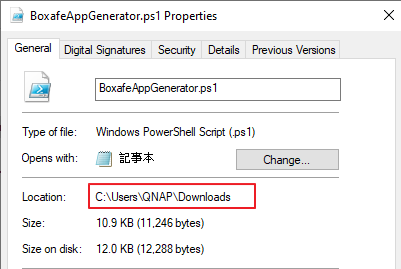
- Paste the file location into the value
in the following command: cd
For example, if your location is C:\Users\QNAP\Downloads, then the command will become: cd C:\Users\QNAP\Downloads
Opens the file location folder in PowerShell.

- Run the PowerShell script based on your Microsoft 365 domain region. For details, see the following table:
Domain Region
Command
Microsoft 365 Global
.\BoxafeAppGenerator.ps1 -AzureEnvironmentName AzureCloud
Microsoft 365 operated by 21 Vianet (China)
.\BoxafeAppGenerator.ps1 -AzureEnvironmentName AzureChinaCloud
Microsoft 365 Germany
.\BoxafeAppGenerator.ps1 -AzureEnvironmentName AzureGermanyCloud
A certificate password configuration message appears.

- Copy the file Location details.
- Press Enter.
A new certificate password is configured and the Microsoft Single Sign-On (SSO) window appears.

- Log in to Microsoft 365 as an administrator.
-
Boxafe is registered as a new application in Microsoft Azure AD.
Tip:Do not close the window, you will need to return to the window later to complete Microsoft 365 authentication.
-
The Microsoft 365 tenant ID, client ID, and PFX certificate are generated and displayed in the PowerShell window.
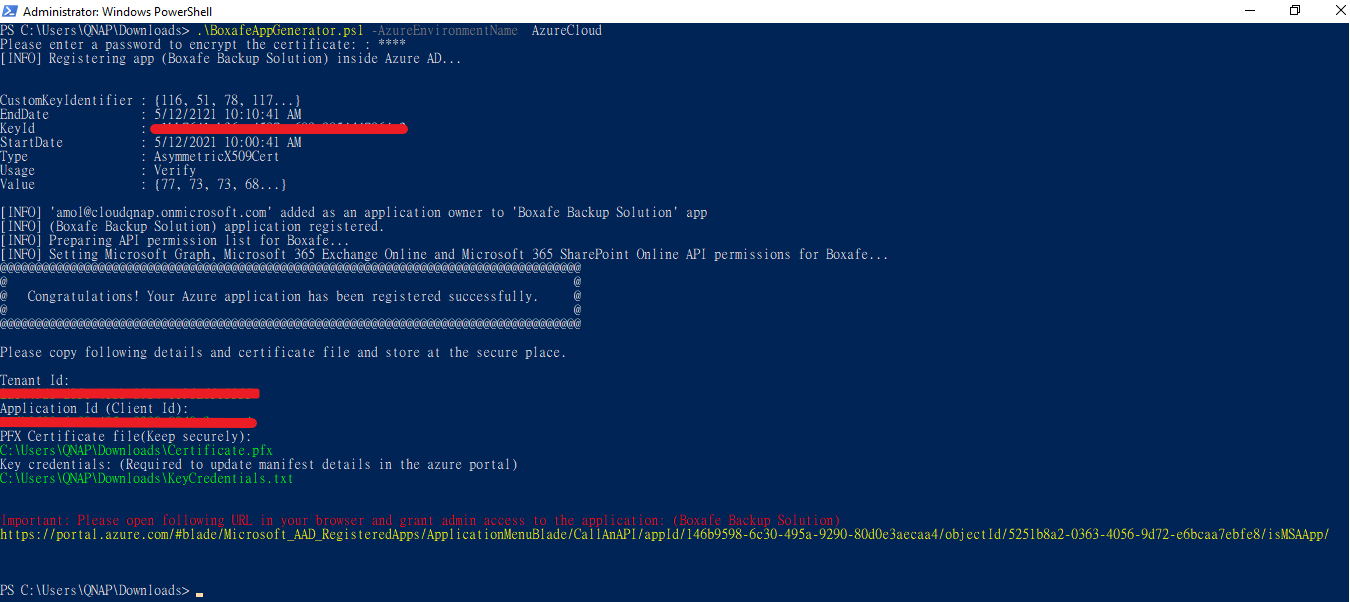 Tip:
Tip:Do not close the PowerShell window or log out, you will need to return to the platform later to complete Microsoft 365 authentication.
-
- Copy the generated URL shown at the bottom of the PowerShell window.

- Select Grant admin consent for QNAP Systems Inc.
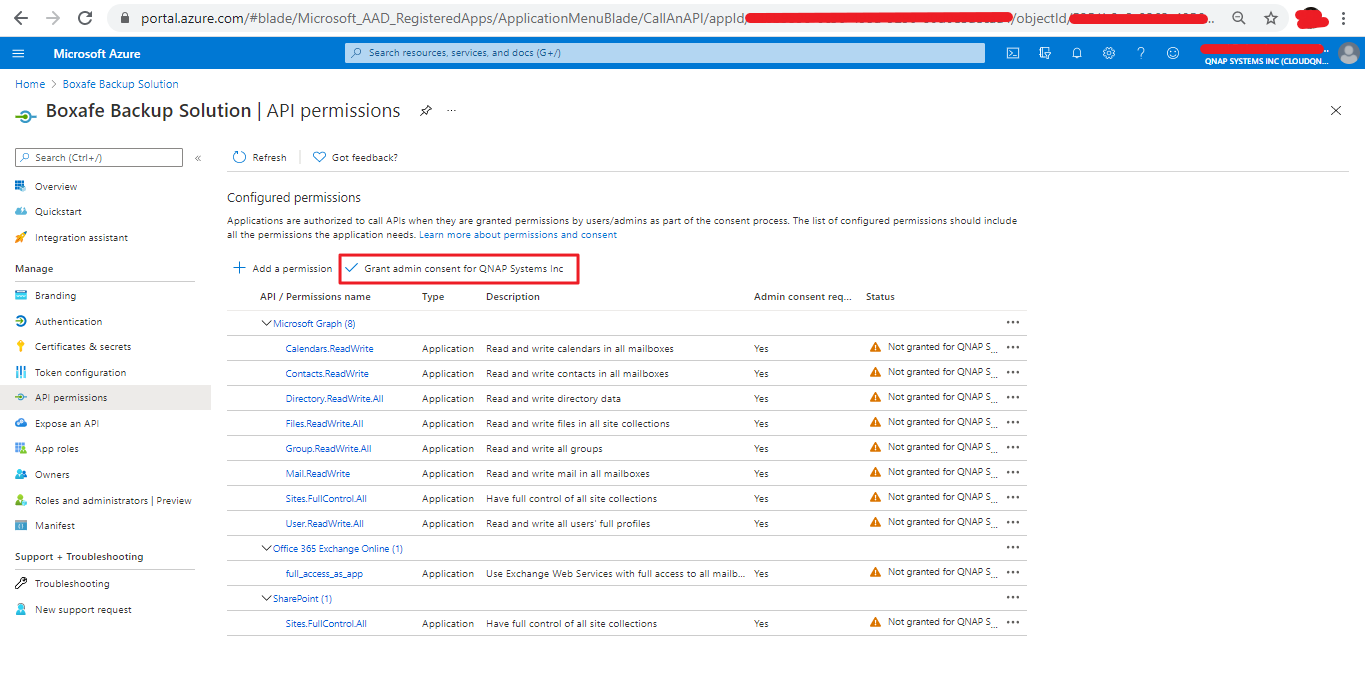
Boxafe is authorized to access your Microsoft 365 domain data.
Requesting Access to Microsoft Teams Protected APIs in Microsoft Graph
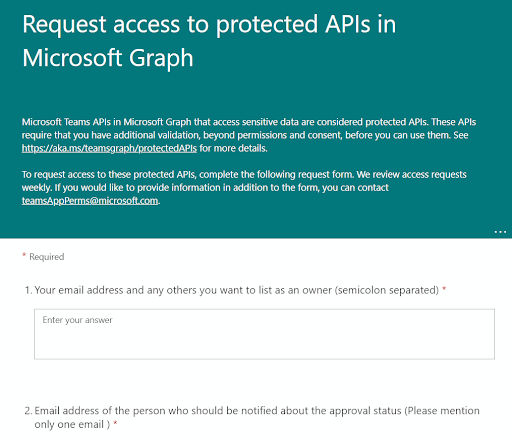
This Microsoft protected API access permission is only required for backing up Microsoft Teams data in Boxafe. You can skip this section if you do not need to back up Microsoft Teams data in Boxafe.
Microsoft Teams APIs in Microsoft Graph accesses sensitive data that are considered protected APIs. These APIs require additional validation and require you to submit the Request access to protected APIs in Microsoft Graph application form.
- Open the Request access to protected APIs in Microsoft Graph form in a browser.
The Request access to protected APIs in Microsoft Graph form appears.
Granting Microsoft 365 Tenant Administrative Permissions for SharePoint Sites
-
You can skip this section if you do not need to back up Microsoft SharePoint site data in Boxafe.
-
You must obtain the Microsoft 365 Client ID, Tenant ID, and PFX Certificate before adding a SharePoint site to Boxafe. For details, see Generating a Microsoft Azure Client ID and Tenant ID.
-
The Microsoft 365 tenant administrative permissions are only required when adding a SharePoint site to Boxafe for backup. The permissions are not required when adding Microsoft 365 domains to Boxafe.
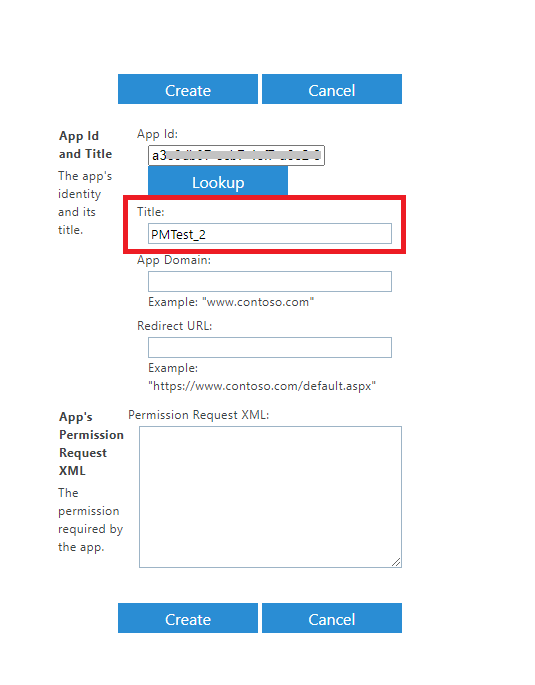
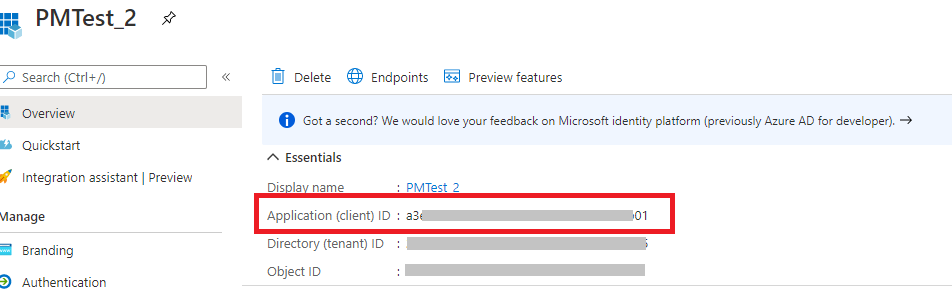
- Copy the Application (client) ID you obtained from Generating a Microsoft 365 Tenant ID, Client ID, and Certificate.
- Insert the tenant name into the following link: https://[tenant]-admin.sharepoint.com/_layouts/15/appinv.aspx. Note:
The [tenant] name is the subdomain of your SharePoint Site. For example cloudqnap.sharepoint.com is the URL of your SharePoint site and cloudqnap is the tenant name.

- Click Lookup.
The app title is generated.