How to configure ExpressVPN on QVPN using L2TP/IPsec?
- How to Configure ExpressVPN on QVPN using L2TP/IPsec
- Identifying ExpressVPN Server Information
- Installing QVPN
- Creating an L2TP/IPSec Connection
- Connecting to the VPN
How to Configure ExpressVPN on QVPN using L2TP/IPsec
This tutorial explains how to configure ExpressVPN on your QNAP NAS using L2TP/IPsec. Before you begin, make sure your QNAP device is set up and connected to the same network as your computer.
This tutorial is also available on the ExpressVPN website.
Identifying ExpressVPN Server Information
The first step is to locate your ExpressVPN account credentials and server details. You'll need these later when configuring QVPN.
- Under Manual Configuration, click PPTP & L2TP/IPsec.

A window opens.
Note the account credentials and server address for later use with QVPN.
Installing QVPN
- Open App Center, and then click
 .
. A search box appears.
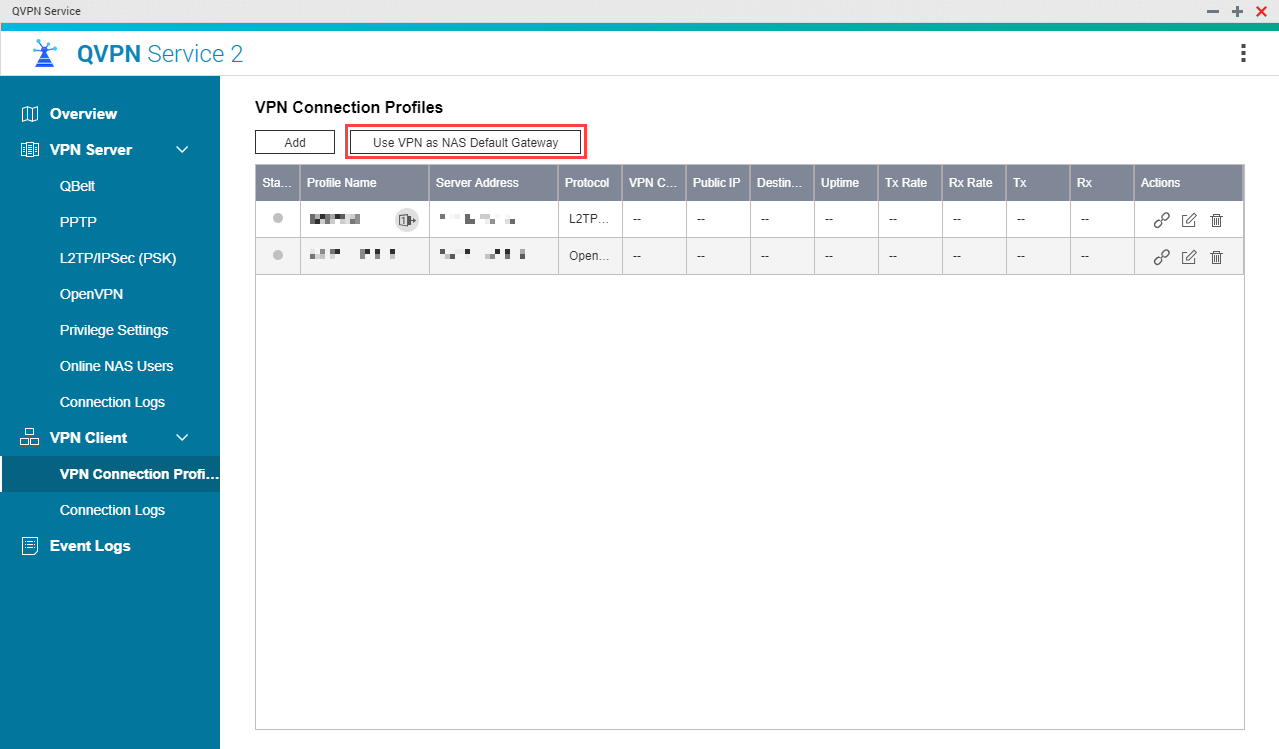
Creating an L2TP/IPSec Connection
The next step is to configure QVPN using the information you noted earlier.
- Click Add.

- Configure the VPN connection settings.

Setting
Description
Profile Name
Specify a name to help identify this profile.
Server Address
Specify the IP address for the VPN server.
Username
Specify the username to access the VPN server.
Password
Specify the password to access the VPN server.
Authentication
Select an authentication method.
Preshared Key
Specify the key provided by the VPN server administrator.
Specify the subnet mask
Specify the subnet mask.
Connecting to the VPN
The final step is to connect to the VPN from the QNAP device.
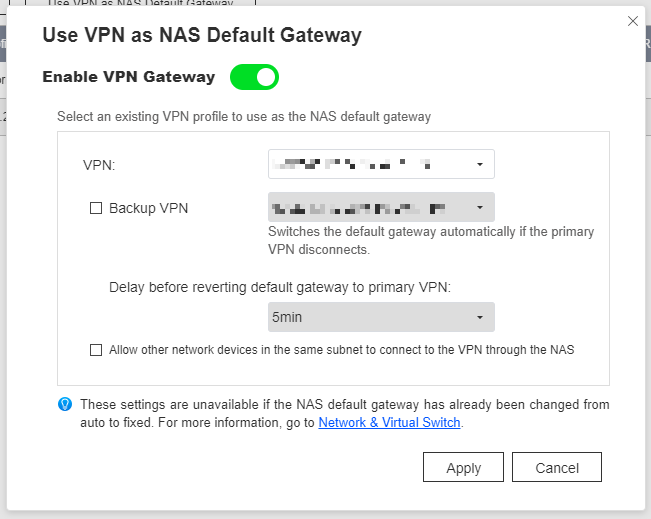
- Click Use VPN as NAS Default Gateway.
The Use VPN as NAS Default Gateway window opens.
- Click