How to connect a LinkIt 7697 to a QNAP NAS via QIoT Suite Lite
In this tutorial, you will learn the basics of working with a LinkIt 7697 (based on Arduino). You will then learn how to connect your devices to QNAP NAS using QIoT Suite Lite.
1. Configure the Development Environment of Arduino IDE
You can program your LinkIt 7697 with both the Arduino IDE and LinkIt SDK for RTOS. The following only lists the setting steps for Arduino IDE.
1.1 Download Arduino IDE
- Download and install the Arduino IDE based on your work environment:
https: //www.arduino.cc/en/Main/Software - More Arduino tutorials can be found at:
https: //www.arduino.cc/en/Tutorial/HomePage
1.2 Configure LinkIt 7697
When using the LinkIt 7697 for the first time, follow these steps:
- Add the LinkIt 7697 Board Support Package:
https: //docs.labs.mediatek.com/resource/linkit7697-arduino/en/environment-setup/setup-arduino-ide - Install the USB driver:
https: //docs.labs.mediatek.com/resource/linkit7697-arduino/en/environment-setup/connecting-linkit-7697-to-computer - Configure your board.

- Configure your serial port.

- Verify and upload your Blink example to the LinkIt 7697. For more information, refer to the following tutorial (sections 1.2):
Connect Arduino Yun to QNAP NAS via QIoT Suite Lite - After uploading the example code, check the LinkIt 7697 and you should see the "USR" light blinking.

1.3 Install the MQTT library
A third-party library is required to connect to QIoT Suite Lite and transfer data via MQTT.
- Download PubSubClient from GitHub: https: //github.com/knolleary/pubsubclient
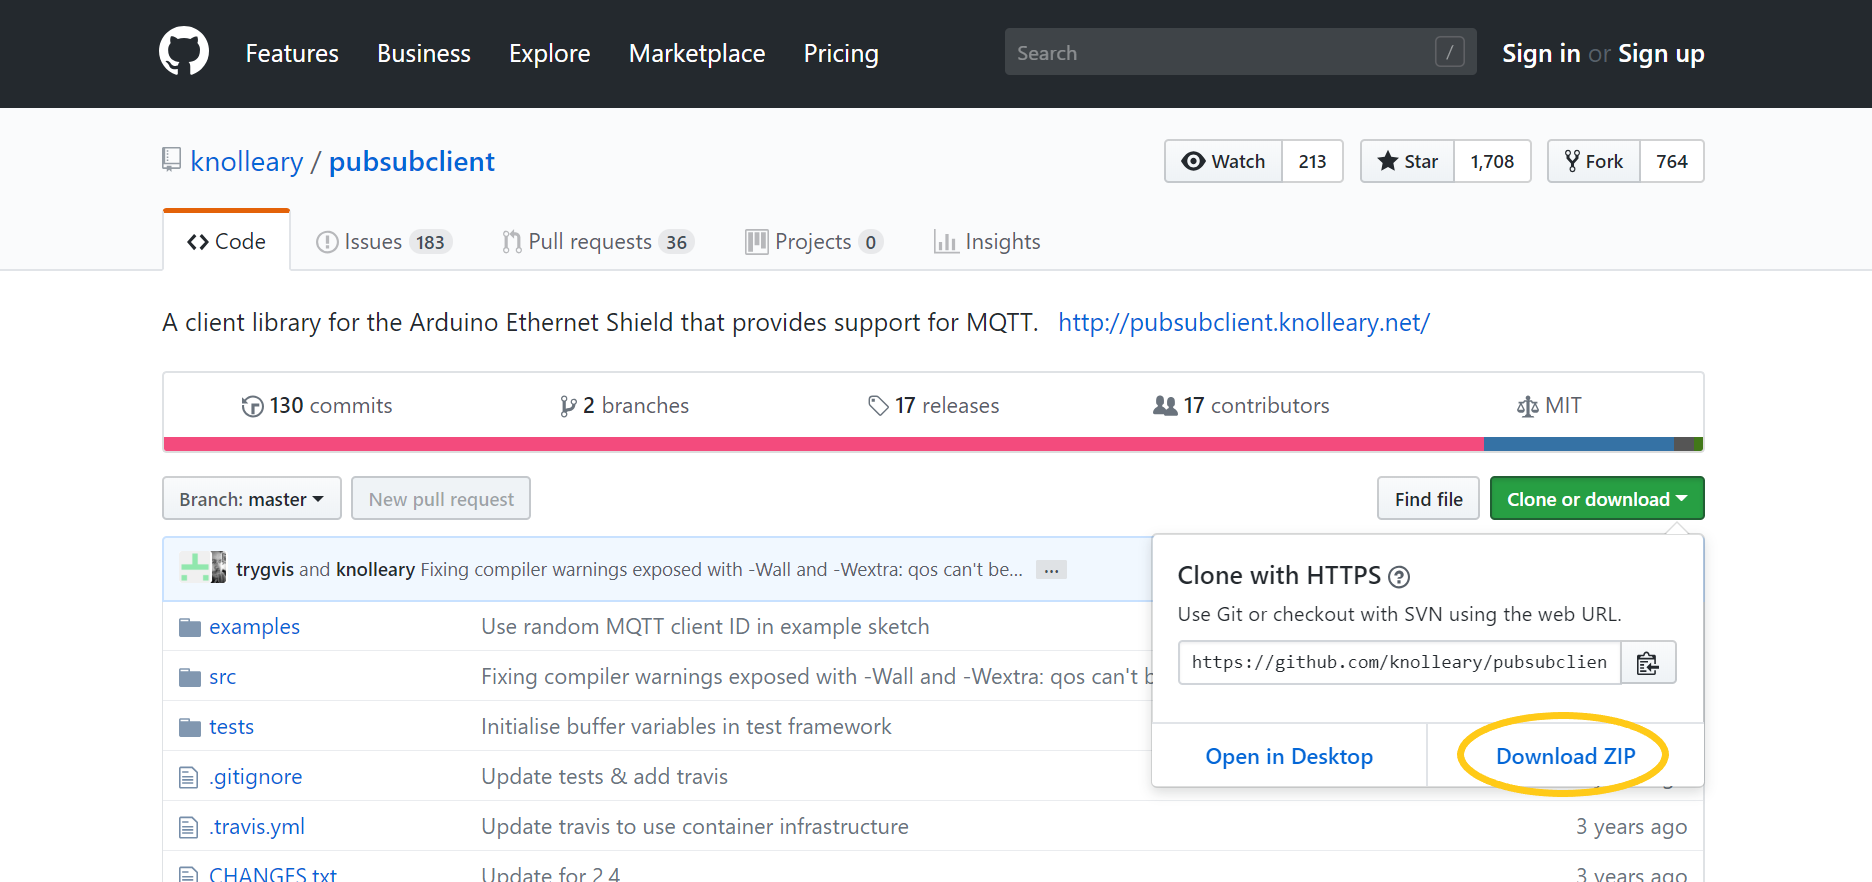
- To learn how to install a ZIP library, refer to: https: //www.arduino.cc/en/Guide/Libraries
- For more tutorials for PubSubClient, refer to: https: //pubsubclient.knolleary.net/
2. Create a new IoT application
To learn how to create an IoT application and Thing, refer to steps 1-6 of: How to show DHT11 data on QIoT Dashboard?
3. Configure example code to development board
To learn how to download MQTT information from QIoT Suite Lite, refer to:
How to show DHT11 data on QIoT Dashboard?
3.1 Get the example code
3.2 Configure the connecting parameter
Refer to the below images and enter the corresponding details to MQTT from the JSON file:
- Host IP
- Port number
- User name
- Password
- Client ID
- Topic name
Also enter the Wi-Fi connecting information: - SSID
- Password
Verify and upload the file to the development board.

4. Display the data on the dashboard
The example code will upload a random number between 1 and 100 to assigned topic every two seconds. The following will demonstrate how to show data on the dashboard.
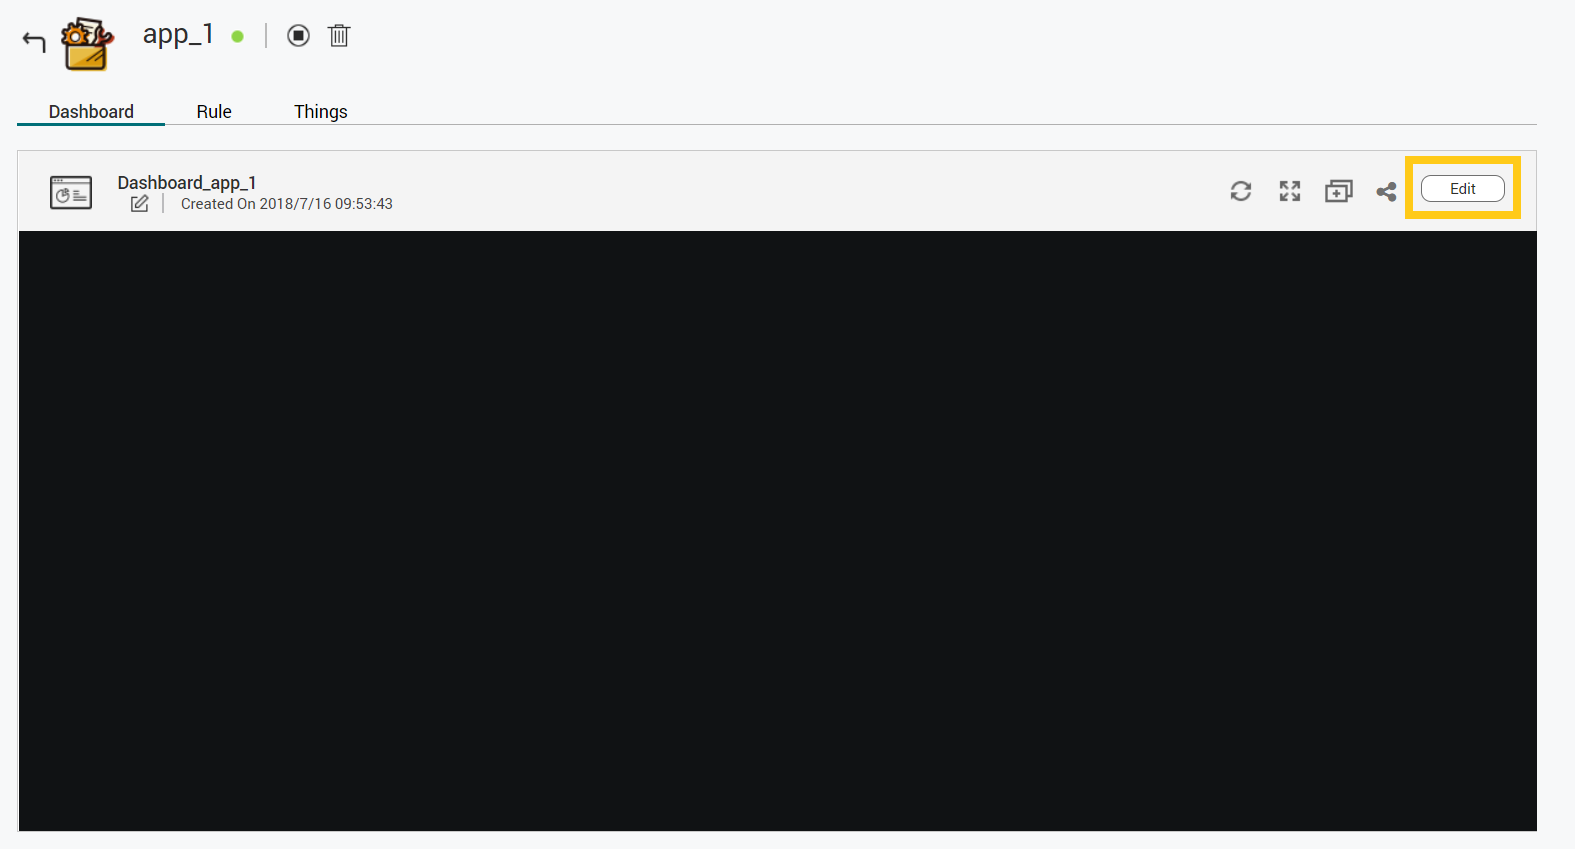
- Go to the dashboard page and click "Edit".
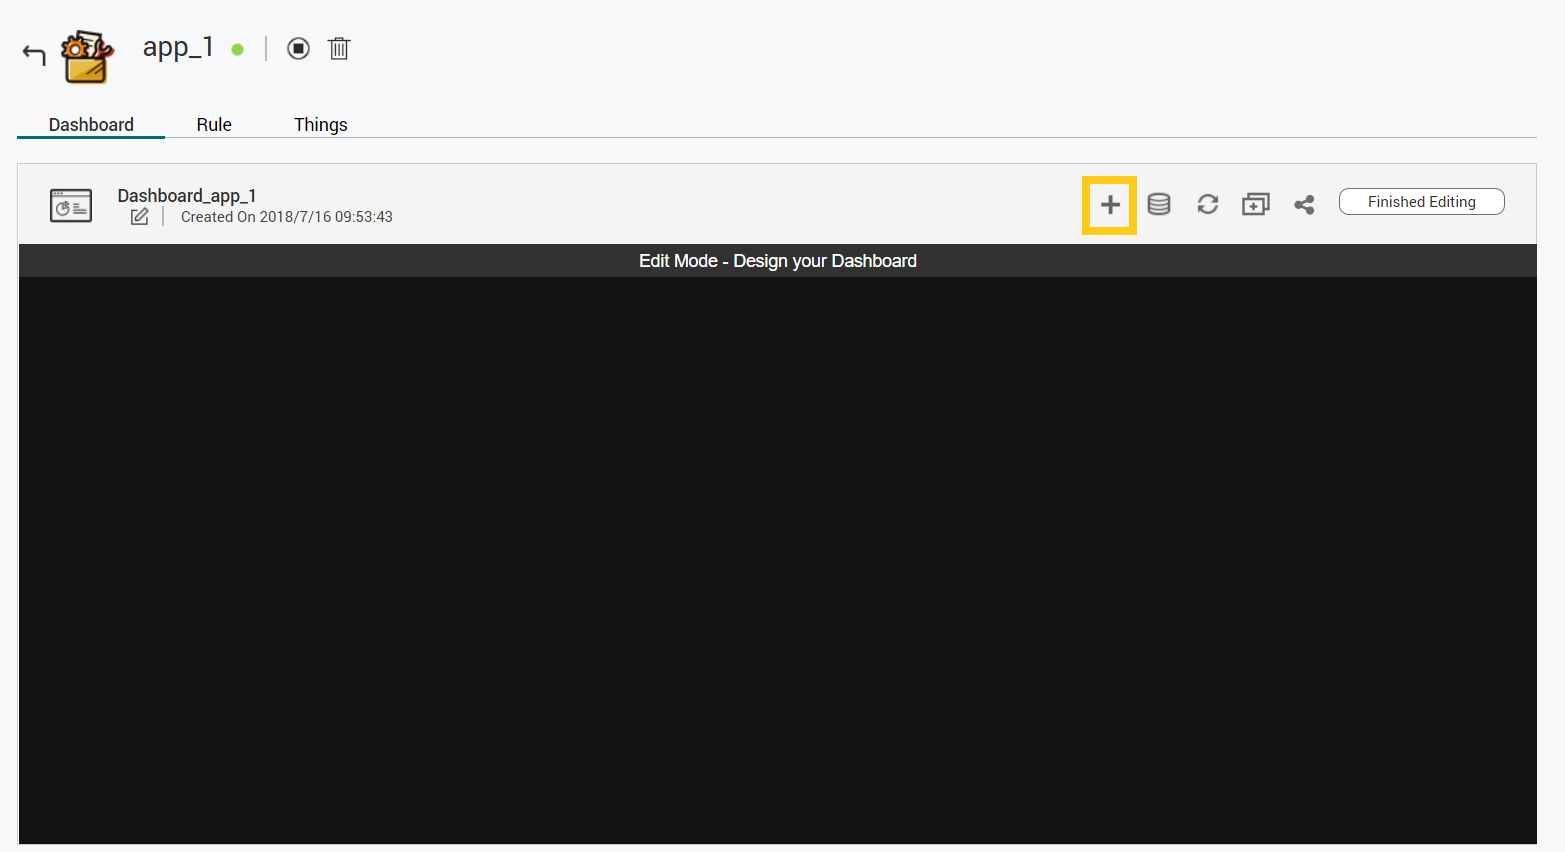
- Click "+" to add a pane.
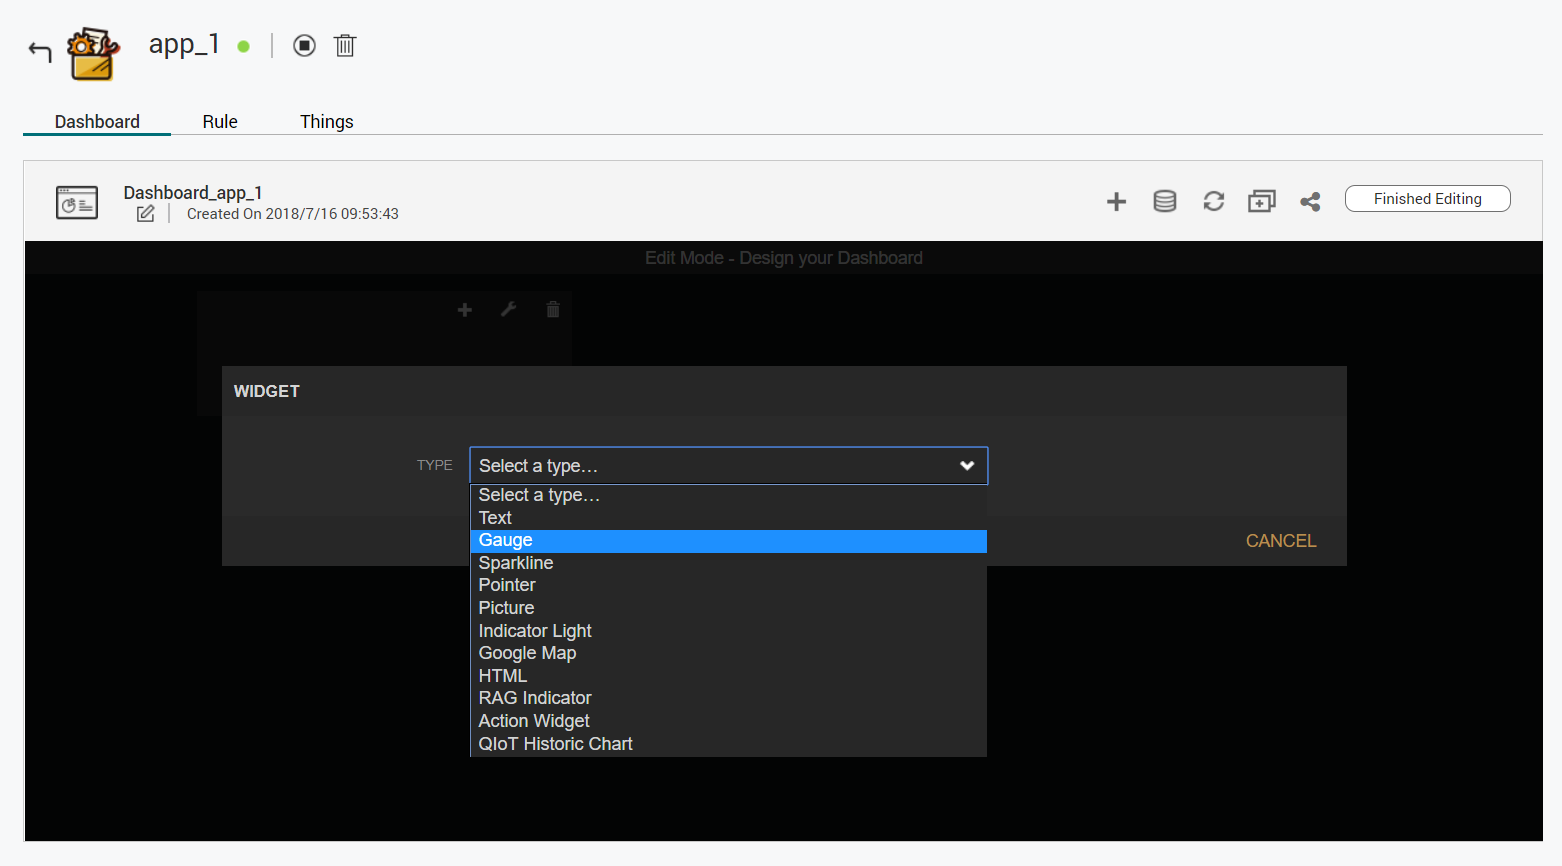
- Click "+" to add a widget.

- Select "Gauge".
- Click "+ DATASOURCE".

- Choose the resource name of assigned topic and choose "Value".

- Click "Save" and the widget will be created.

- The outcome is as following:


