I bought a new QNAP NAS. How do I move my data over from the old one?
Applicable Products:
- All NAS series
There are three different ways to migrate your data from one NAS to another.
Direct System Migration
If you have purchased a new QNAP NAS model and would like to keep your hard drives, data, and configuration, follow these steps:
Important: Both NAS must support migration. Click here to check your NAS compatibility.
- Before installing any disks, upgrade the NAS to the latest NAS firmware.
- Turn off the new NAS.
- Disable and remove cache acceleration on the old NAS from the UI.
- Turn off the old NAS and remove the hard drives. Note: Take note of the drive order.
- Remove the hard drives from the old trays and install them in the hard drive trays of the new NAS.
- Insert the hard drives to the new NAS using the same drive order.
- Turn on the new NAS.
- Login to QTS as an administrator

- Check the system logs. Important: If you see the same message The firmware versions of the system built-in flash and hardware are not consistent, go to Control Panel > Firmware Update and update the firmware to the latest version.
- After system migration, the destination NAS will have the same settings and data.
Backup data and use your existing disks in the new NAS
If system migration is not supported by your old and new NAS, and you want to use the same hard drives in the new NAS, you must first backup all data on the old system and do a fresh initialization of the new NAS.
You can back up to an external disk or other location. Once your hard drives are initialized in the new NAS, your data can then be copied back.
Important: Only the volume data can be migrated by this method. NAS settings and App Center apps will not be retained.
- Backup all the data from the old NAS.
- Turn off the old NAS and remove the hard drives.
- Remove the hard drives from the old trays and install them to the hard drive trays of the new NAS.
- Turn on the new NAS without inserting the hard drives.
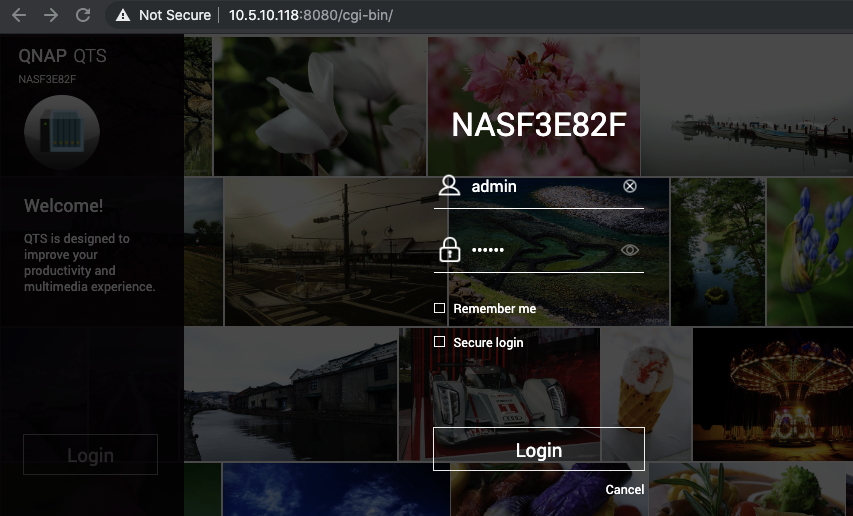
- Use Qfinder Pro to locate the new NAS and open it in your browser.
- Insert the hard drives into the new NAS. The “Drives with QNAP signature detected” message appears.
- Click “Manual Installation”.
- Proceed with the quick setup to initialize the drives in the new NAS. Important: All existing data on the drives will be deleted.
You may use Hybrid Backup Sync to set up either an External Backup job or a job to back up files/folders to the storage space on another PC/Mac based on your preferences.
Setup a New NAS and Transfer the Data Over
In this option we are going to use Hybrid Backup Sync to copy the data from your old NAS to the new NAS over a network connection. Important: Both NAS must be connected to the same network.
Download Hybrid Backup Sync from the App Center on your old NAS
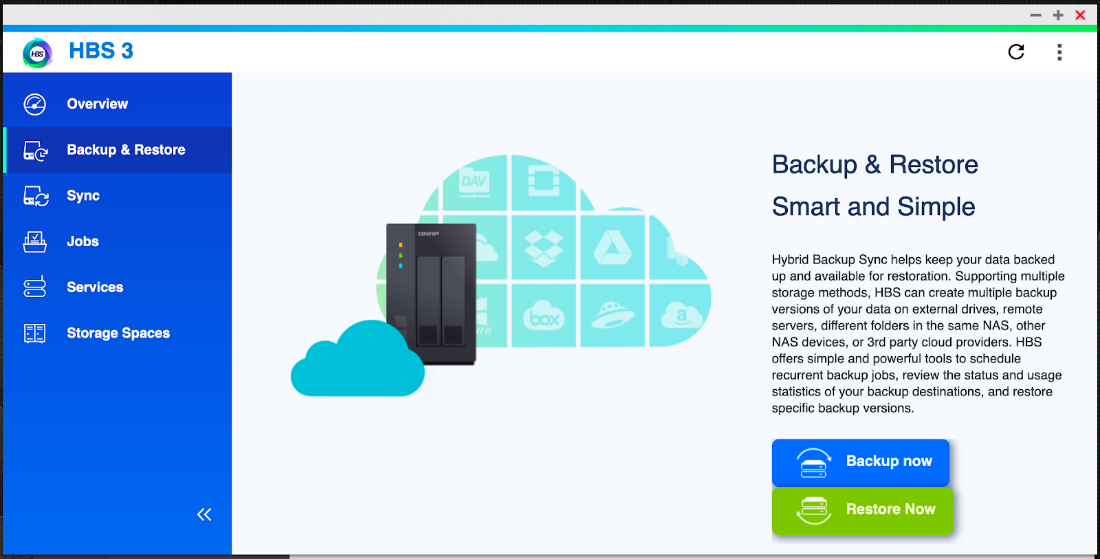
Go to Backup & Restore and select Backup now

Select the folders/files to back up.
Choose Remote NAS and enter the IP address of your new NAS. Click Test to confirm the settings are correct.
Click OK.
Click Apply.

Select the Backup Destination on the right panel. This could be a Shared Folder you have manually created on the new NAS or an existing folder. In this example we have created a shared folder called “backup” on the new NAS.

Make sure port 8899 (Remote Replication - RTRR) is open on the new NAS.
Click Backup Now in the next window.
Click Apply.
The backup job starts and you can follow its progress.


