Why is the iSCSI initiator unable to connect to the iSCSI target using a virtual switch?
Applicable products:
- QTS 5.0.0 (or later)
- QuTS hero 5.0.0 (or later)
- Network & Virtual Switch
- Container Station
- Virtualization Station
- ISCSI & Fibre Channel
After updating the operating system from QTS or QuTS hero from version 4.5.x to version 5.0.x, and while using Container Station or Virtualization Station, the iSCSI initiator is unable to connect to the iSCSI target using a virtual switch.
In QTS 5.0.0 and QuTS hero 5.0.0, iSCSI & Fibre Channel allows users to modify the interface permissions for iSCSI target network connections. iSCSI & Fibre Channel acquires its Network Portal list from Network & Virtual Switch.

When users create virtual switch interfaces using other network applications apart from Network & Virtual Switch, different conventions may be used for naming virtual switches. iSCSI & Fiber Channel may not always be able to retrieve virtual switch information from other network applications, if the standard naming convention is not applied (e.g., Virtual Switch 1, Virtual Switch 2). If you are unable to find the virtual switch name in the Network Portal list, QNAP recommends creating a new virtual switch using Network & Virtual Switch.
Perform the following steps to create a new virtual switch:
- Log in to QTS or QuTS hero.
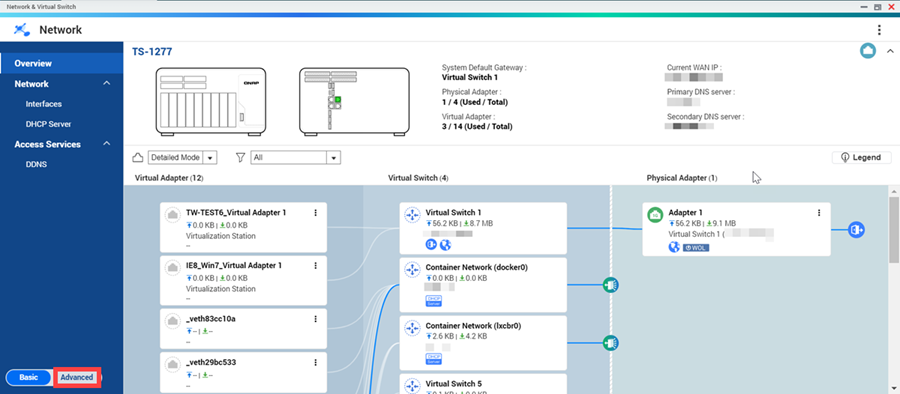
- Open Network & Virtual Switch.
The Overview page appears. - Click Advanced.
- Go to “Network”> “Virtual Switch”.
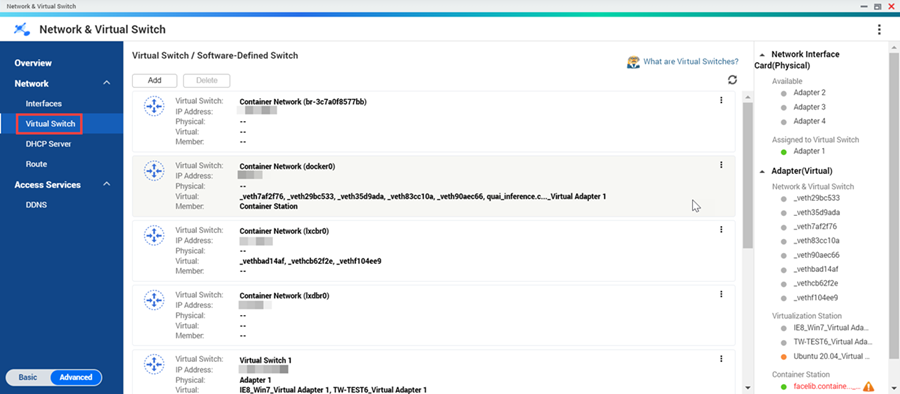
- Click Add. .
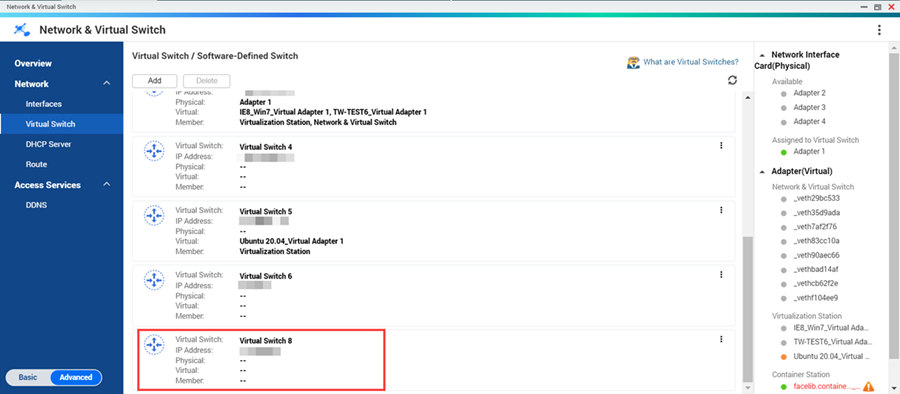
The Create a Virtual Switch window appears. - Follow the virtual switch wizard to create a virtual switch..
Network & Virtual Switch creates a new virtual switch.
- Open iSCSI & Fibre Channel..
The iSCSI Storage page appears. - Identify an iSCSI target.
- Under Action, click Modify. .
The Modify an iSCSI Target window appears. - Click Network Portal.
- Select the virtual switch created in Network & Virtual Switch.

- Click Apply.
Initiators on the client site can now use the new virtual switch IP address to connect to the iSCSI target on your QNAP NAS.


