Discontinued Access to Amazon Drive in Hybrid Backup Sync 3
Starting from April 30, 2021, Hybrid Backup Sync 3 (HBS 3) will no longer support access to Amazon Drive.
If you use HBS 3 to run backup and/or sync jobs between your QNAP NAS and Amazon Drive, we recommend you to make alternative backup and/or synchronization arrangements immediately, and restore and/or sync your files from Amazon Drive to your NAS.
The following sections provide detailed information on the different steps you can take to restore and sync your files from Amazon Drive both before and after the discontinuation date.
Your Data on Amazon Drive After HBS 3 Access is Discontinued
After April 30, 2021, you can still access your data on Amazon Drive through their native services (for more information, visit this page), but Amazon Drive will no longer be a storage space option in HBS 3.
If you have enabled encryption for your backup jobs to Amazon Drive using HBS 3, and do not restore or sync them back to your NAS through HBS 3 before the discontinuation date, you will still be able to restore the encrypted files on your computer with QNAP’s QuDedup Extract Tool or QENC Decrypter—provided you remember the encryption password.
Restoring Backed-up Files on Amazon Drive to Your QNAP NAS (Before HBS 3 Access is Discontinued)
If you have used HBS 3 to back up files on your NAS to Amazon Drive, you can restore those files from Amazon Drive to your NAS by creating and running a restore job using one of two methods: by locating an existing backup job, or by directly selecting Amazon Drive as your destination storage space.
Method 1: Creating a Restore Job from an Existing Backup Job
- Open HBS 3
- Go to Jobs.
- Identify an existing backup job with Amazon Drive as the destination.
- Click
 .
.
The Create a Restore Job window opens. - Optional: Specify the job identification information.
- Select Backup job as the source.

- Select source and destination folders.
- Click Next. The Schedule screen appears.
- Select Restore Now.
- Keep clicking Next until you reach the Summary screen.
- Review the job summary.
- Click Restore.
Method 2: Creating a Restore Job from a Destination
- Open HBS 3.
- Go to Backup & Restore.
- Click Create > Restore Job.
The Create a Restore Job window opens. - Select Amazon Drive as your storage space.
- Optional: Specify the job identification information.
- Select Destination as the source.

- Click Next. The Schedule screen appears.
- Select Restore Now.
- Click Next. The Rules screen appears.
- Important: Follow these steps if you have previously enabled client-side encryption and the backup job was created on a different NAS.
- Click Policies.
- Select Specify a client-side encryption password and enter your password.
- Click Next. The Summary screen appears.
- Review the job summary.
- Click Restore.
Syncing Files on Amazon Drive to Your QNAP NAS (Before HBS 3 Access is Discontinued)
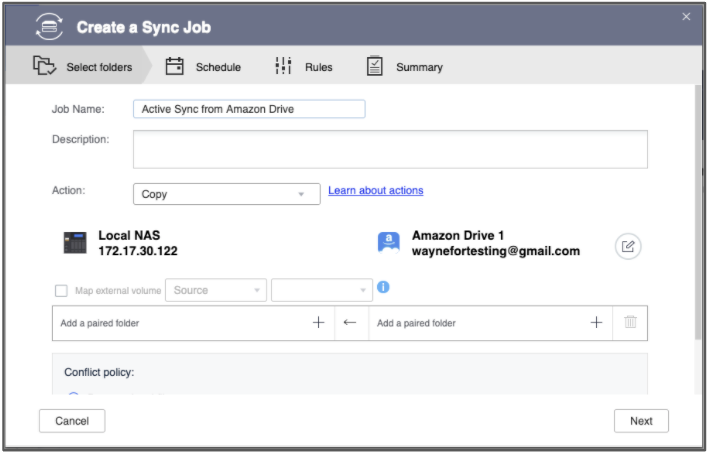
If your files on Amazon Drive are more up-to-date than on your NAS, you can sync the latest versions of those files to your NAS by creating and running an active sync job.
- Open HBS 3.
- Go to Sync.
- Click Create > Active Sync Job.
The Create a Sync Job window opens.

- Select Amazon Drive as your storage space.
- Optional: Specify the job identification information.
- Select the paired folders.
- Optional: Configure the conflict policy.
- Optional: Configure the sync action.
- Click Next. The Schedule screen appears.
- Select Sync Now.
- Click Next. The Rules screen appears.
- Important: Follow these steps if you have previously enabled client-side encryption.
- Click Policies.
- Select Specify a client-side encryption password and enter your password.
- Click Next. The Summary screen appears.
- Review the job summary.
- Click Create.
Restoring .qdff Files on Windows/Mac/Linux
If you have used HBS 3 to back up files from your NAS to Amazon Drive with deduplication (you selected Use QuDedup when configuring the backup job), the data is converted into and stored as a .qdff file on Amazon Drive. If you use HBS 3 to run a restore job on a .qdff file back to your NAS, the original files will be extracted automatically.
However, if you download .qdff files from Amazon Drive directly to your Windows/Mac/Linux computer, you will need to use QNAP’s QuDedup Extract Tool to restore the .qdff files into your original files. Please refer to How do I extract .qdff files using the QuDedup Extract Tool?.
Note: If you enabled encryption for your backup job, you must provide the encryption password to extract the deduped files.

HBS3 Standalone Decryption and Decompression Tool on QENC
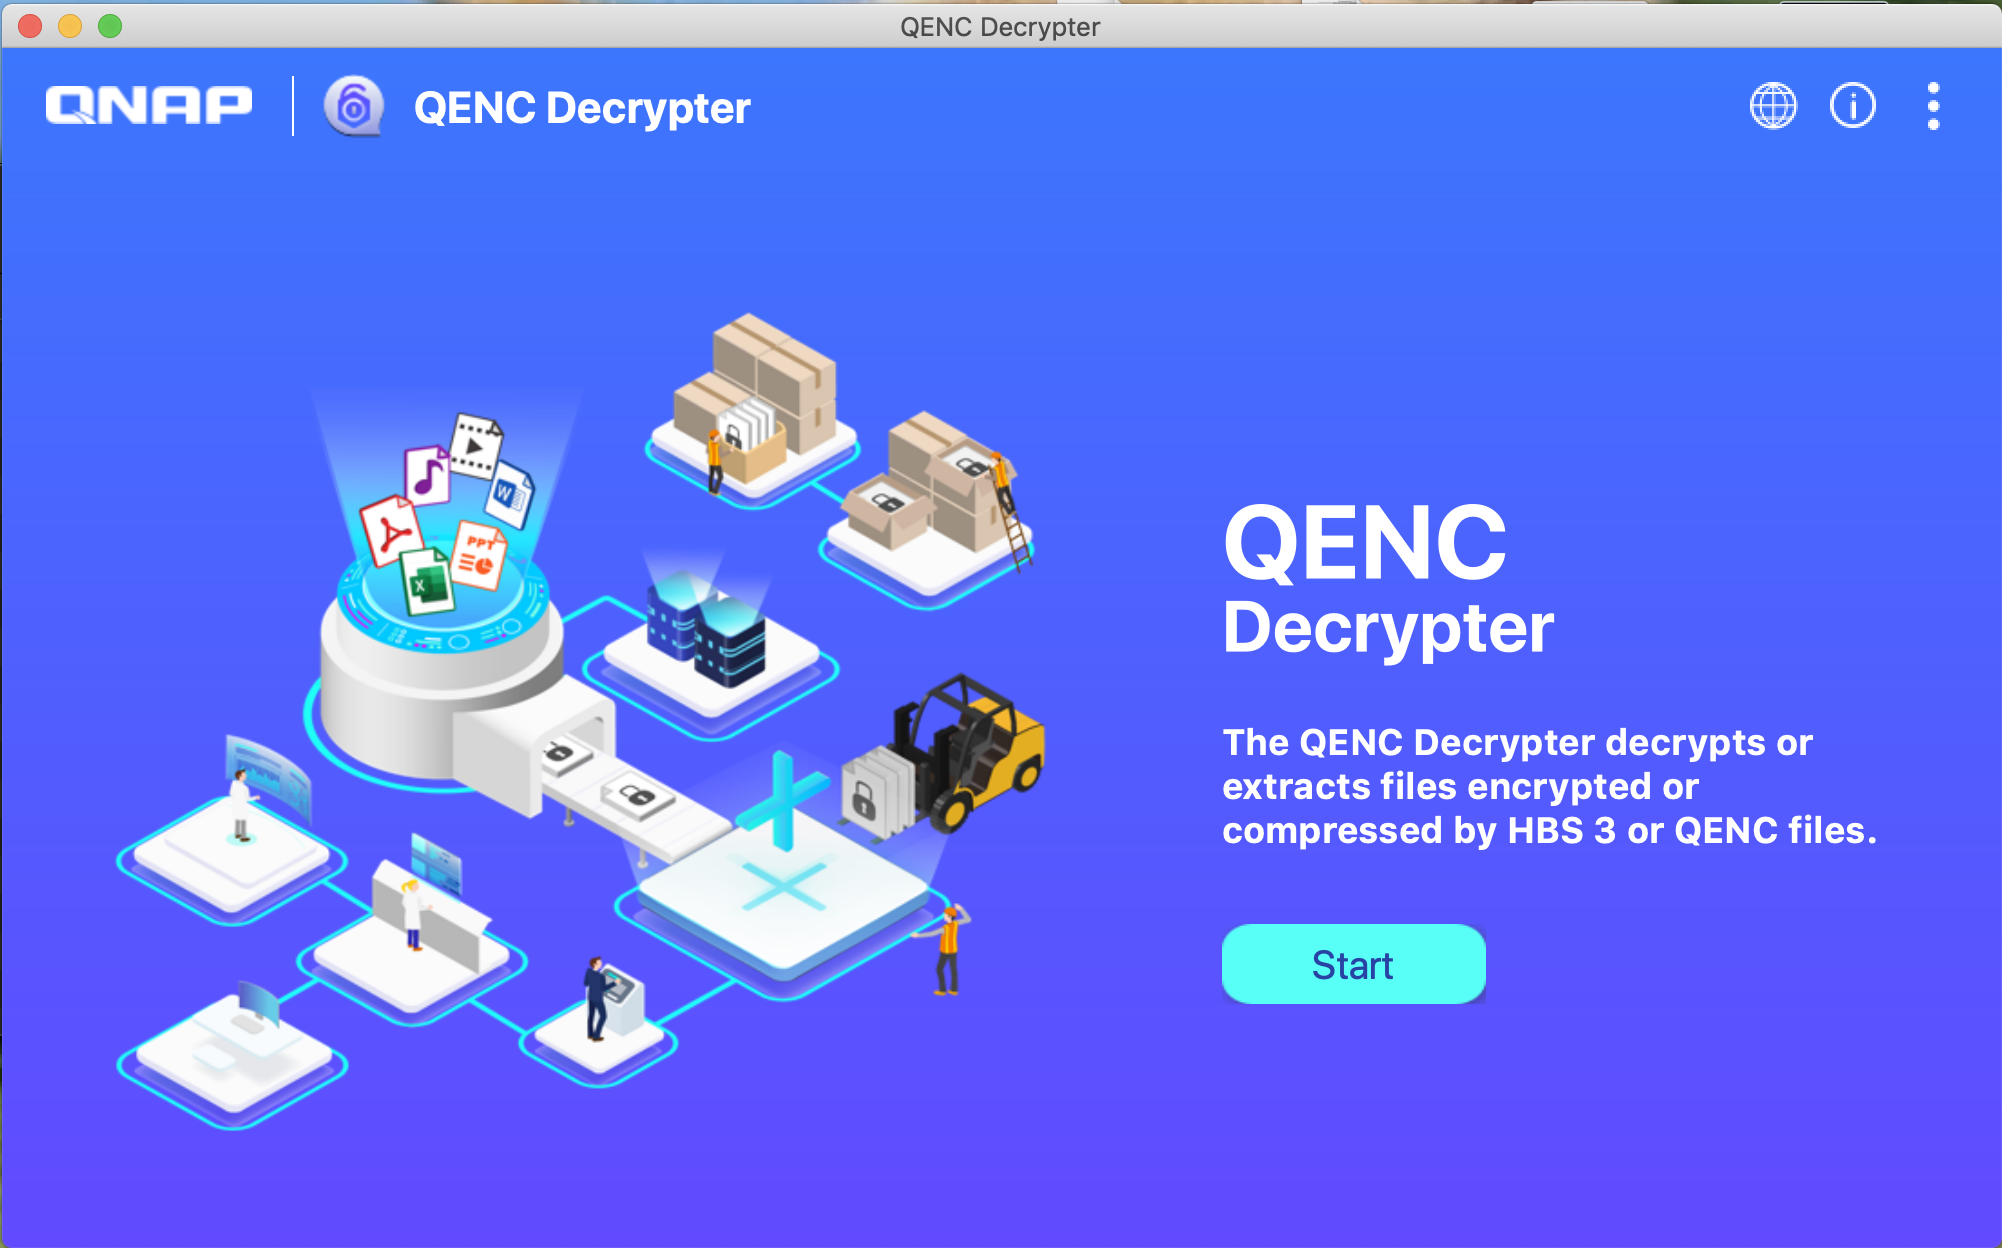
Before sharing sensitive and/or confidential files from your NAS, use File Station to encrypt them into .qenc files. Recipients can then decrypt these files using the QENC Decrypter. Only those with the password will be able to decrypt, view, and use the encrypted files.
Files that have been encrypted and compressed using Hybrid Backup Sync (without deduplication) can also be decrypted and decompressed using the QENC Decrypter.
Note:
1. Requirements: QNAP NAS with QTS 4.4.1 (or later)
2. Supported OS: Windows 8 (or later), macOS 10.12 (or later), Ubuntu 18.04 (or later)
Download link : https://www.qnap.com/go/utilities/enterprise


