How do I configure Secure IP Access in QuFirewall on a QNAP NAS?
Applicable Products
- QuFirewall 2.5.0 and later versions
- myQNAPcloud 1.1.79 and later versions
- QTS 5.2.x and later versions
- QuTS hero h5.2.x and later versions
Overview
Secure IP Access is an authentication control built into QuFirewall that verifies the identity of remote devices before they can reach NAS services. When enabled, the NAS only accepts connections from registered IP addresses, or from devices that can prove ownership of those addresses through a trusted verification process. This reduces unauthorized access attempts and blocks unknown hosts before they can interact with system services.
QuFirewall works with myQNAPcloud to validate remote device IP addresses and maintain a trusted access list. You can decide which users or devices are allowed to connect, and unverified connections are denied automatically. By combining firewall rules with IP-based identity checks, Secure IP Access gives you a more reliable way to control remote access on both home and enterprise networks.
Procedure
Enable Secure IP Access on QuFirewall
- Log in to your NAS.
- Open QuFirewall.
- On the side panel, click Secure IP Access.
- Enable the Secure IP Access toggle switch.
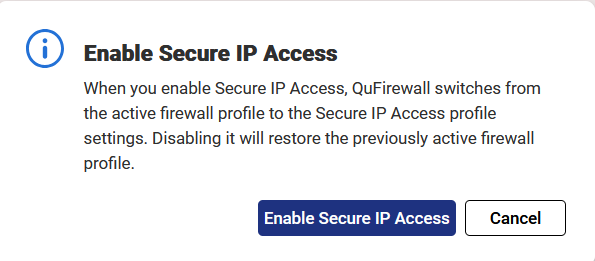
 The Enable Secure IP Access window appears.
 - Click Enable Secure IP Access.
 NoteIf the NAS is not already linked to a QNAP ID, the system prompts you to complete the binding process.
Register your NAS on myQNAPcloud
- Go to https://www.myqnapcloud.com/.
- Log in using your QNAP ID.
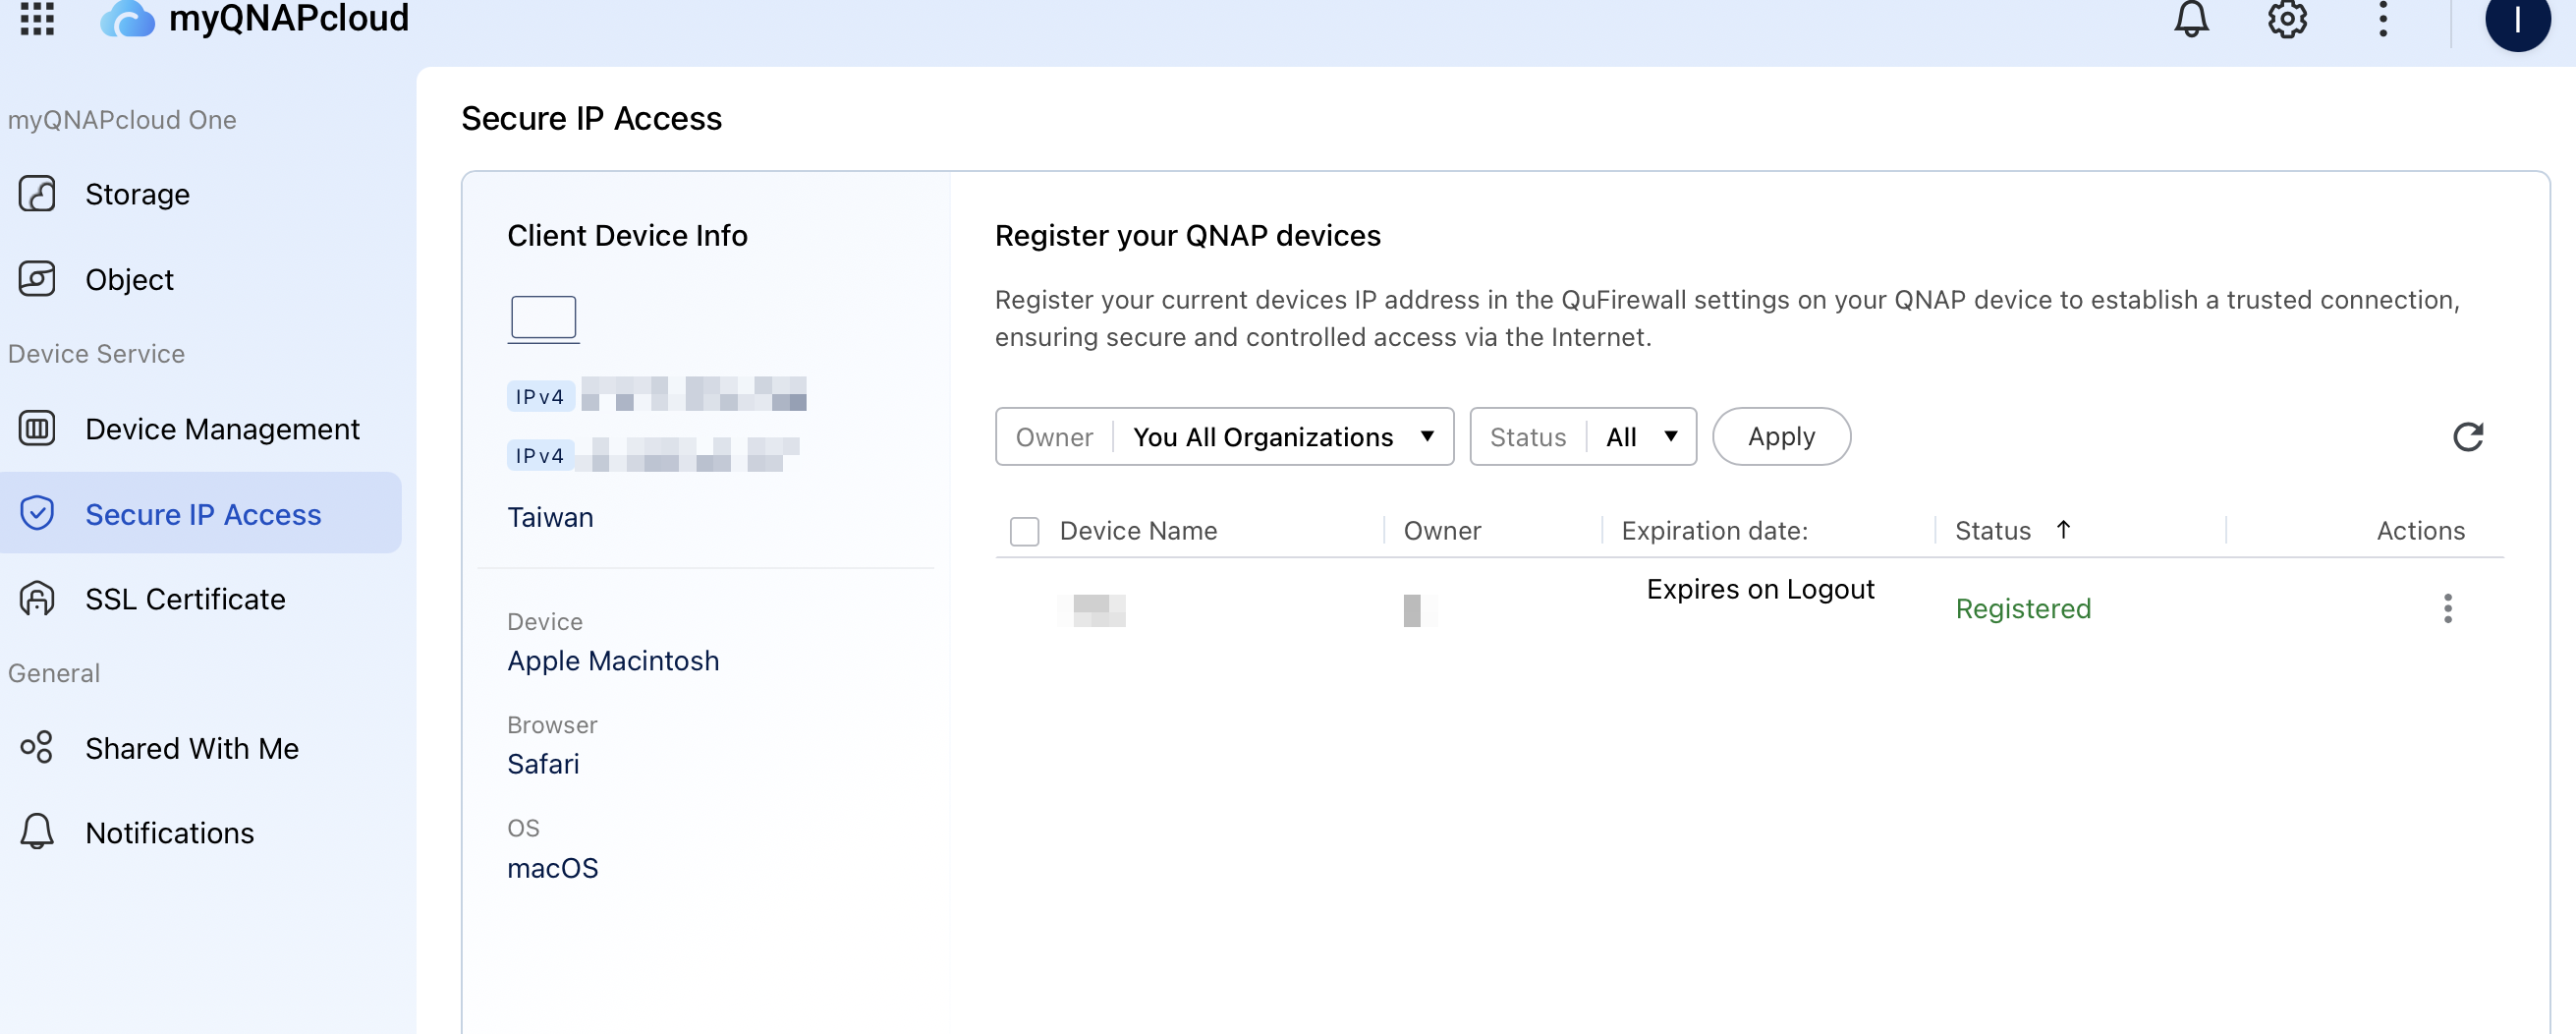
- On the side panel, click Secure IP Access or
 .
. - Identify your NAS.
- Under Actions, click Register.
The window for configuring an access expiration opens. - Specify how long the device is permitted to access the NAS over the internet.
- Restrict access to the current session associated with the signed-in QNAP ID.
- Assign a fixed expiration period ranging from 1 minute to several hours.
- Click Register.
After registration, the device is added to the trusted list, and its remote access permissions are enforced according to the selected expiration policy.
Revoking access to secured devices
When you no longer want a device to connect to the NAS over the internet, you can revoke its permission at any time. Revocation can occur automatically when the configured limit is reached, or you can remove the device’s permission manually using either QuFirewall or the myQNAPcloud portal. Once access is revoked, the device cannot connect again until it is registered once more.
- Automatically revoke access to a device
Access is removed automatically when the configured expiration condition is met. This happens when you sign out of the QNAP ID or when the time limit expires. - Manually revoke access to a device
You can remove access at any time from either of the following locations:- QuFirewall
- Open QuFirewall on your QNAP NAS.
- Click Secure IP Access on the side panel.
- Select the device whose access you want to revoke.
- Click Revoke Request.
QuFirewall removes the device's permission to access the NAS over the internet.
- myQNAPcloud
- Log in to https://www.myqnapcloud.com/.
- Click Secure IP Access on the side panel.
- Select the device you want to revoke.
- Under Actions, click
 .
. - Click Revoke.
myQNAPcloud remove the device’s permission to access the NAS over the internet.
- QuFirewall
After you revoke access, the device cannot connect to the NAS again until you register it once more.


