How to Set Up ULINK DA Drive Analyzer in your QNAP NAS
Datum poslední úpravy:
2023-12-26
Prerequisite Information
- Check the compatibility of your NAS and expansion units:
- All QNAP NAS with QTS 5.0 (or later) and QuTS hero h5.0 (or later). You can find your current version of QTS/QuTS hero (and perform a system update) from the Control Panel.
- All QNAP expansion units (except the TR series).
- Your NAS must be connected to the Internet for the daily upload of the drive system data for analysis. Port 443 is used by DA Drive Analyzer.
- Licenses are required to use DA Drive Analyzer. One license is provided for free.
- The License Center app on your NAS must be version 1.7.5 (or later) to support purchasing and activating licenses from within DA Drive Analyzer.
- The DA Drive Analyzer currently cannot predict several drive types, as there is insufficient data to train the AI. Once there is sufficient data, these drives will be supported.
- A QNAP ID (QID) is required to use DA Drive Analyzer.
Installing the DA Drive Analyzer app
- Open the App Center
- Search for “DA Drive Analyzer”.
- Click “Install”.
- After installation, a DA Drive Analyzer icon will appear on the Desktop
Initializing the DA Drive Analyzer app
- Open the DA Drive Analyzer app.
- You must read and accept the terms of service and privacy policy to use DA Drive Analyzer.
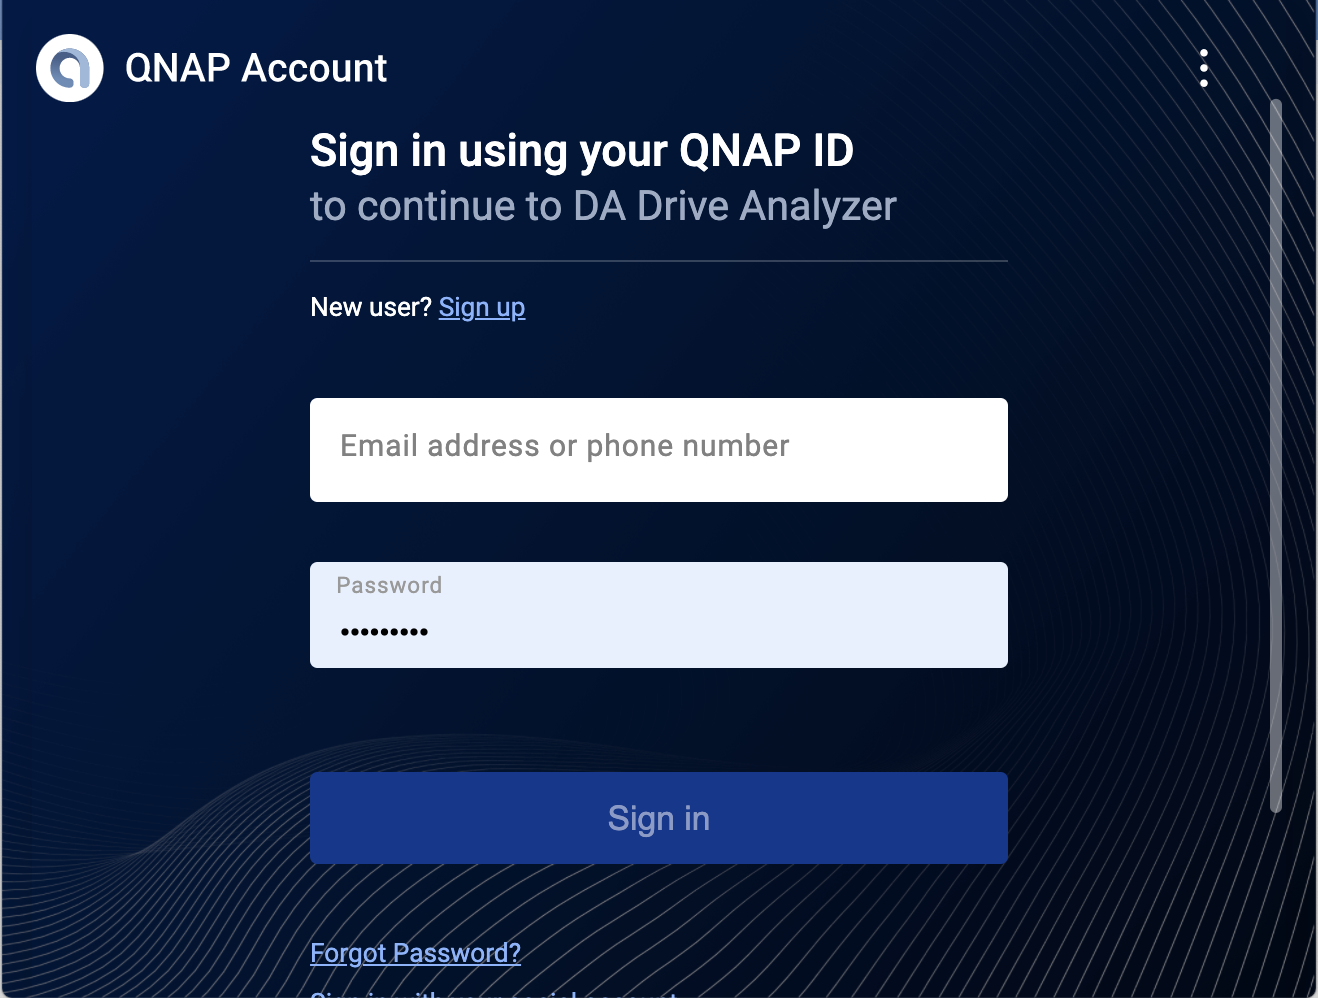
- You will be prompted to log in to DA Drive Analyzer with your QID as a Main Registered User (MRU).
Important:- The MRU is the user who logs in using the same QID to the DA Portal (https://qnap.ulinkda.com/). This portal contains additional features, and the MRU can also register “Viewers” who can log in to the DA Portal with their own QID.
- A NAS administrator who is not the MRU or a Viewer is unable to log into the DA Portal.
- The MRU must also remain logged in at all times to use the service.

- After logging in, the Overview page appears. This provides a summary of drive information, status, and licenses.
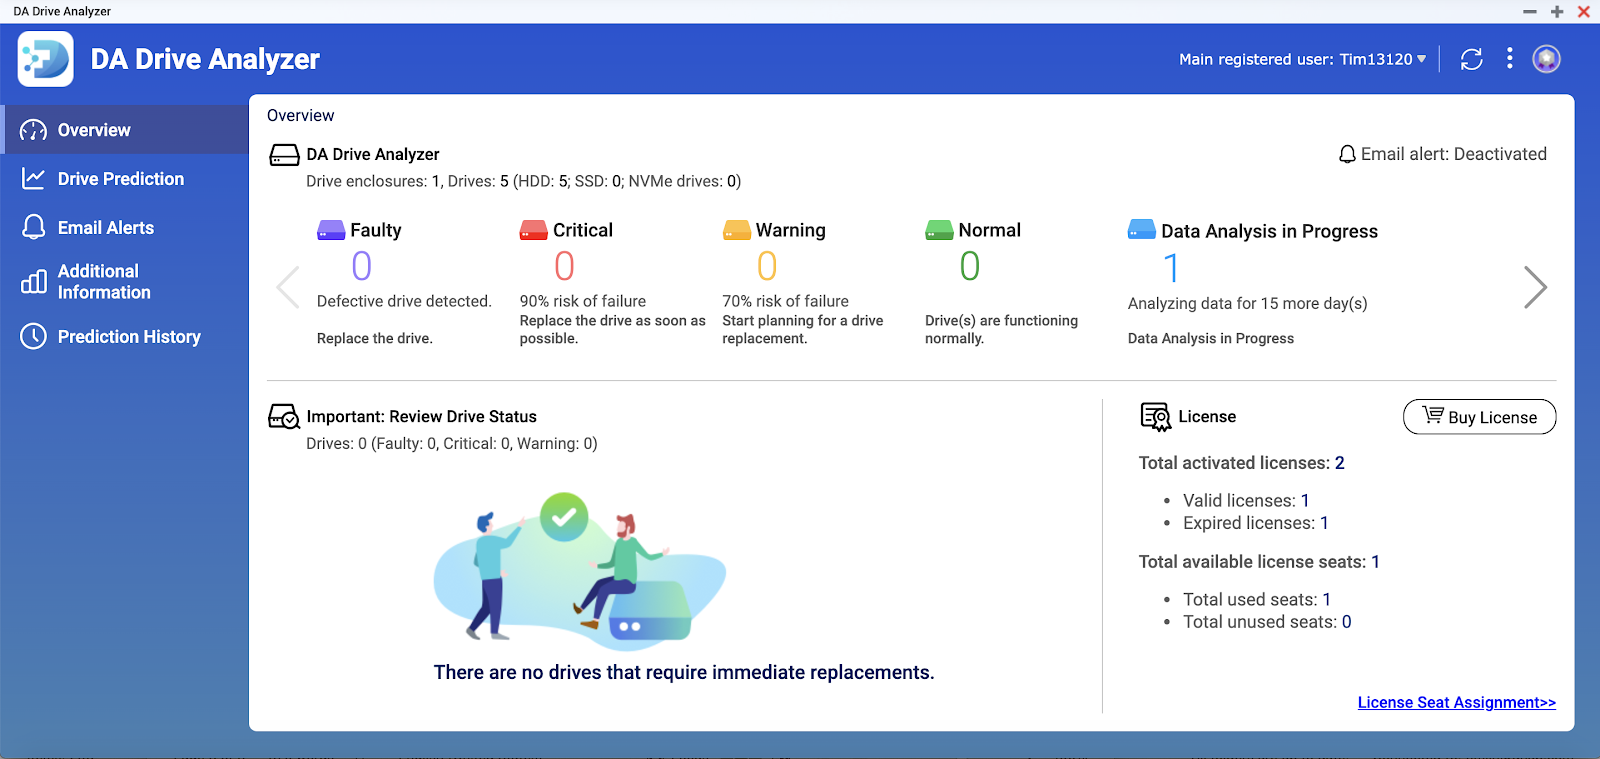
- The DA AI engine on the cloud tracks licensed drives for 15 days. Only when it contains 14 days of data from the last 20 days can it generate drive health prediction.
Acquiring and Activating Licenses
Licenses can be purchased and activated within the DA Drive Analyzer app by clicking “Buy License”.
After clicking this button, you will be guided through the purchase and activation process and the licenses will become immediately available for use.
If you have experience with manually activating licenses, then you can also purchase licenses from https://software.qnap.com/da-drive-analyzer.html.
Assigning/Reassigning License Seats to Drives
- Go to the Overview page.
- Click “License Seat Assignment” in the bottom-right corner.
The License Seat Assignment window appears.
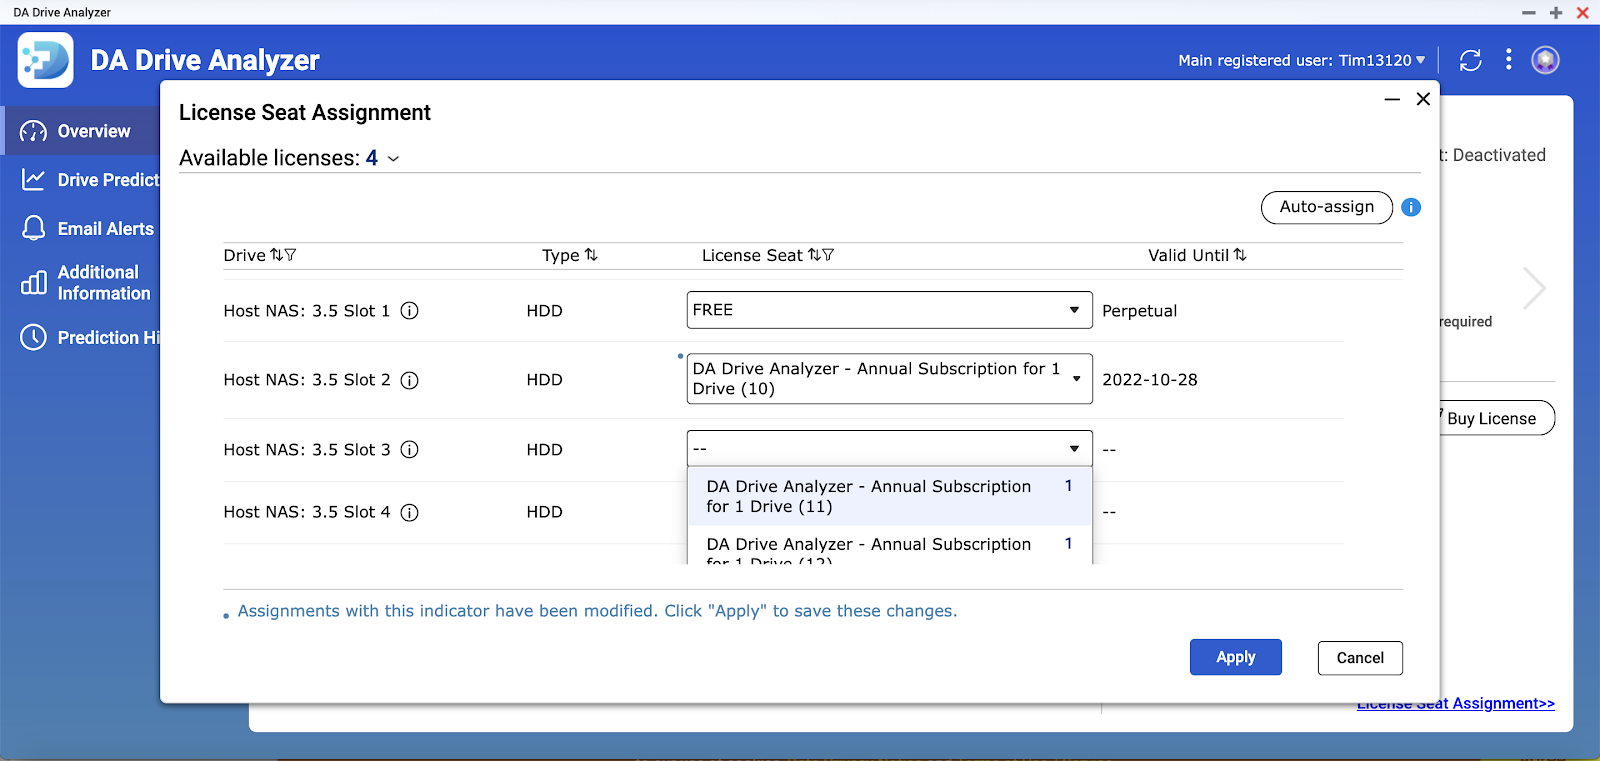
- Seats can be applied to specific drives using the drop-down menus. Alternatively, click “Auto-assign" to sequentially assign seats to available drives.
- Click “Apply”.
The licenses are applied and the License Seat Assignment window closes.
Note:- Assigning a license to an unlicensed drive may cause a new data collection period of 14 days.
- After 15 days of data collection, the drive health prediction will be shown on both the DA app and DA Portal.
- Up to one day of processing time is required for the drive data before it is updated.


